Diesen Beitrag gibt es auch auf: Deutsch
If you love wild garlic, cheese, and homemade white bread as much as I do, this wild garlic bread recipe bursting with wild garlic goodness will definitely be your go-to spring bread when wild garlic is in season.
This easy recipe is moist, fluffy, airy, and super flavorful. Enjoy this bread as a side dish, snack, or top it with your favorite sandwich toppings for a light meal.
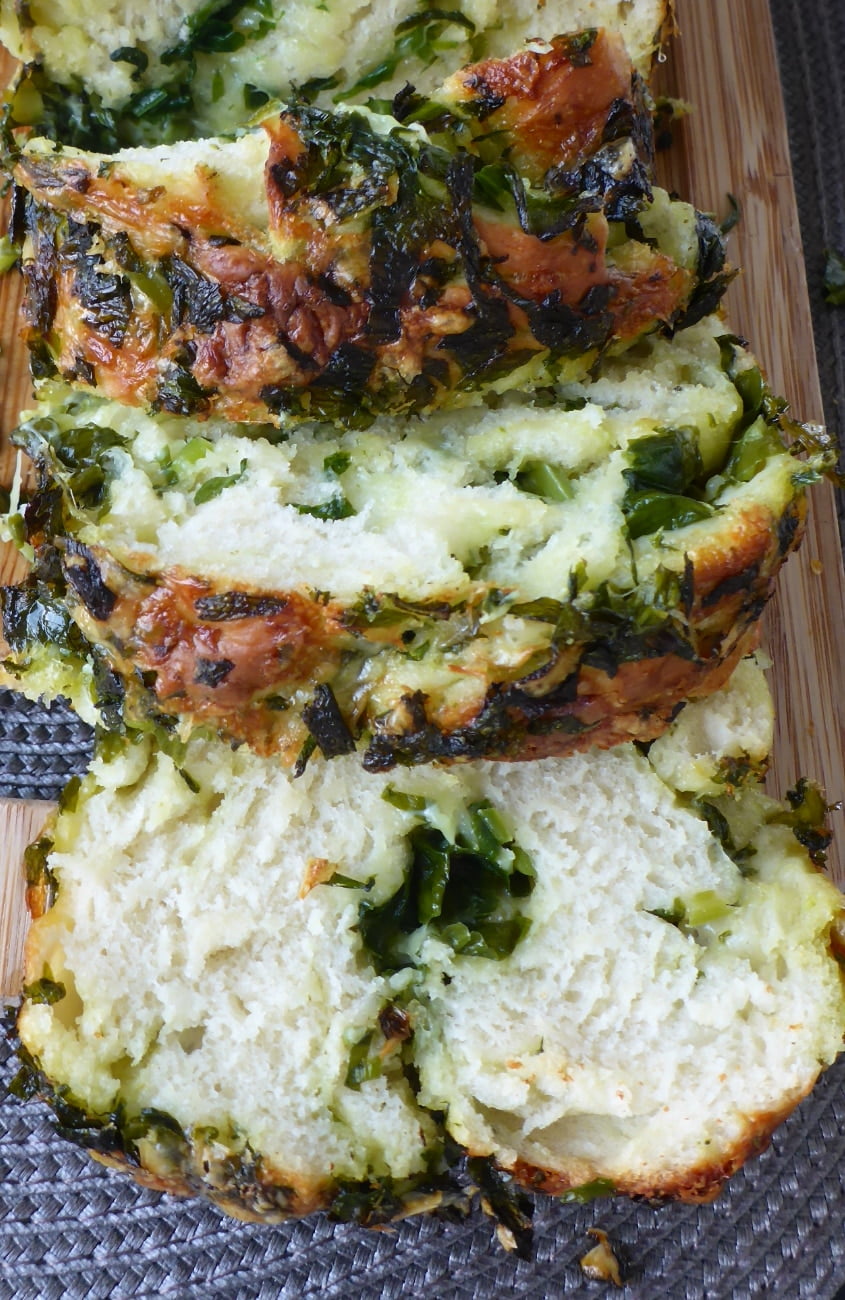
My husband and I absolutely adore this wild garlic bread recipe, and your family will too! I’ve made it countless times (just like this fresh herb bread) when wild garlic is in season, and it always disappears faster than it takes to make it.
Even my parents-in-law, who are not big fans of wild garlic, can’t stop eating it once we start until it’s all gone.
It’s made from a yeast dough that rises twice and is rolled in a flavor-packed wild garlic, cheese, and olive oil mixture after the first rise, before baking it to perfection.
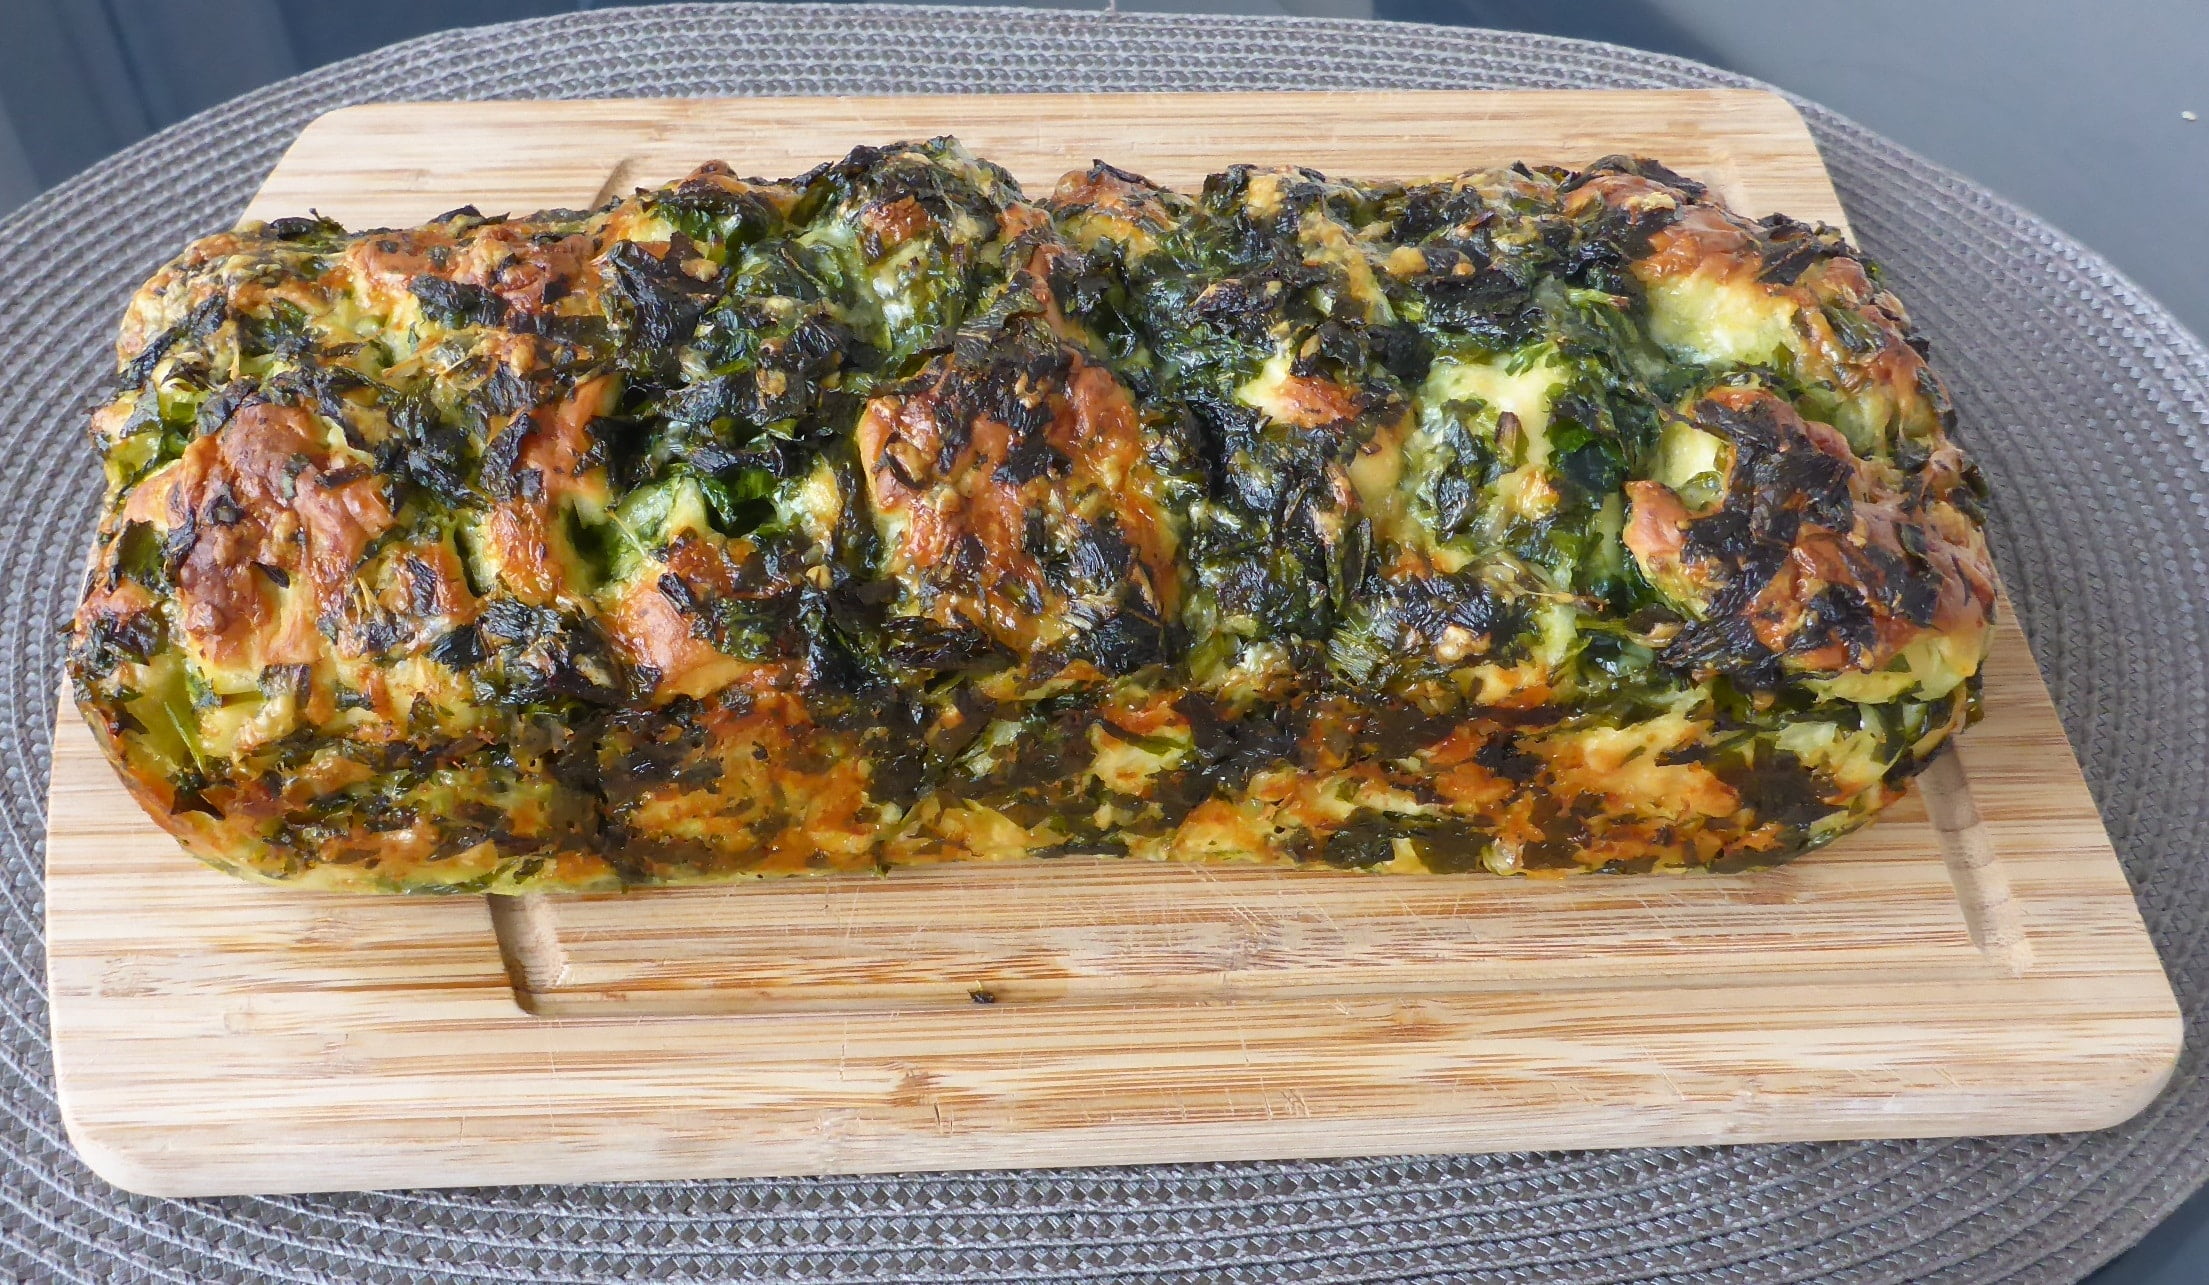
Enjoy it fresh from the oven with your favorite dip, or serve it as a side dish.
Ingredients used to make this recipe
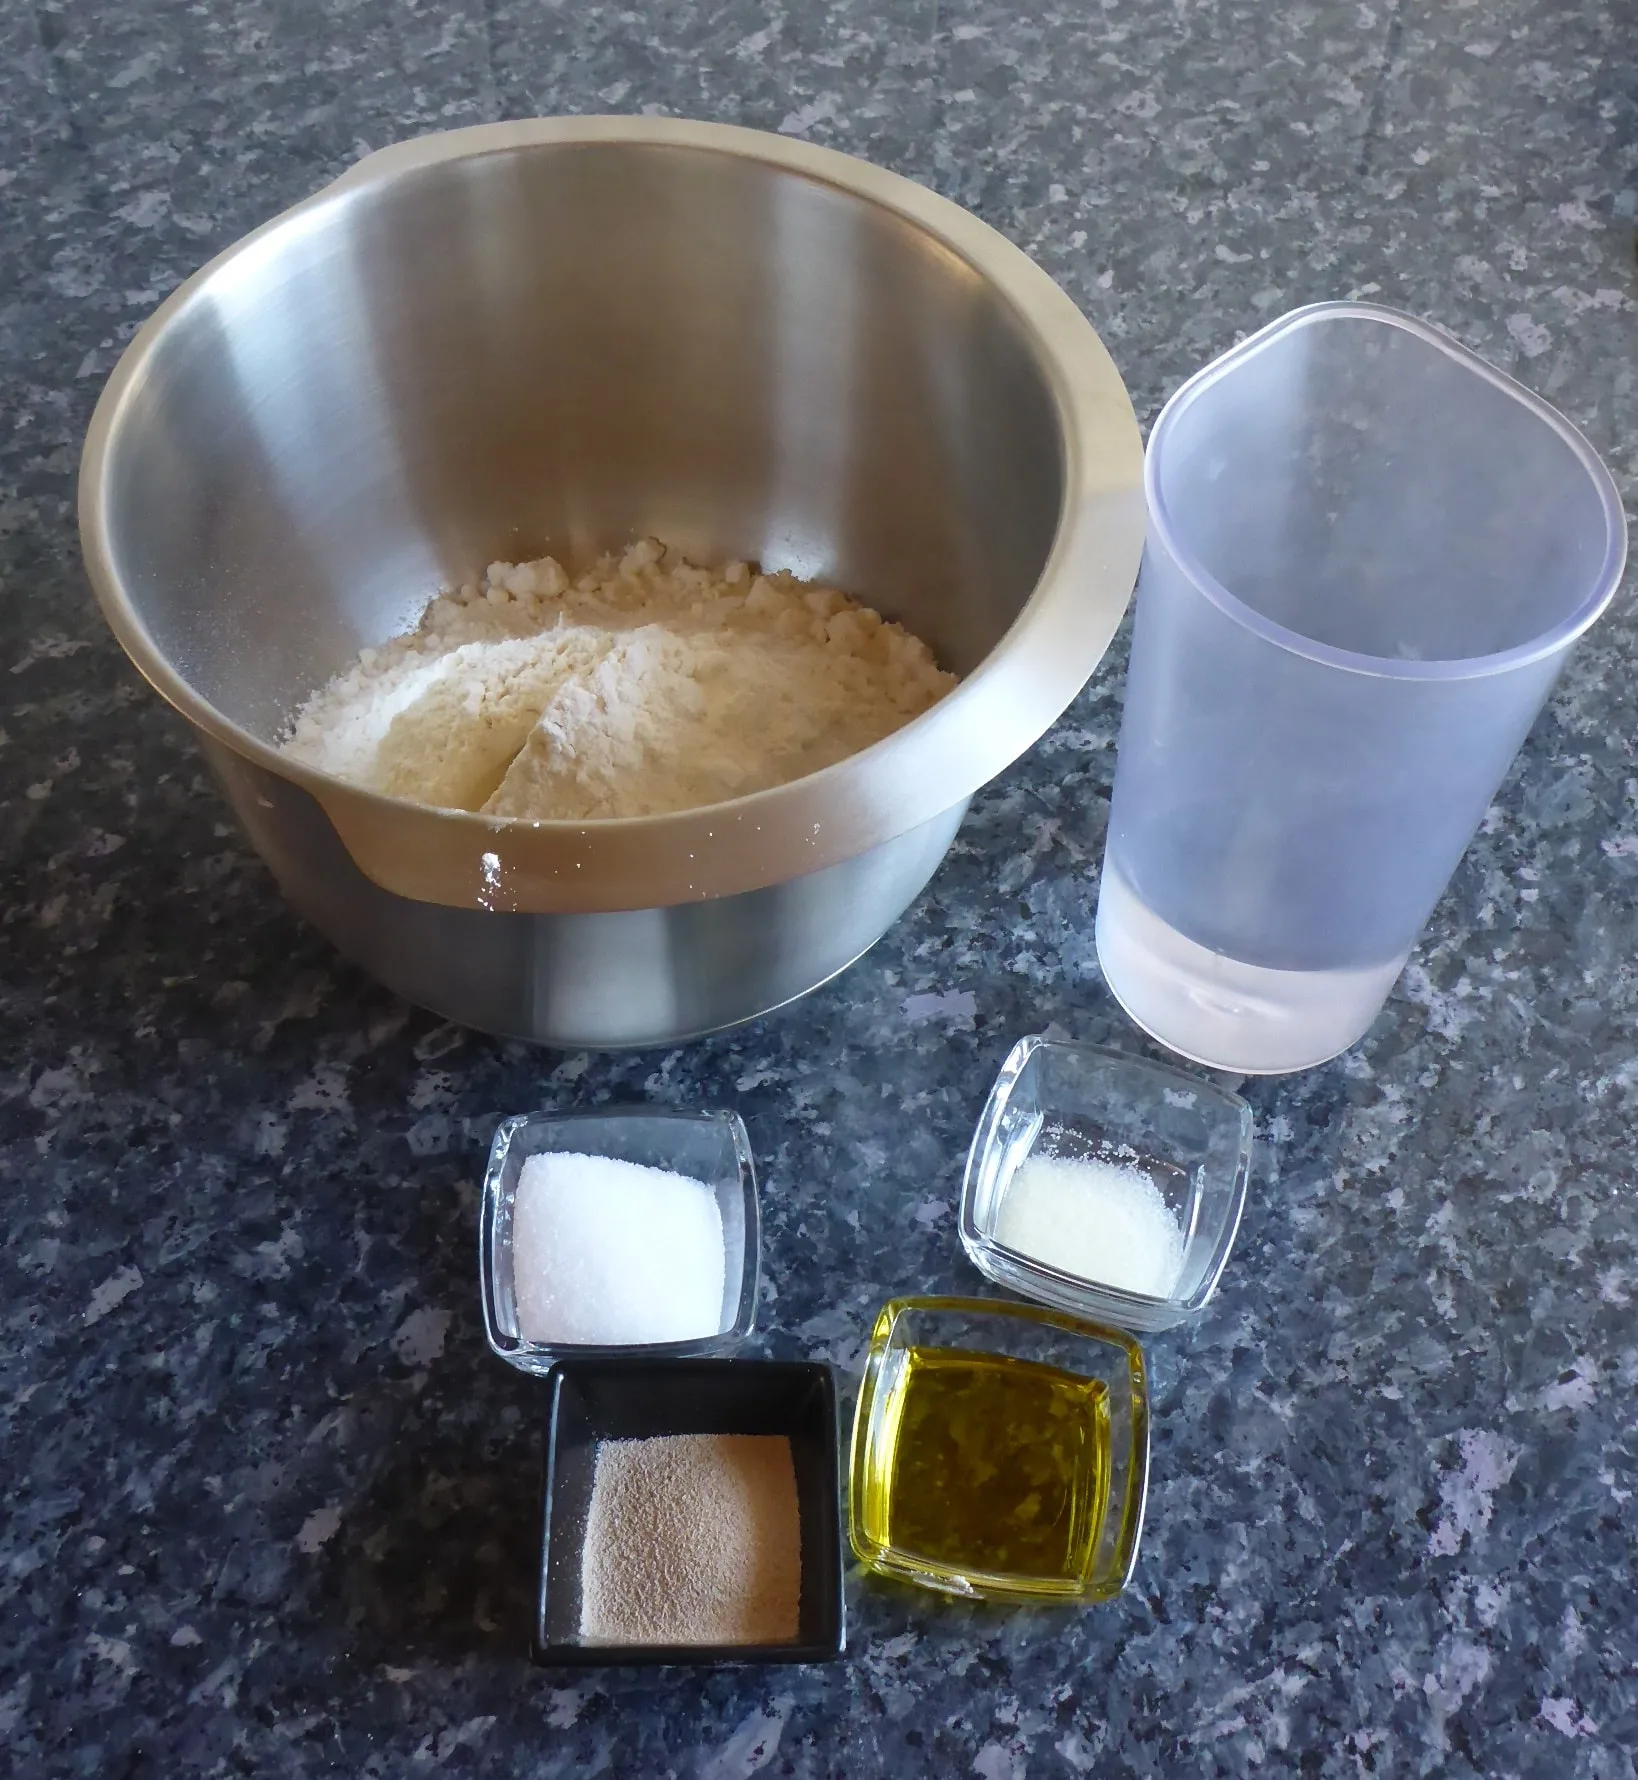
For the yeast dough
- 430 g (15.2 oz/ about 3 3/4 cups) plain flour (all purpose flour) plus extra for dusting
- 1 tablespoon sugar
- 1 teaspoon salt
- 2 tablespoons olive oil
- 250 ml (8.5 fl.oz/ 1 cup) lukewarm water
- 2 ½ teaspoons dry yeast (1 package of dry yeast (7 g/ ¼ oz))
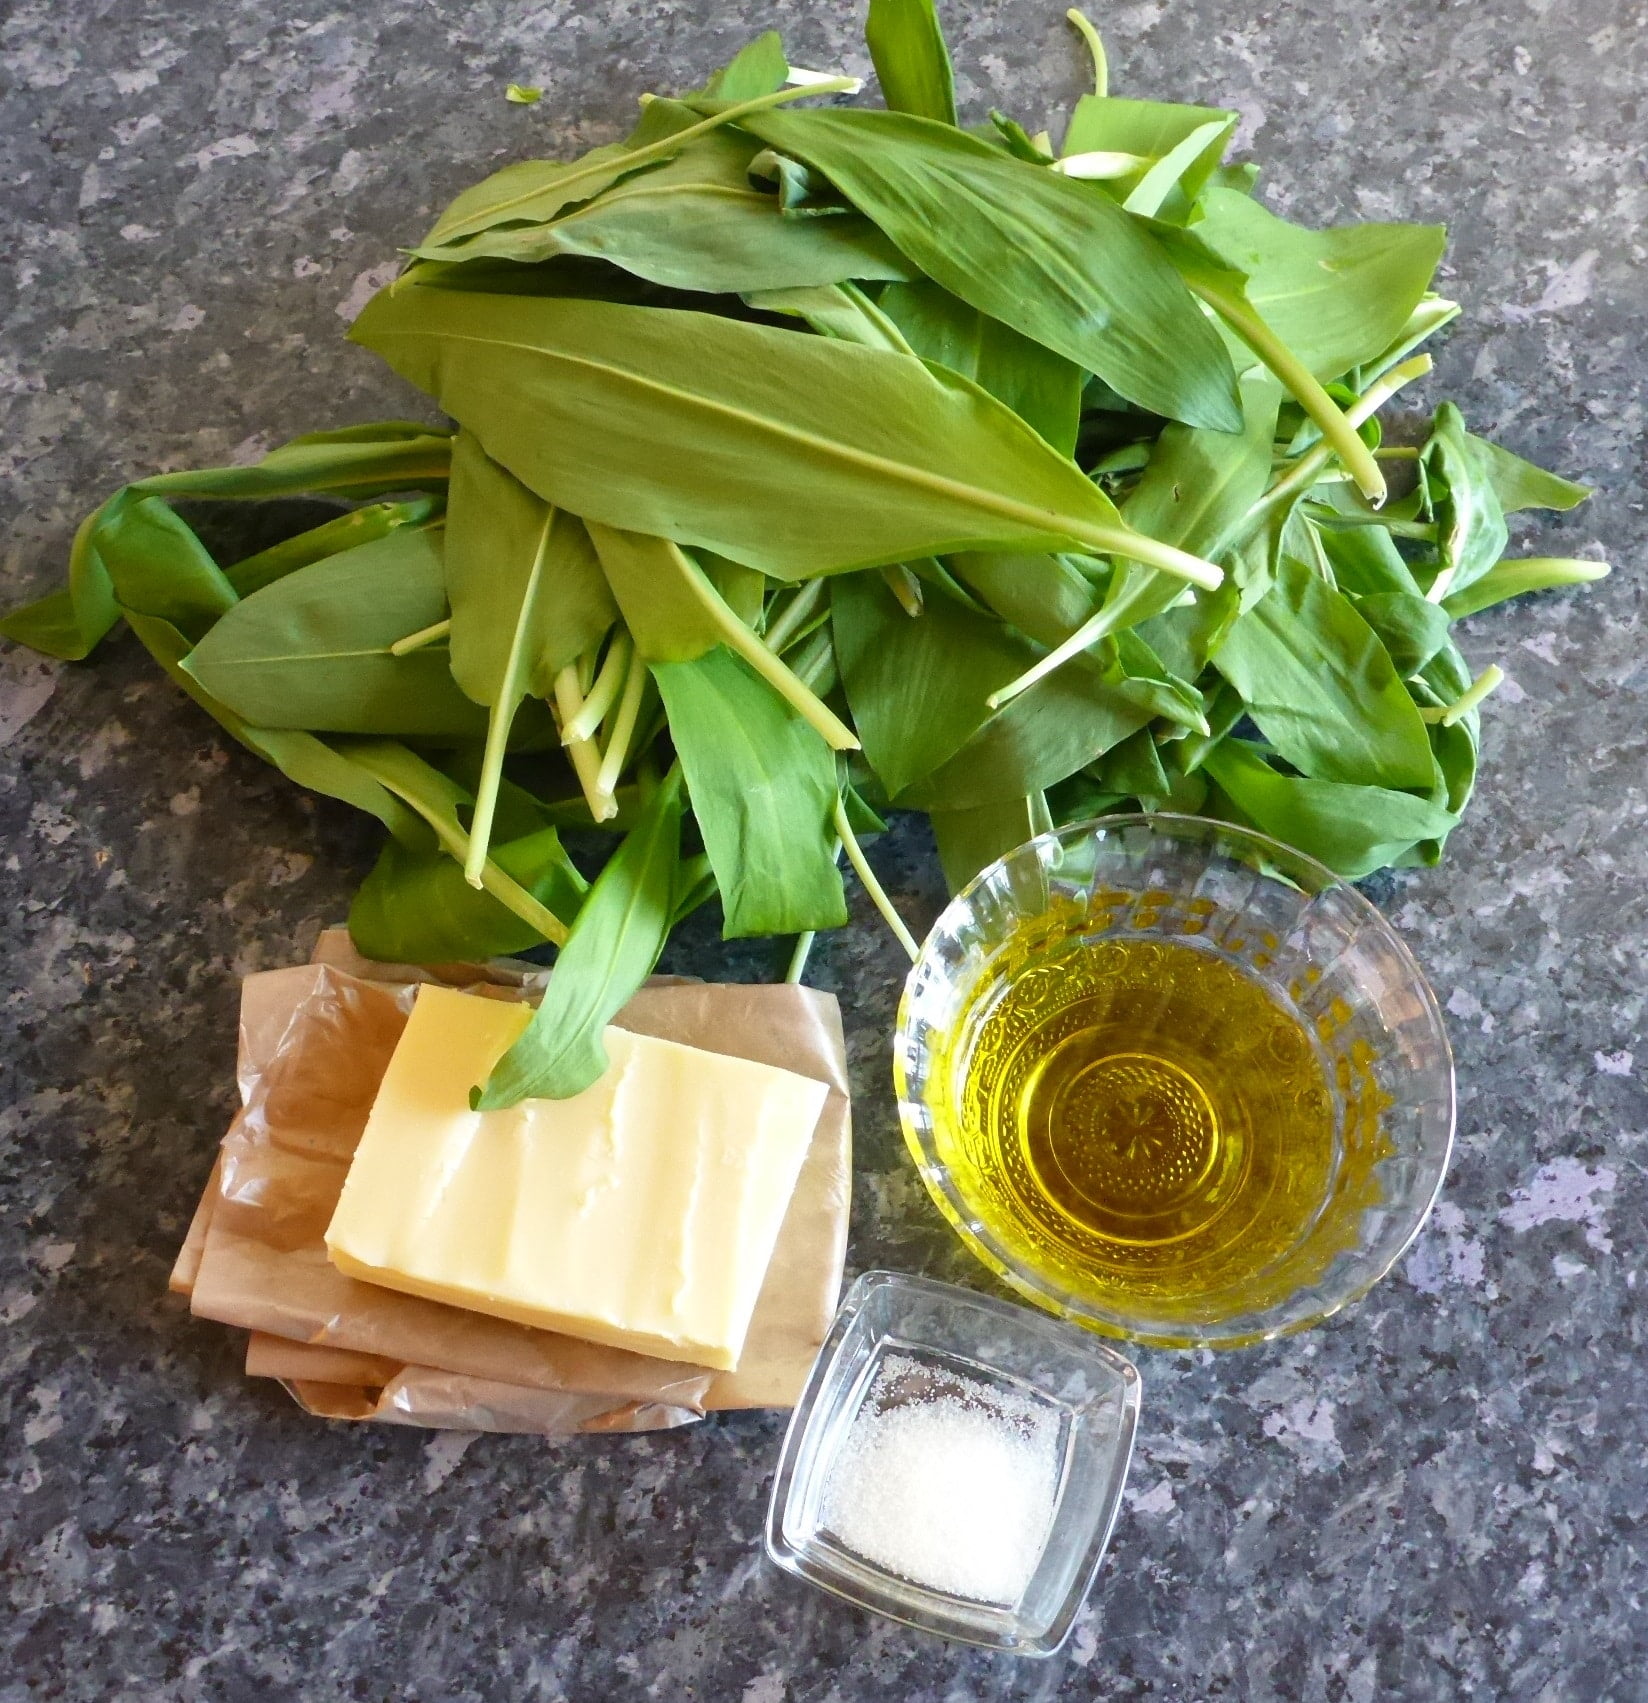
For wild garlic – cheese mixture
- 60 ml (2 fl.oz/ 1/4 cup) olive oil
- 150 g (about 5 ½ oz/ 1 ½ cup) mild cheese, grated
- 150 g (5 ½ oz) wild garlic
- ½ teaspoon salt
How to make wild garlic cheese bread
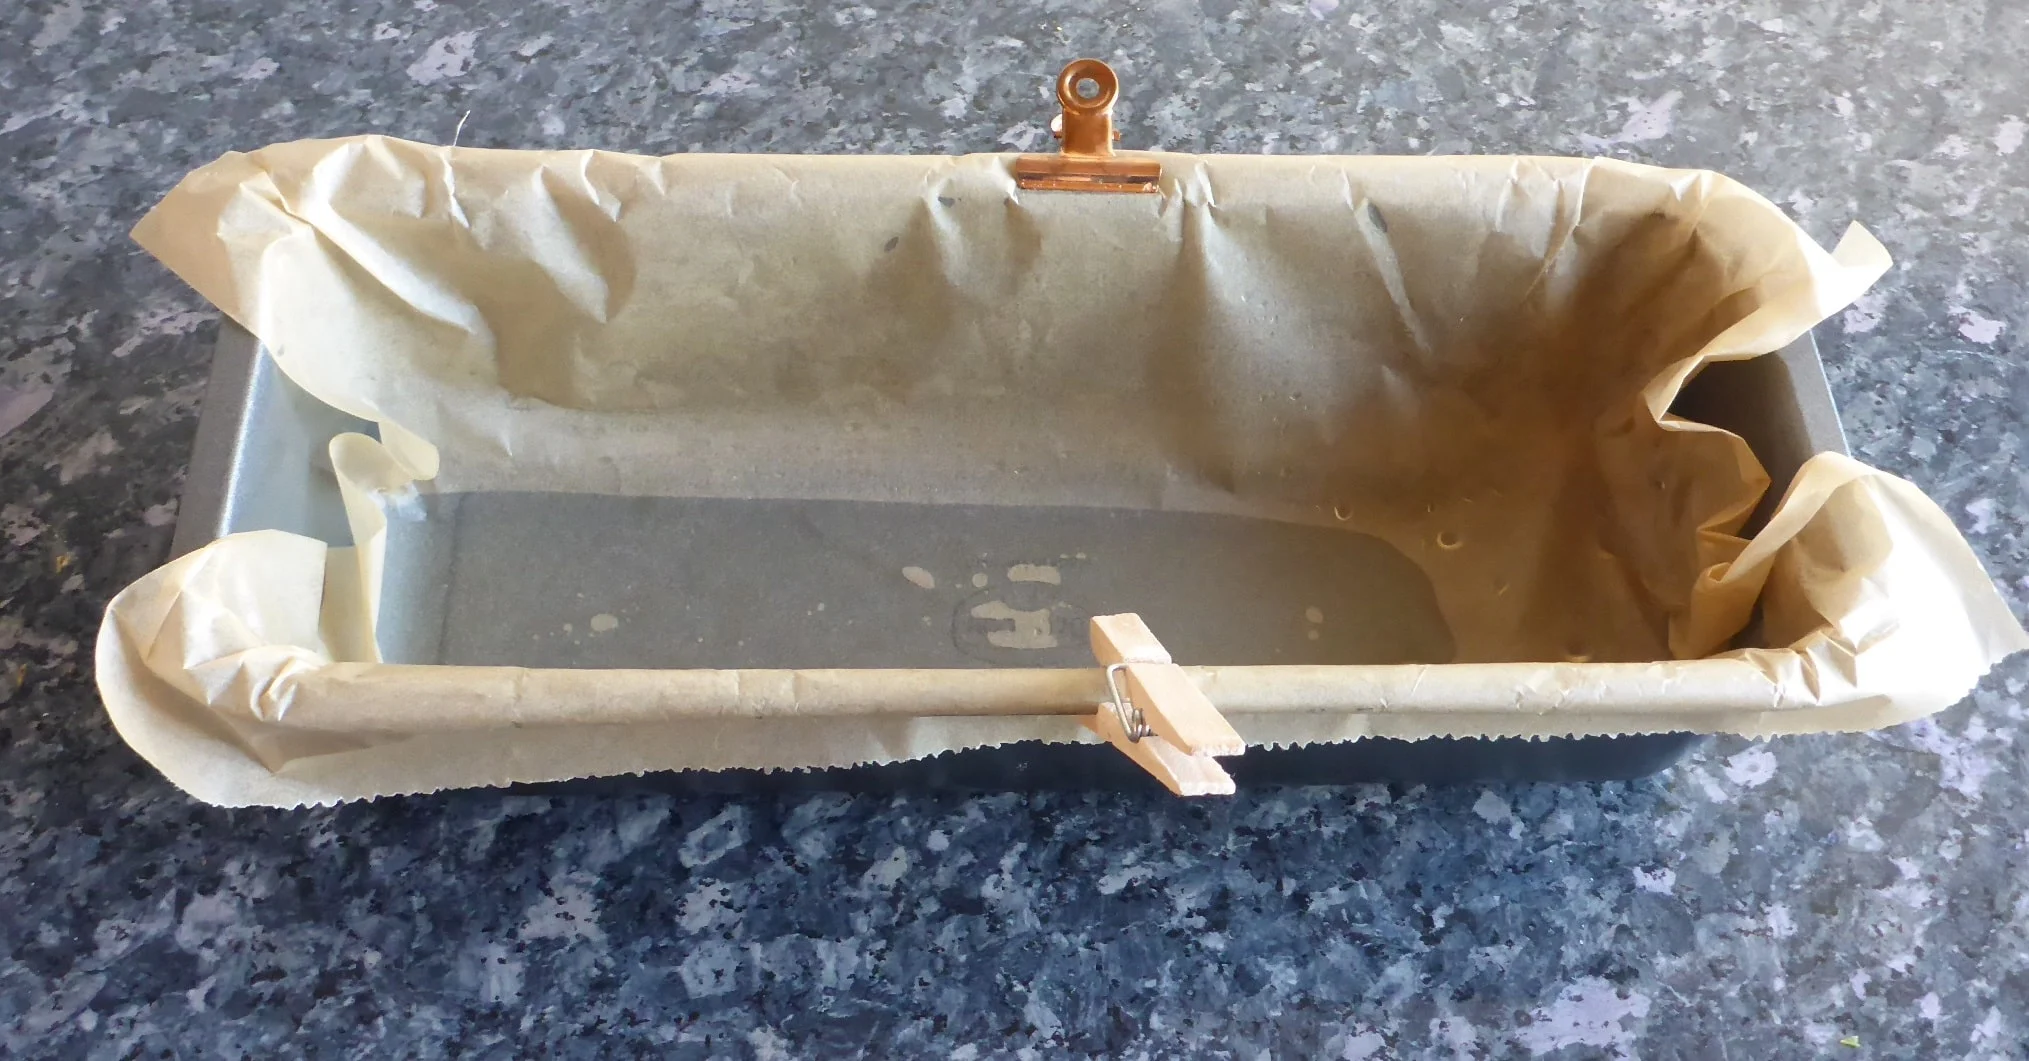
Start off by greasing and lining a 30 cm (11.8 inch) loaf tin with parchment paper.
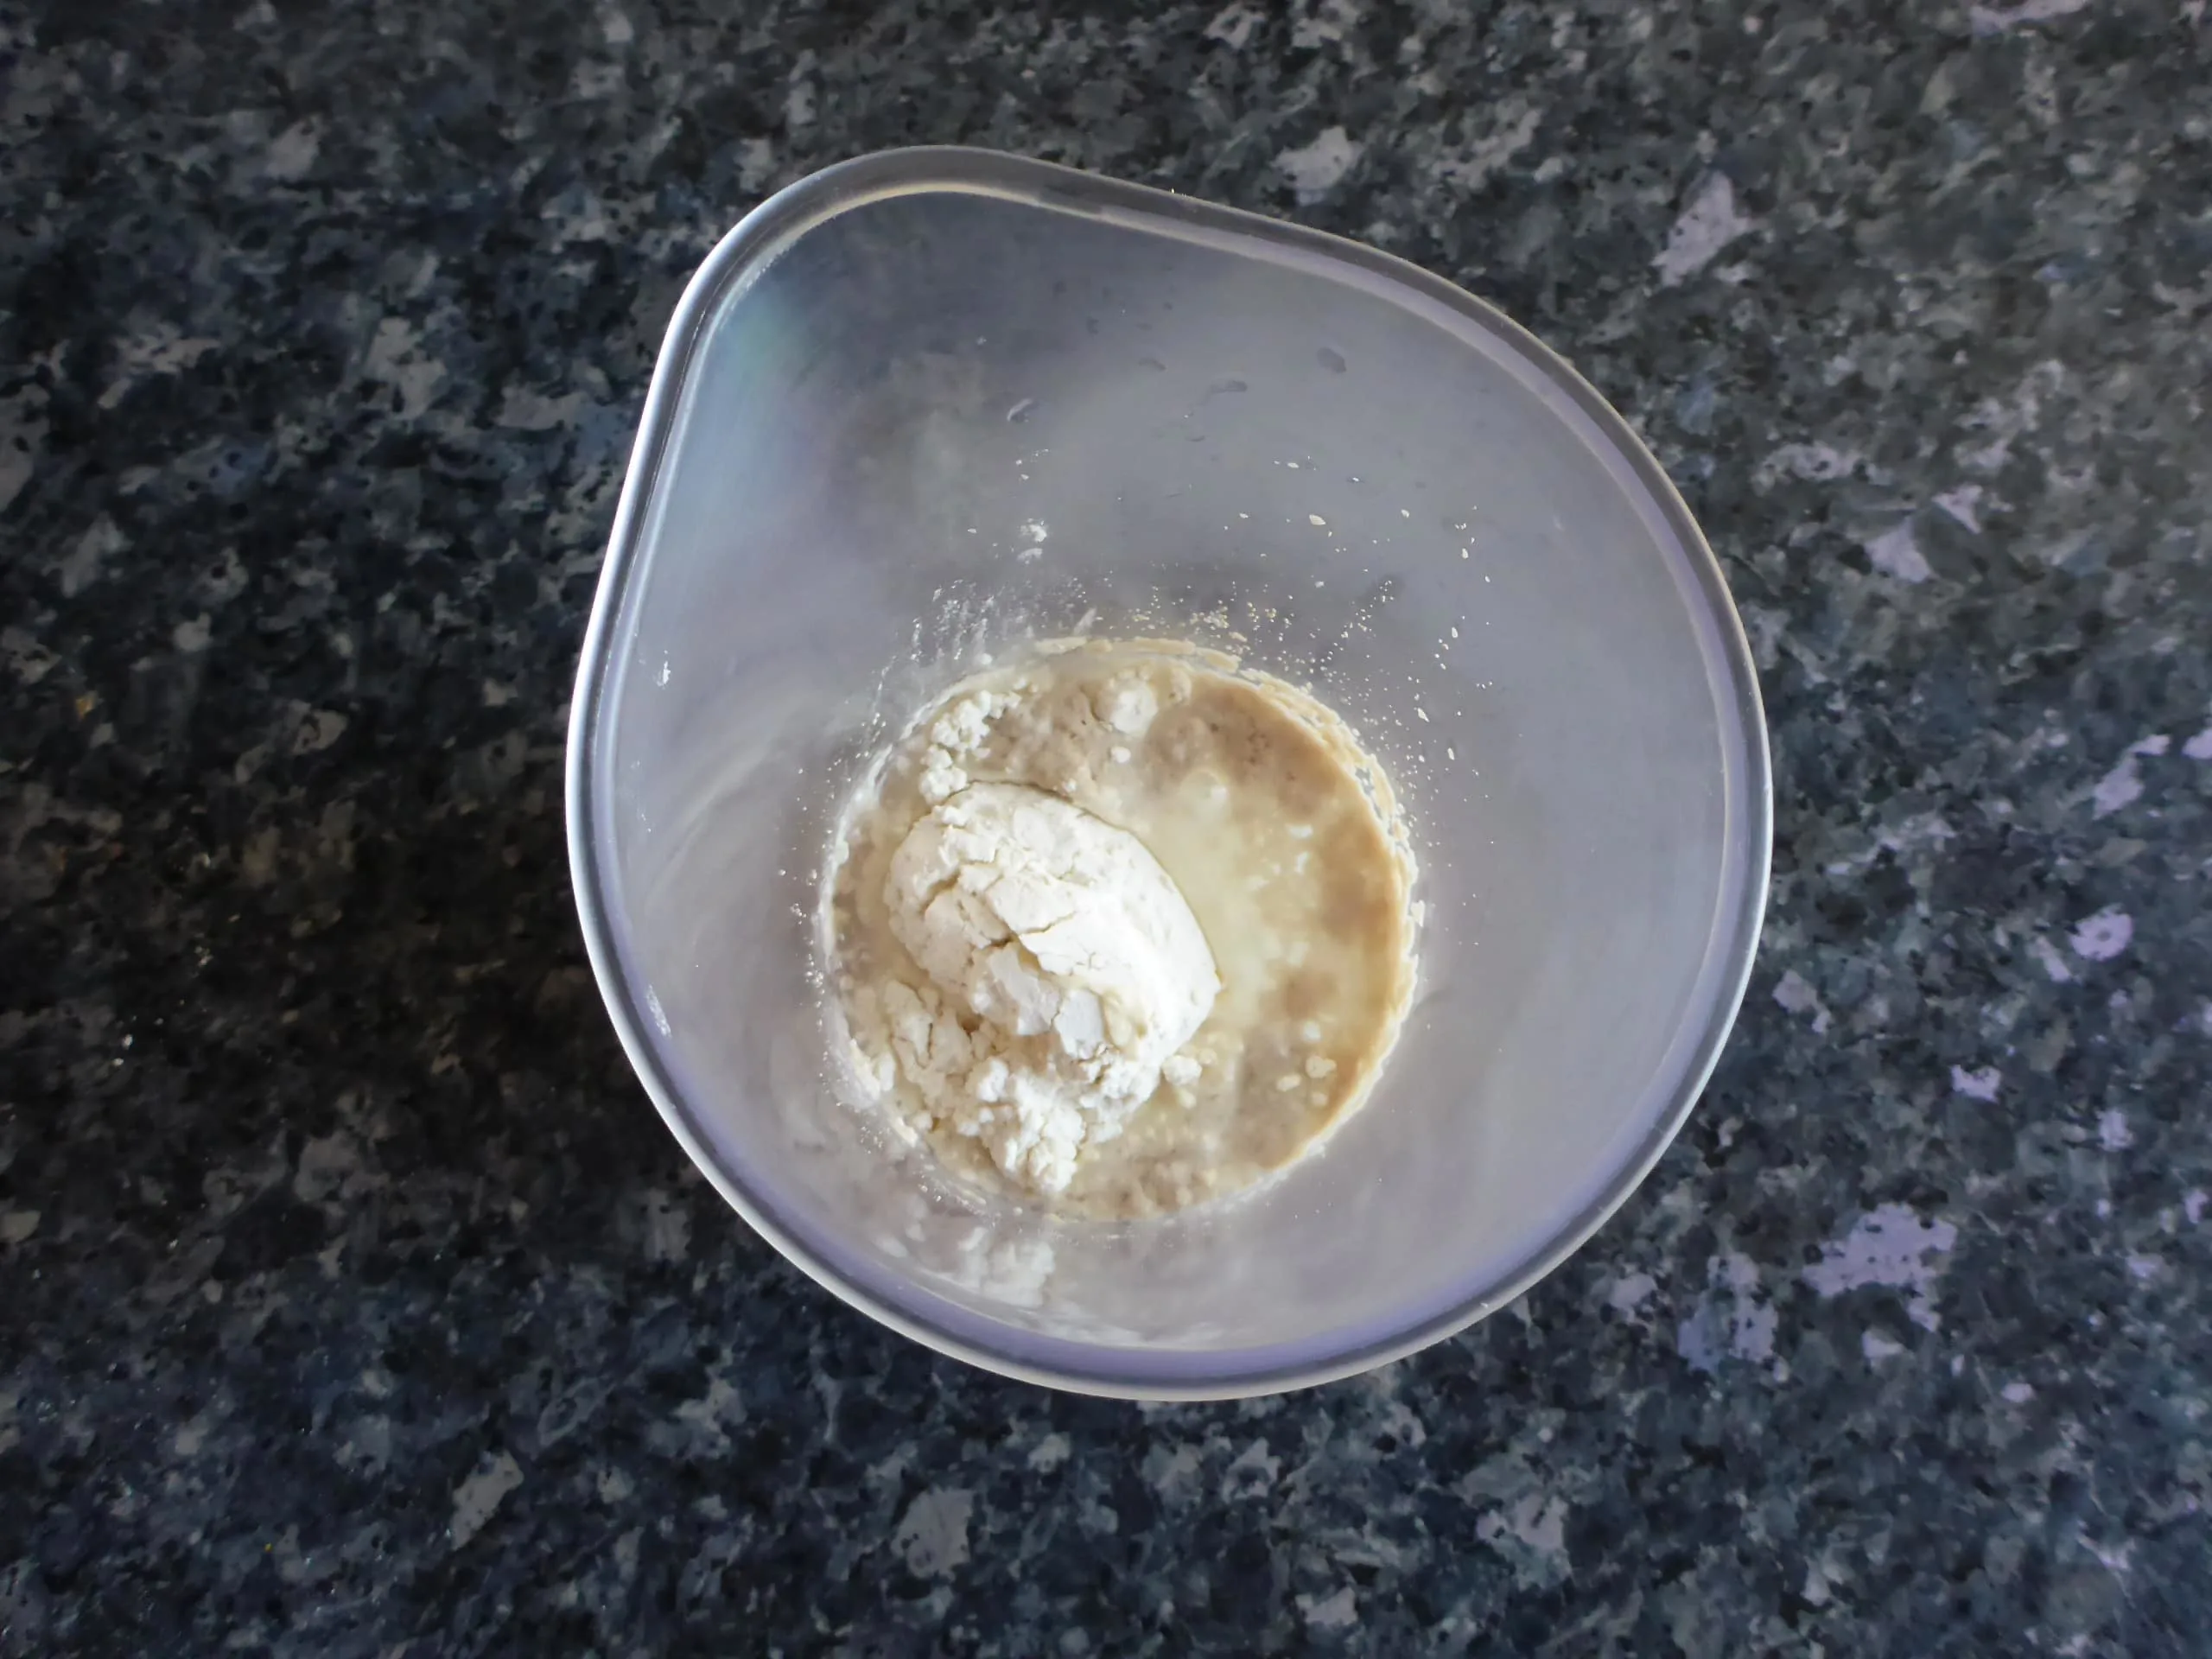
To make the yeast dough, add 2 tablespoons flour (from 430 g (15.2 oz/ approx: 3 3/4 cups)), yeast, sugar to the jar with lukewarm water. Using a spoon stir well and let the mixture stand for 10 minutes.
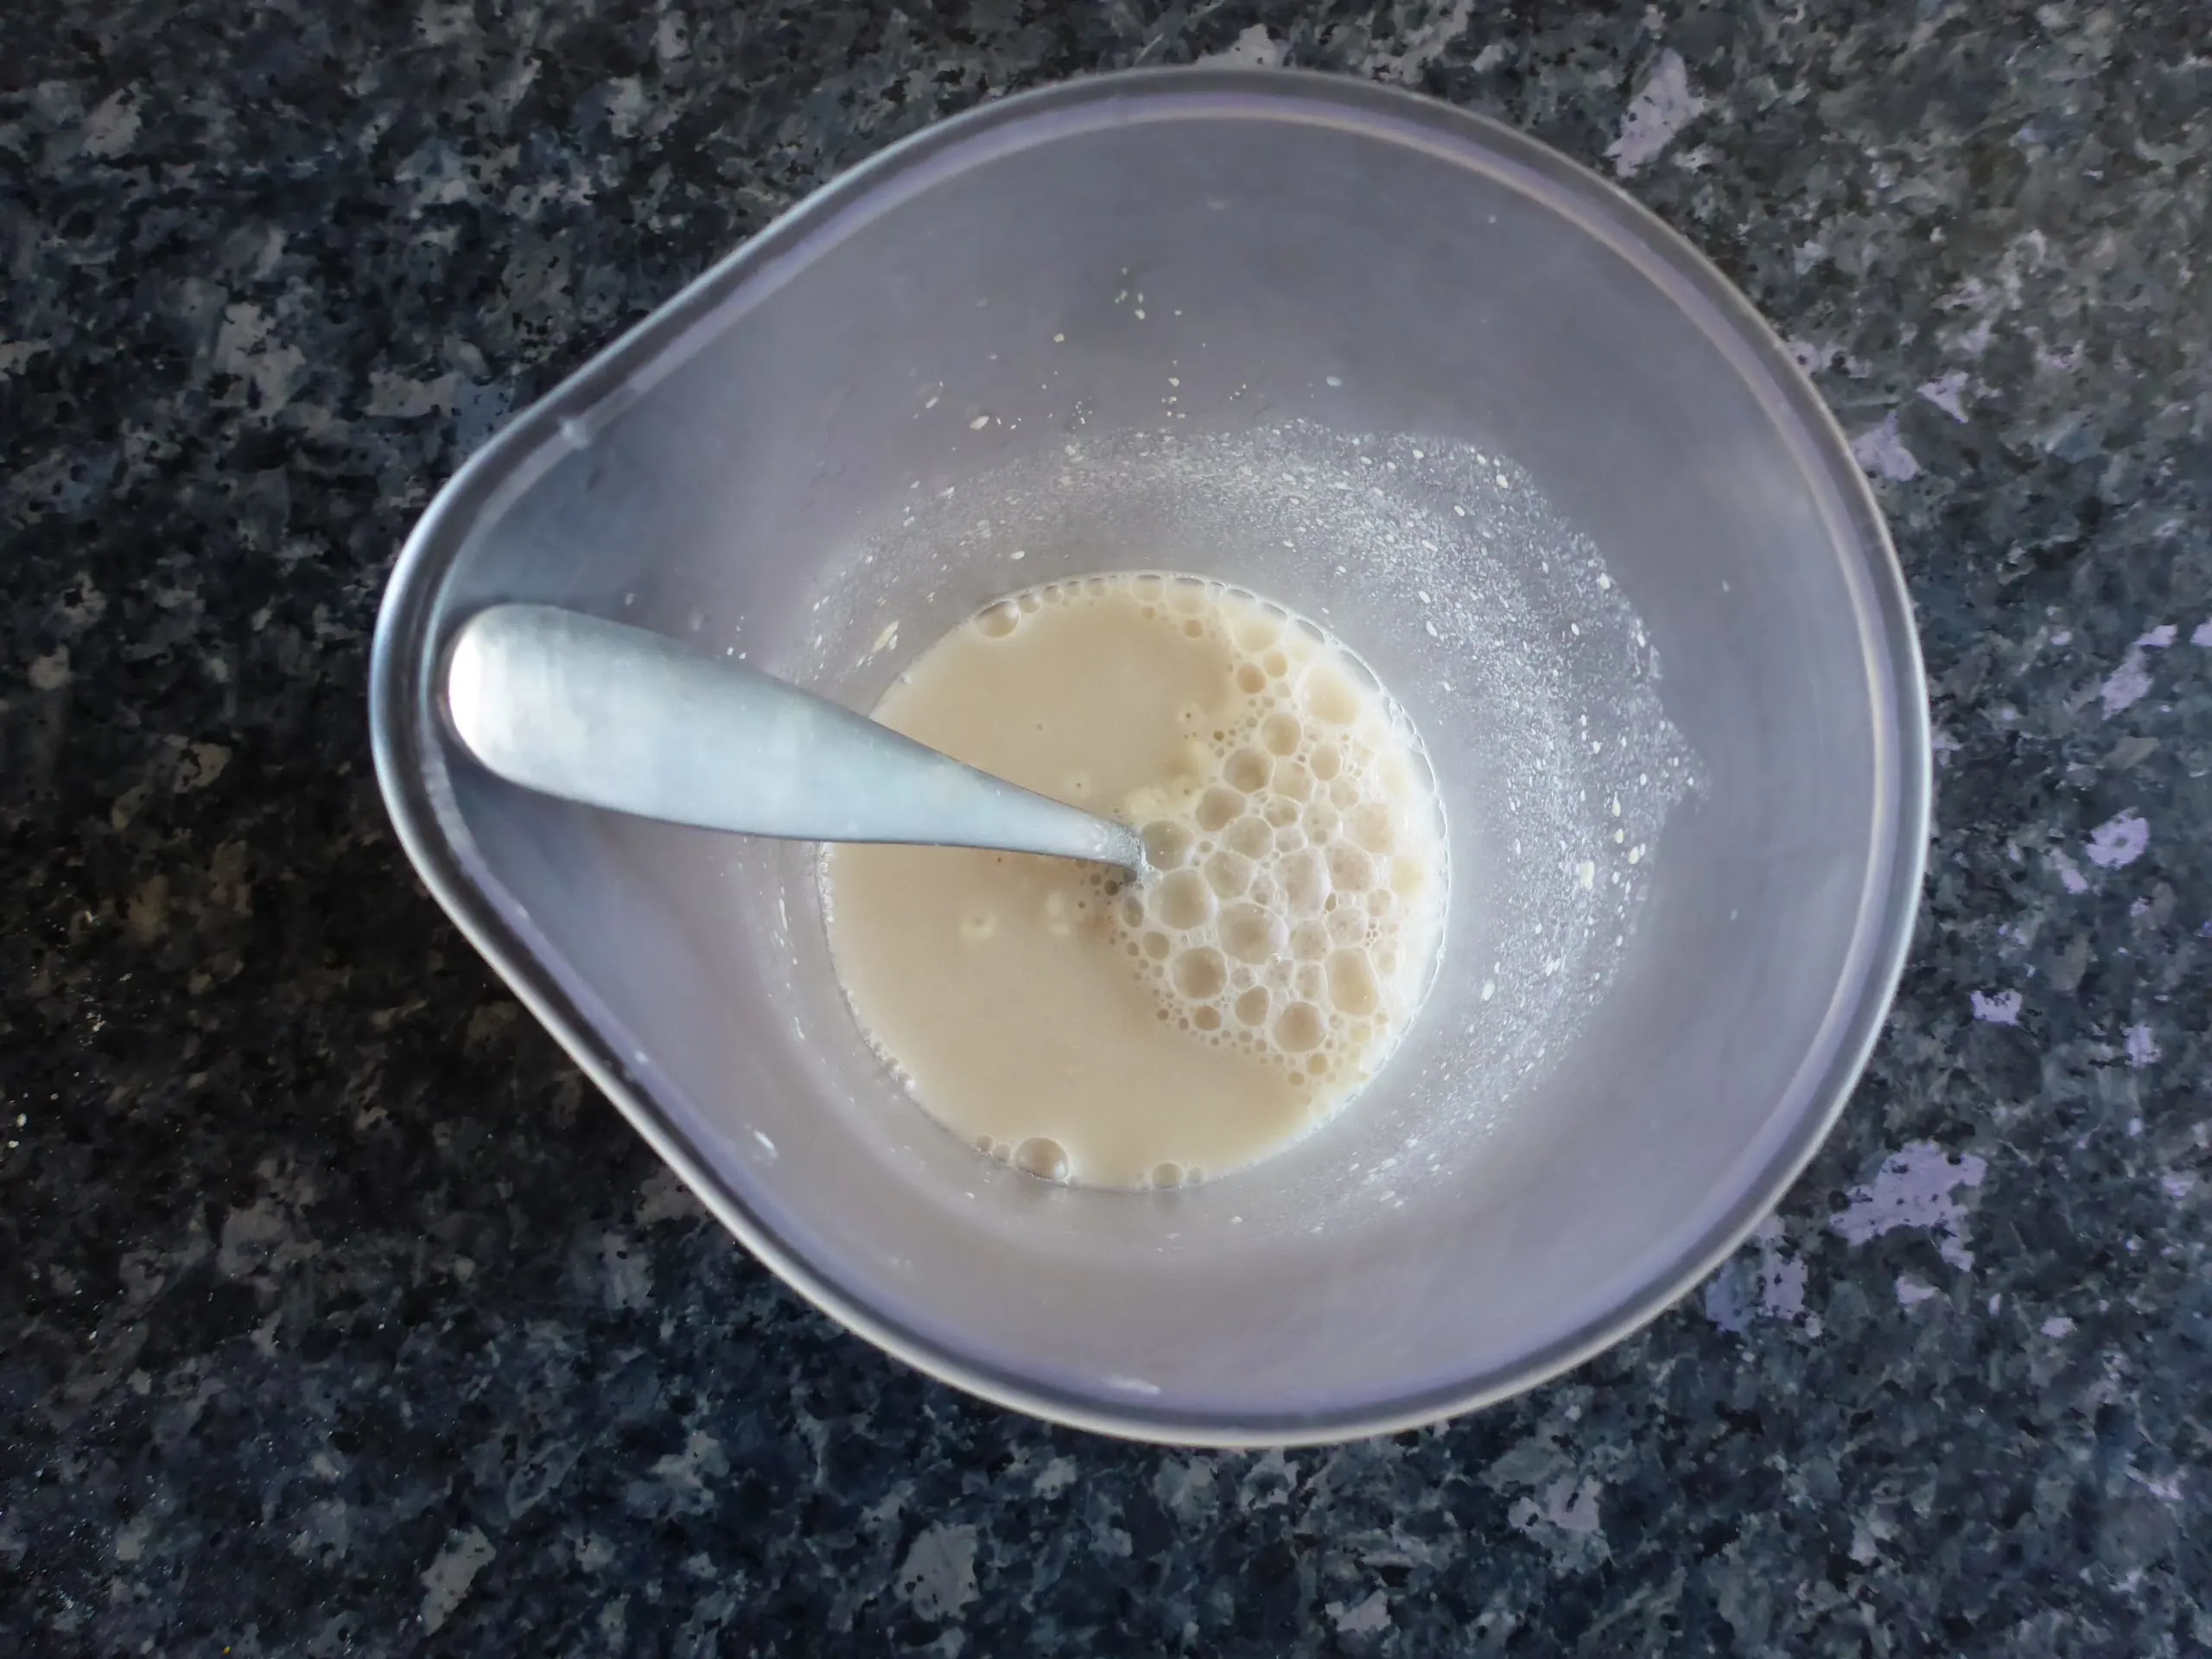
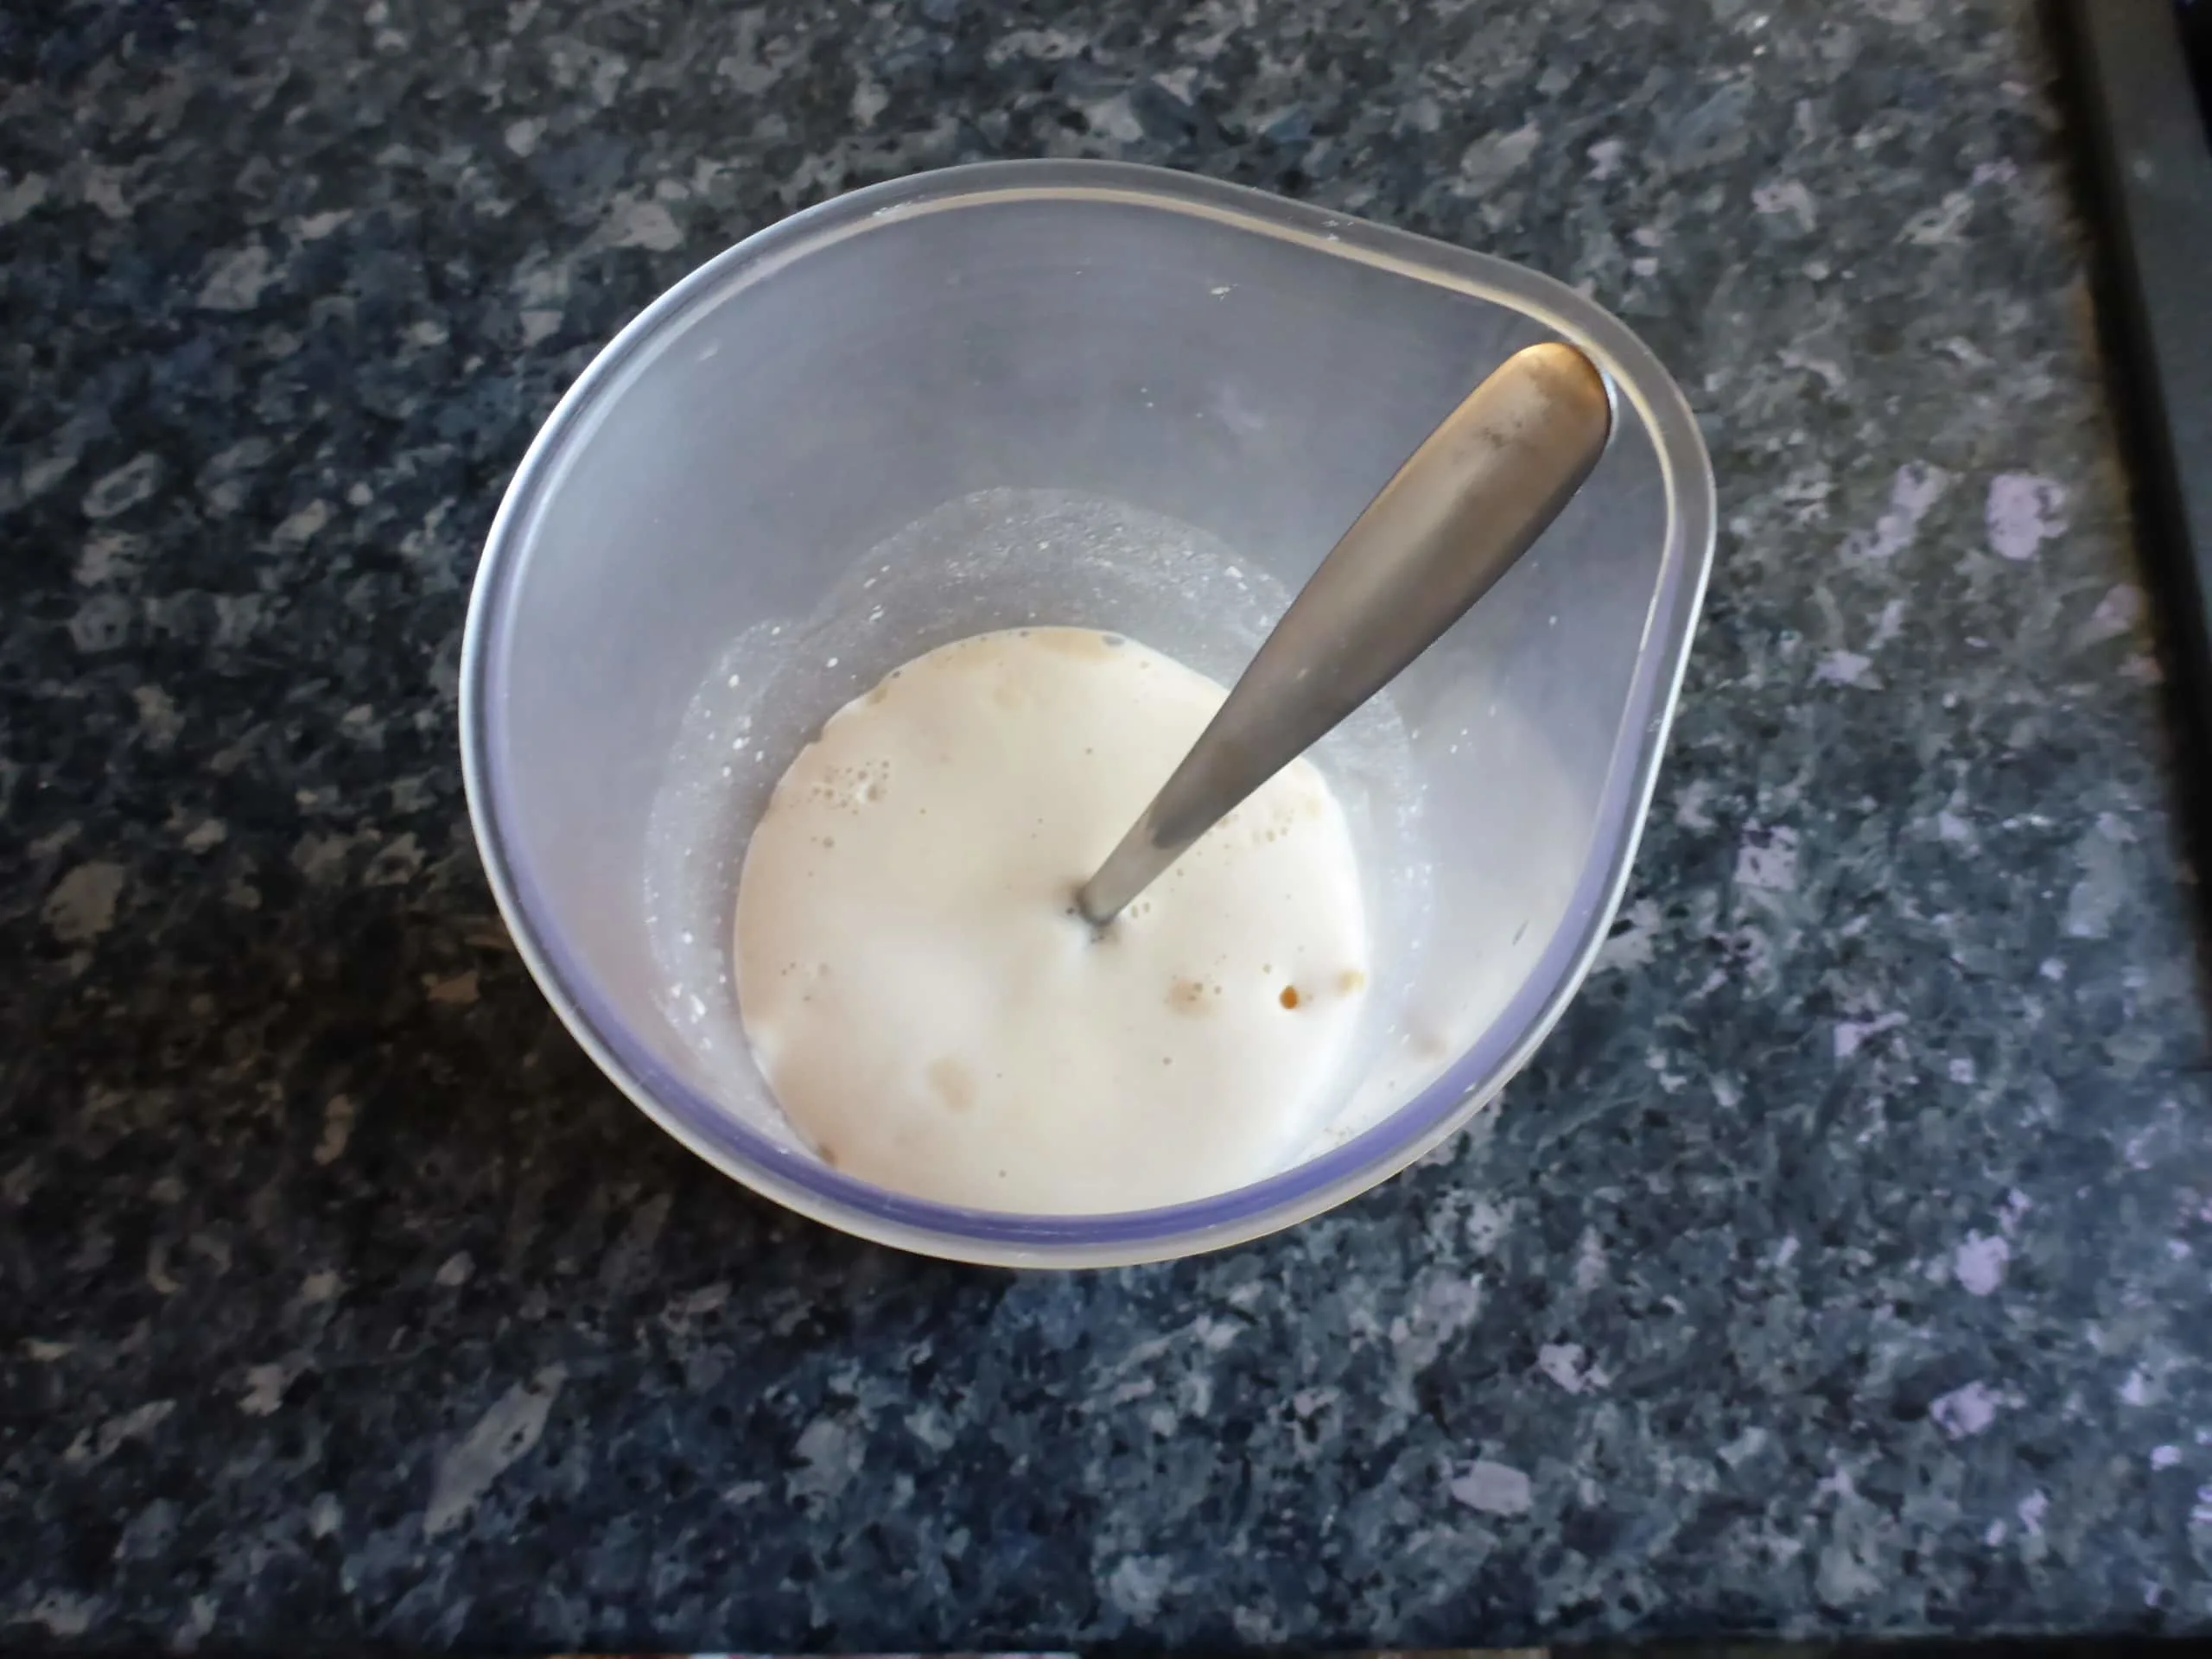
Meanwhile mix the remaining flour, salt and olive oil in a bowl until well combined. After 10 minutes, pour the yeast mixture to the flour – salt mixture.
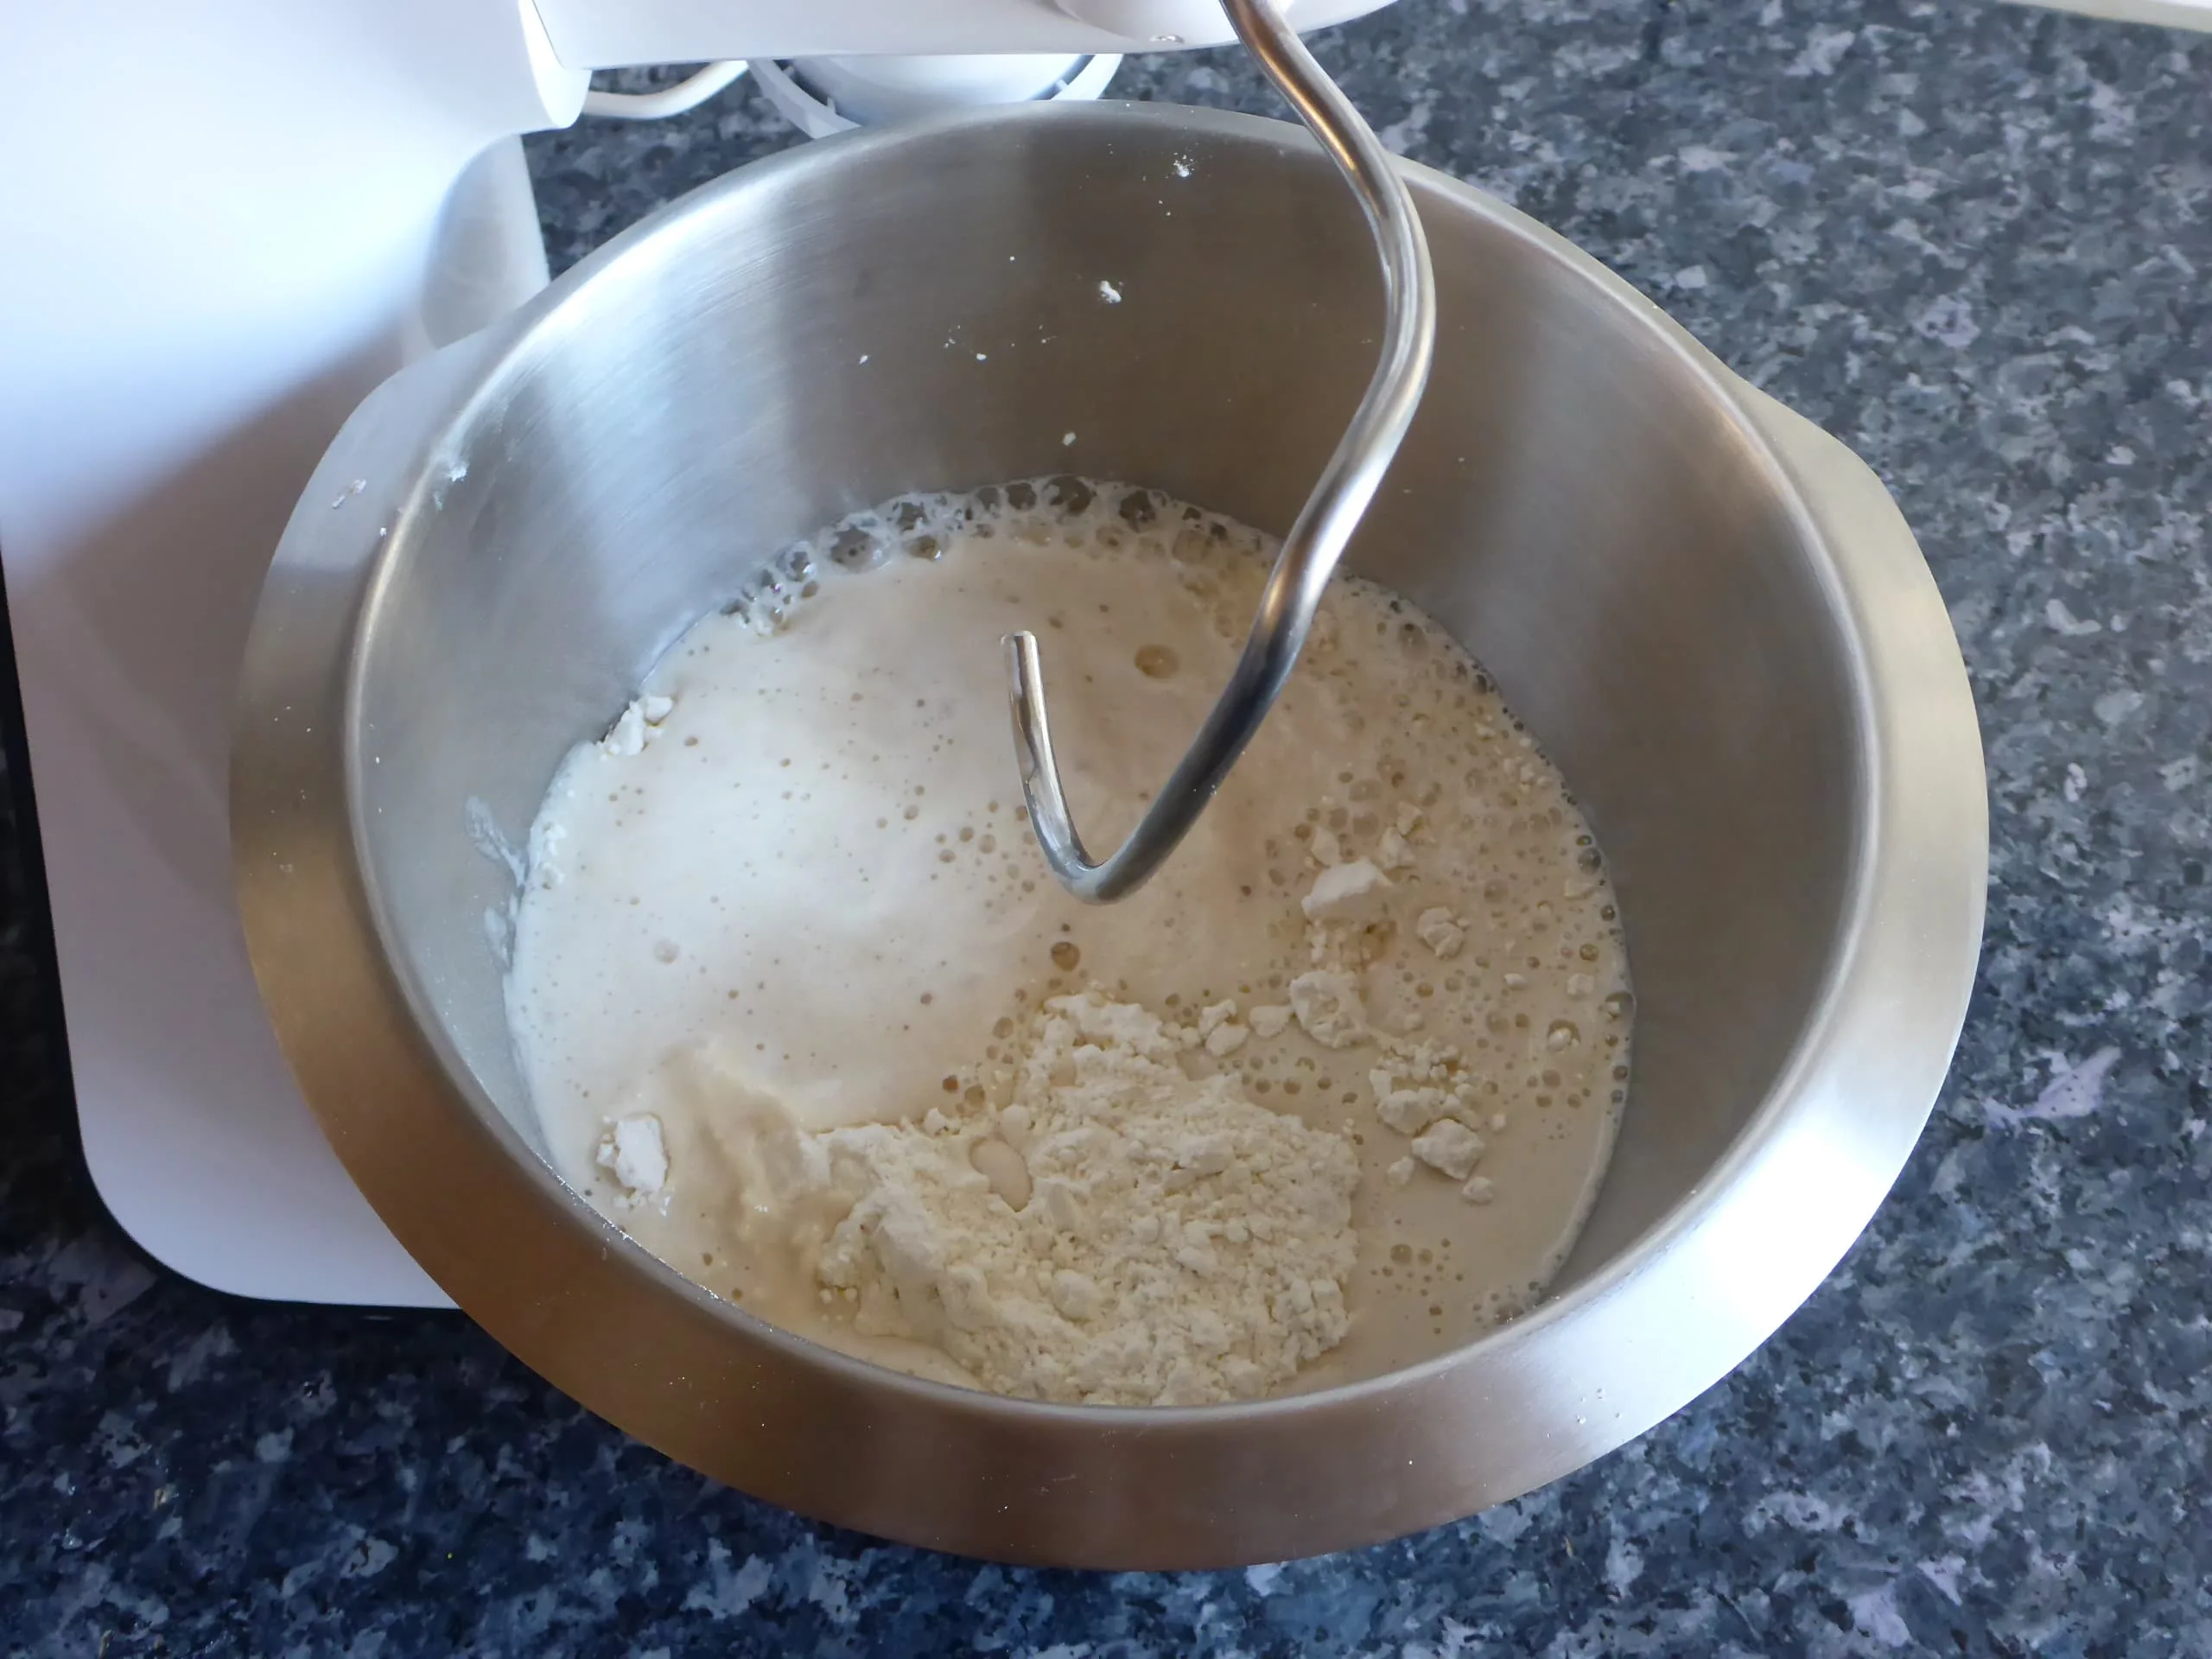
Knead the dough very well. I normally knead my dough like this:
- If I’m kneading it with the hand mixer, I knead the dough for about 8 minutes at low speed and then for 5 minutes at medium high speed.
- With the kitchen machine, I knead the dough for 7 minutes at low speed and for 3 more minutes at medium high speed.
- With the hands, I knead the dough for 10 minutes. If the dough is too sticky when kneading with your hands, just oil your hands.
If you’re using a heavy duty kitchen machine, please knead your dough for maximum 7 minutes.
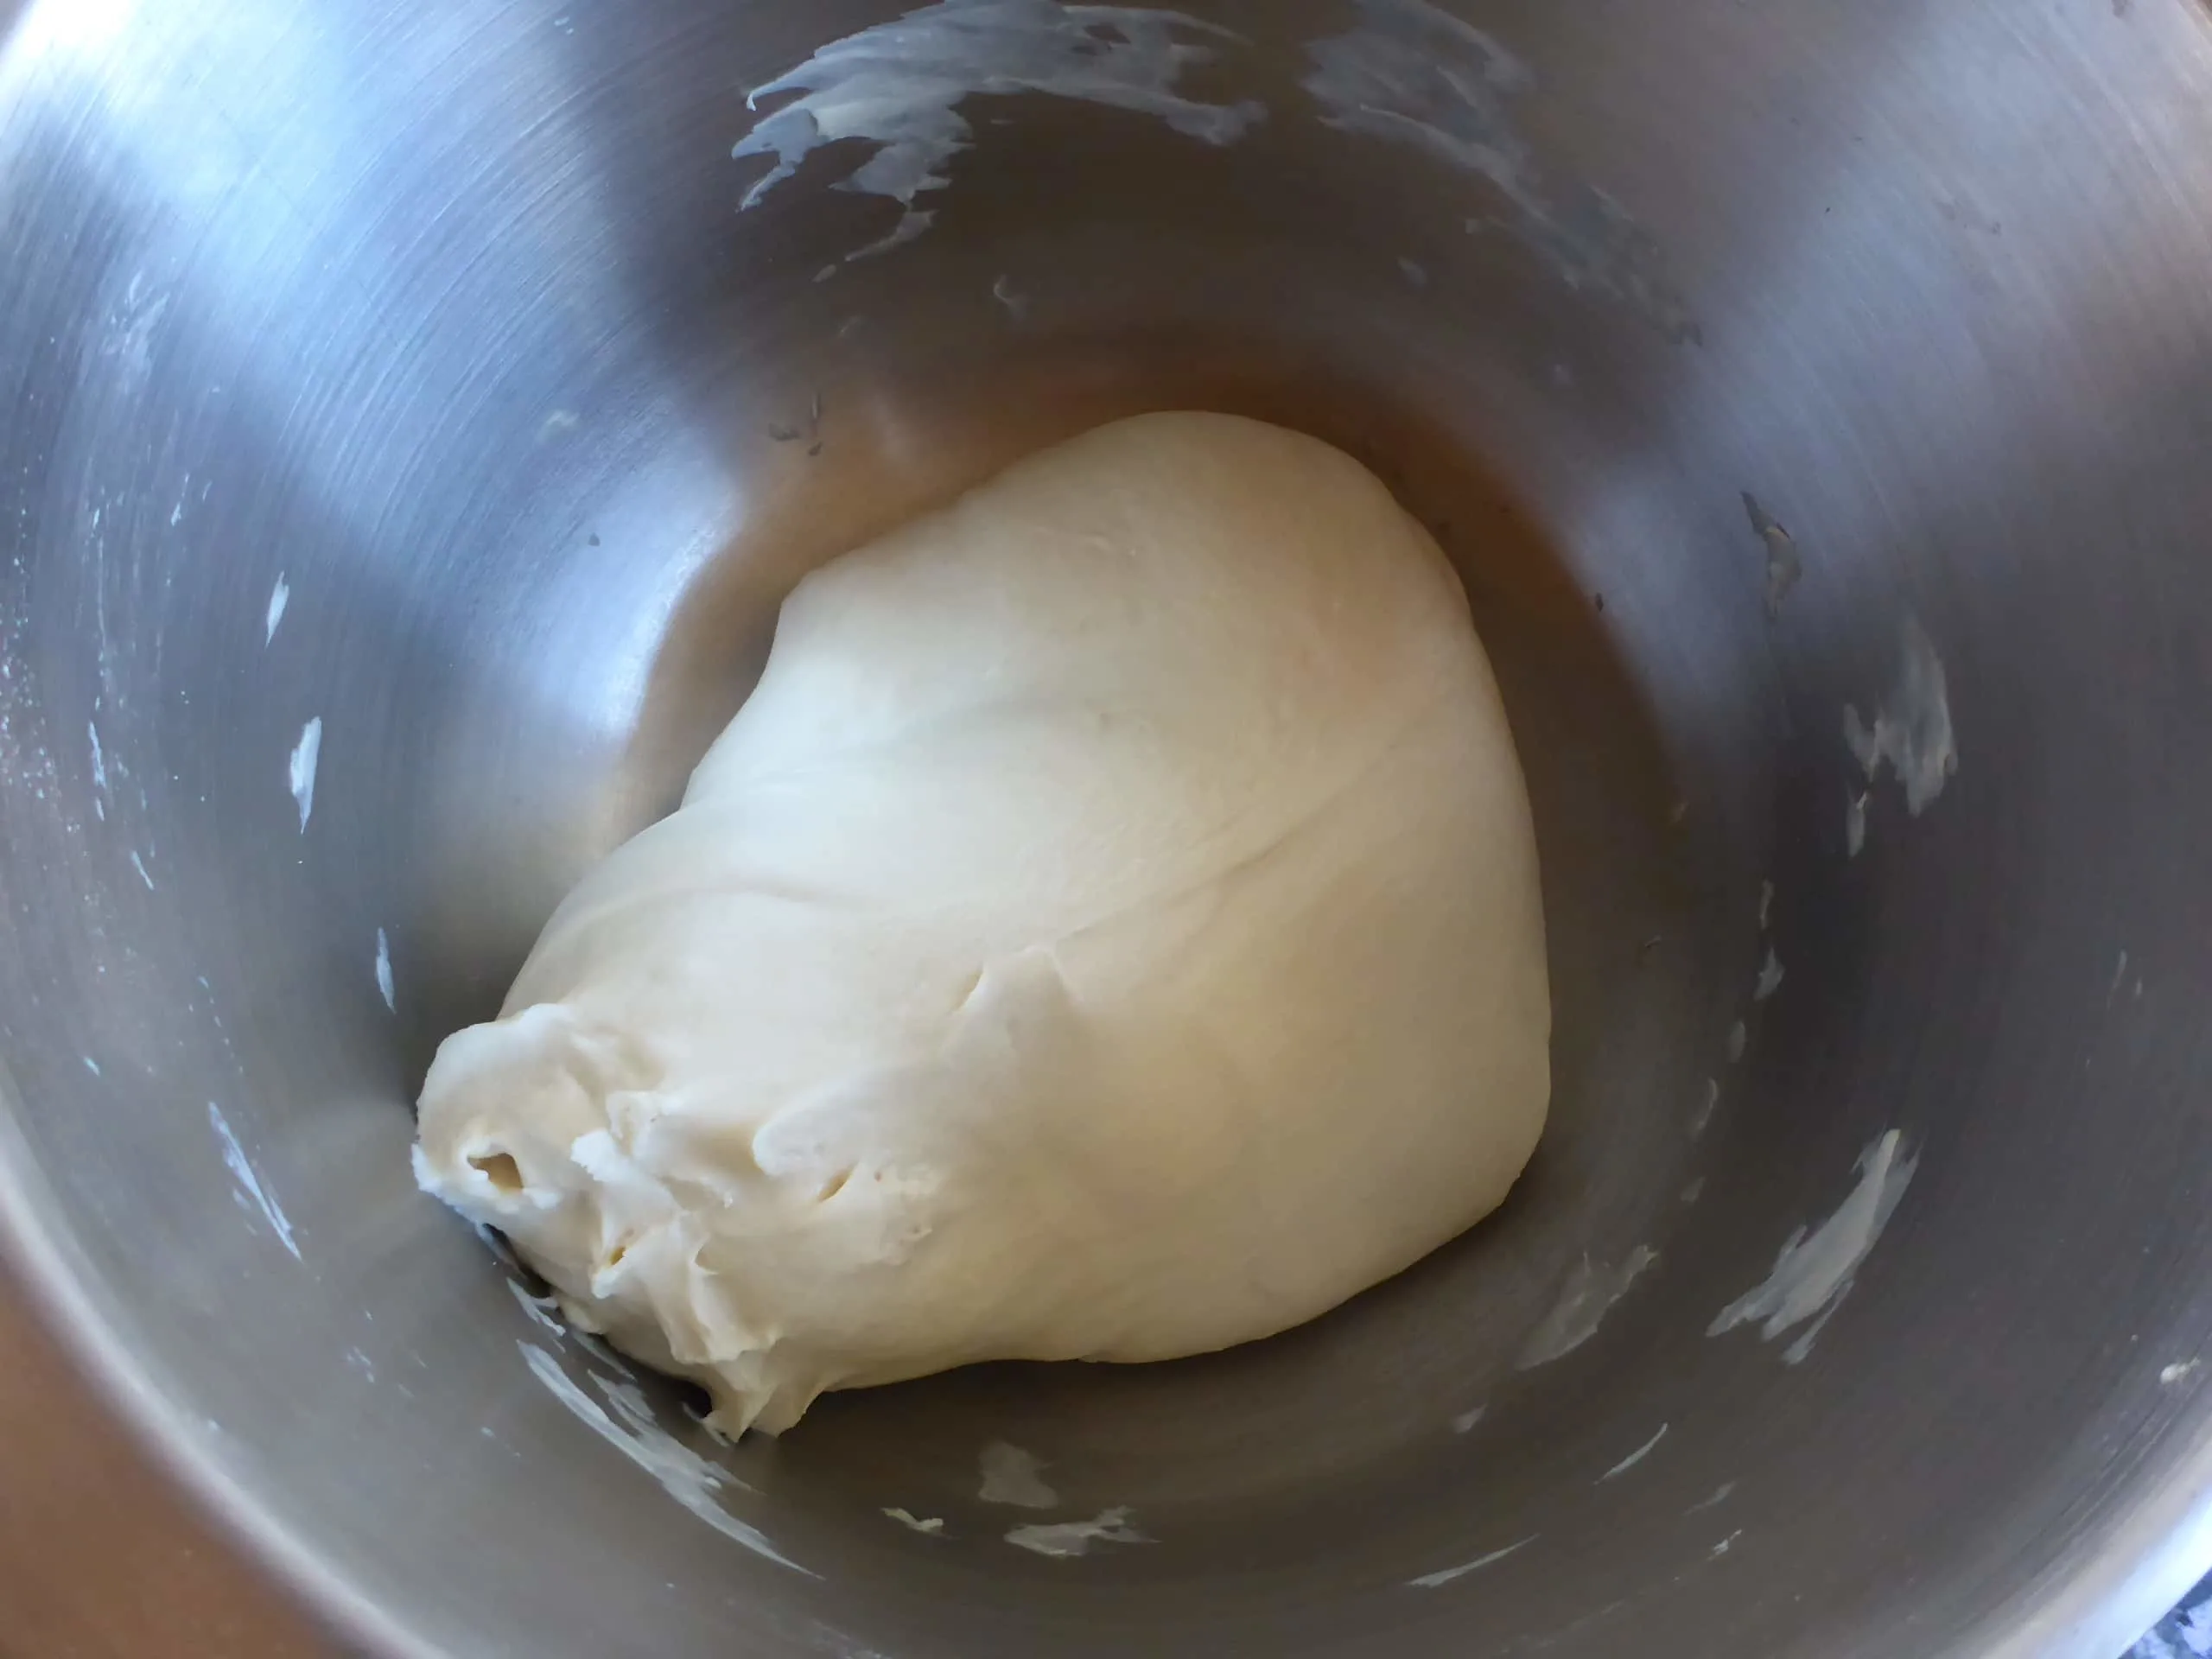
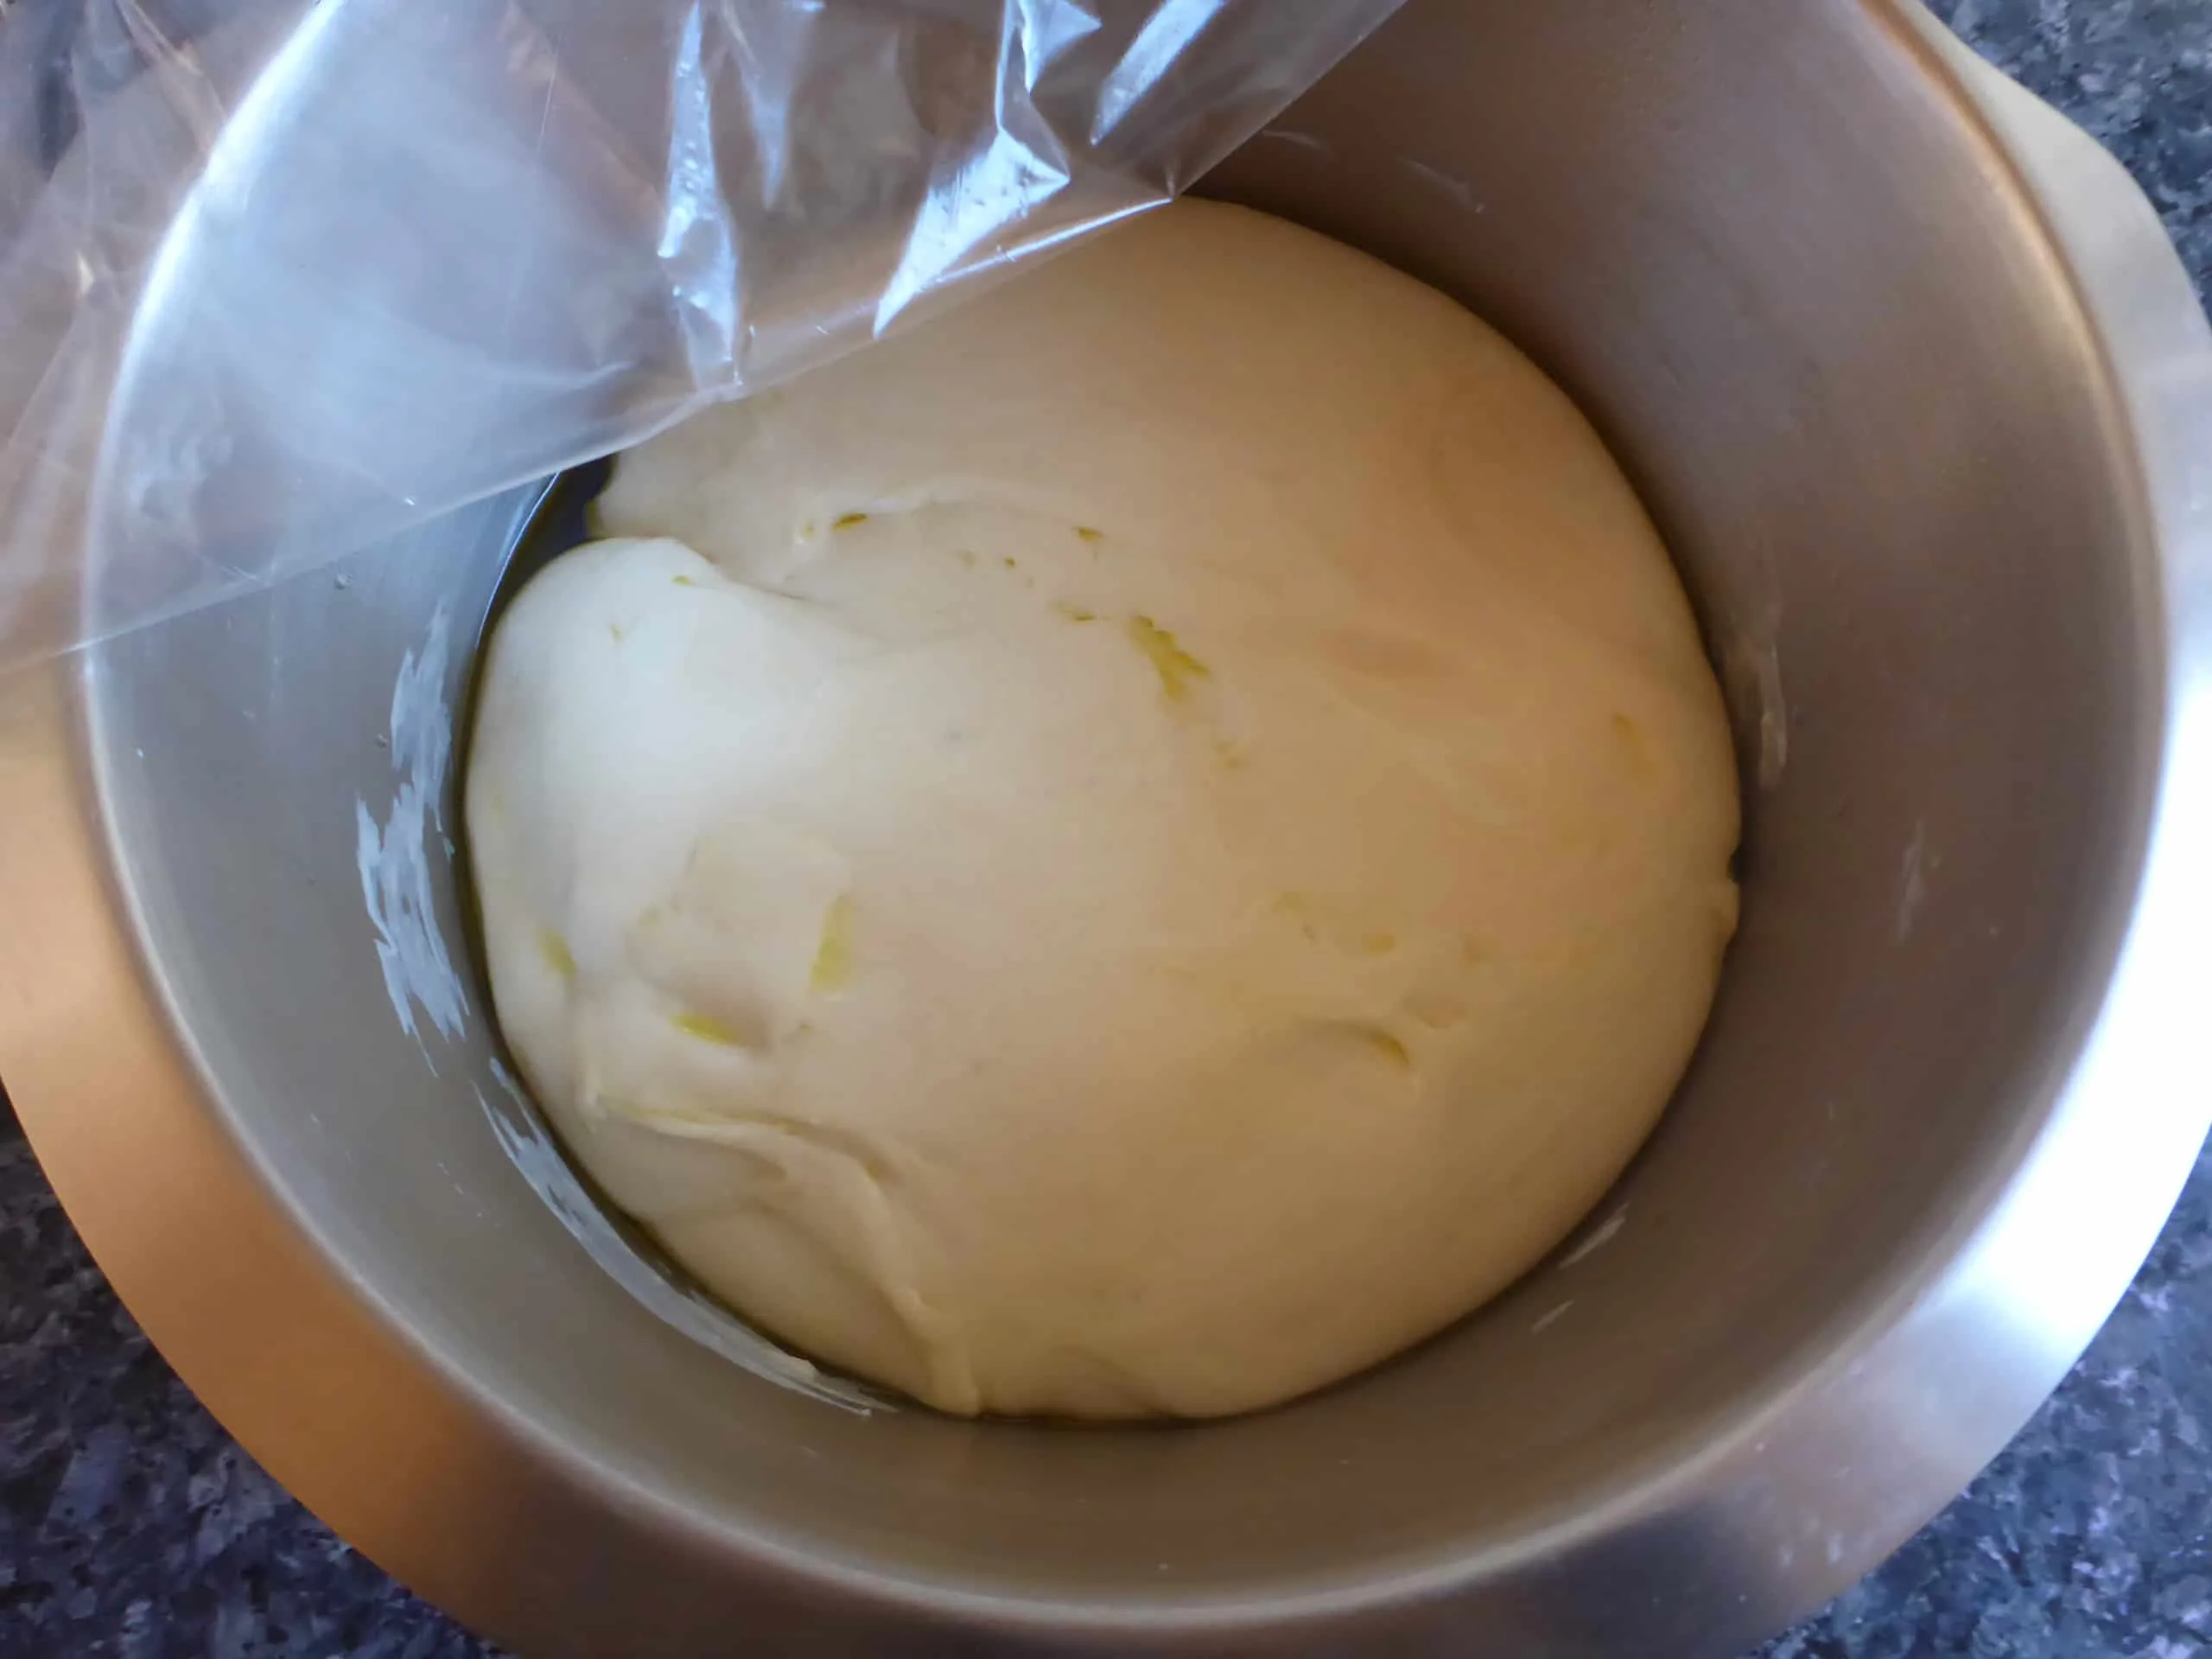
Remove the dough from the bowl, grease the bowl and put it back. Pour few drops of oil on the dough, so that it will not dry out.
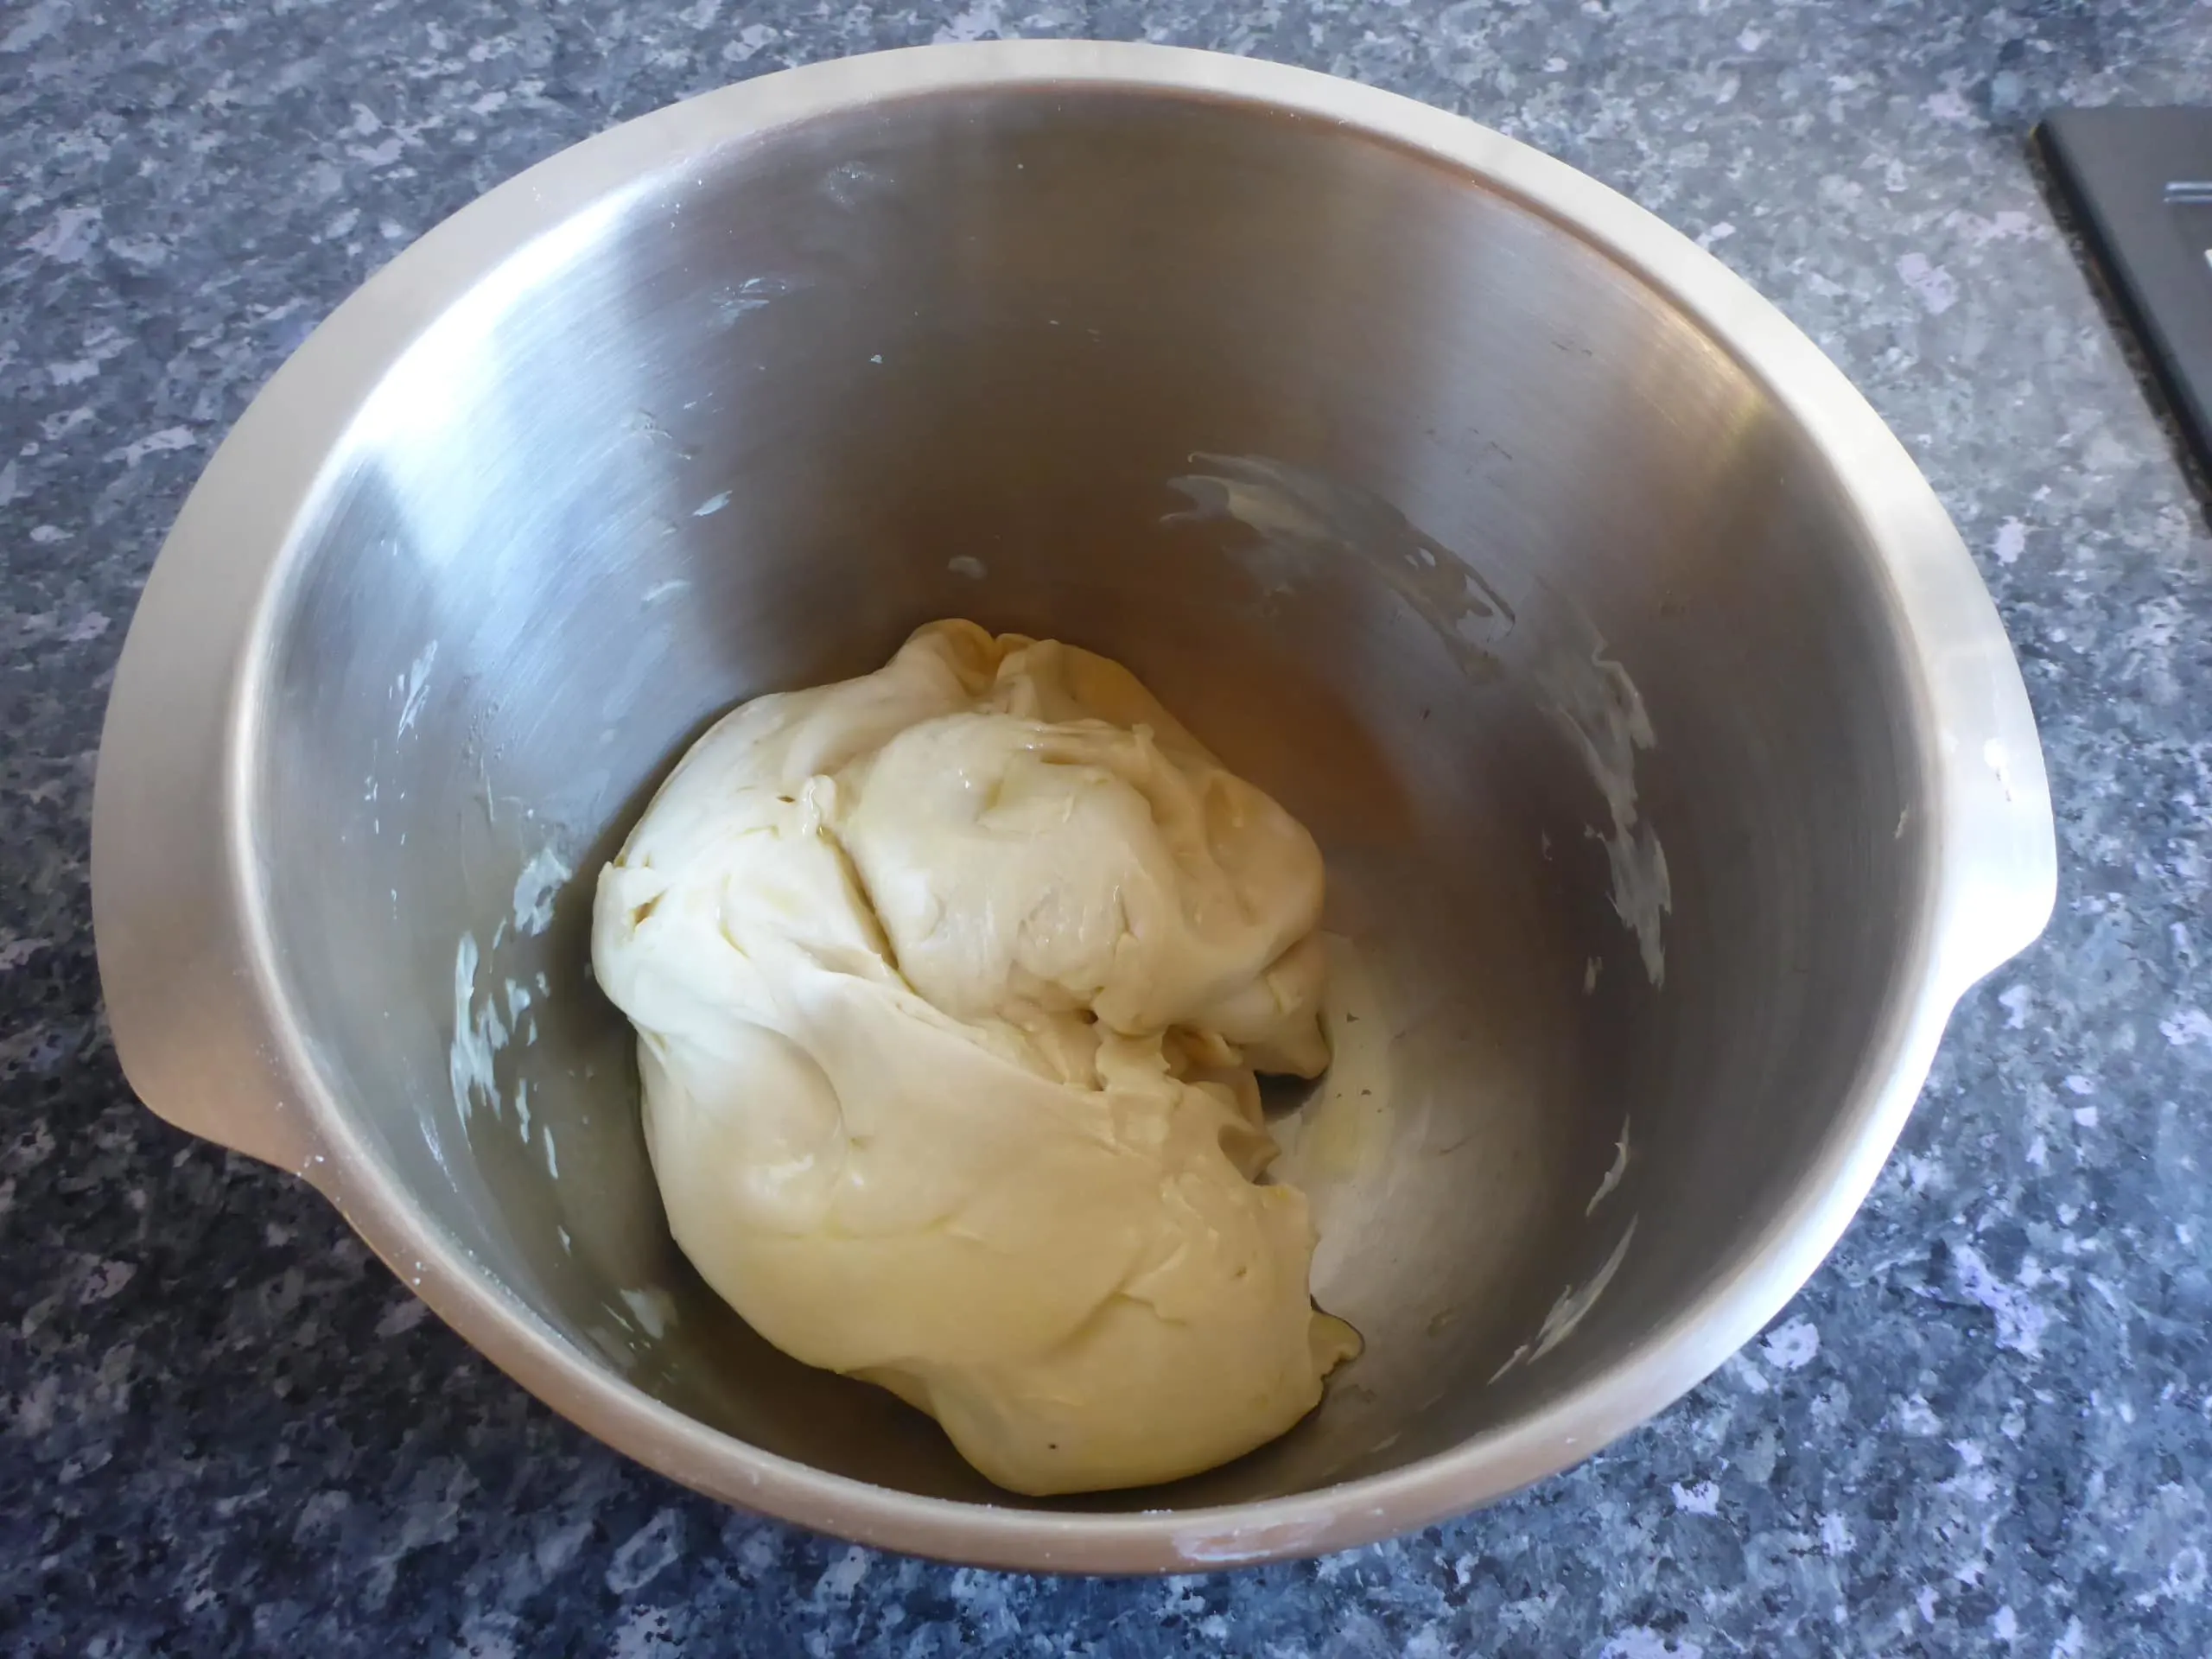
Cover the bowl with cling film and then with kitchen towel. Let the dough rise for about 45 minutes at room temperature or until it has doubled in size.
How to make the wild garlic – cheese mixture
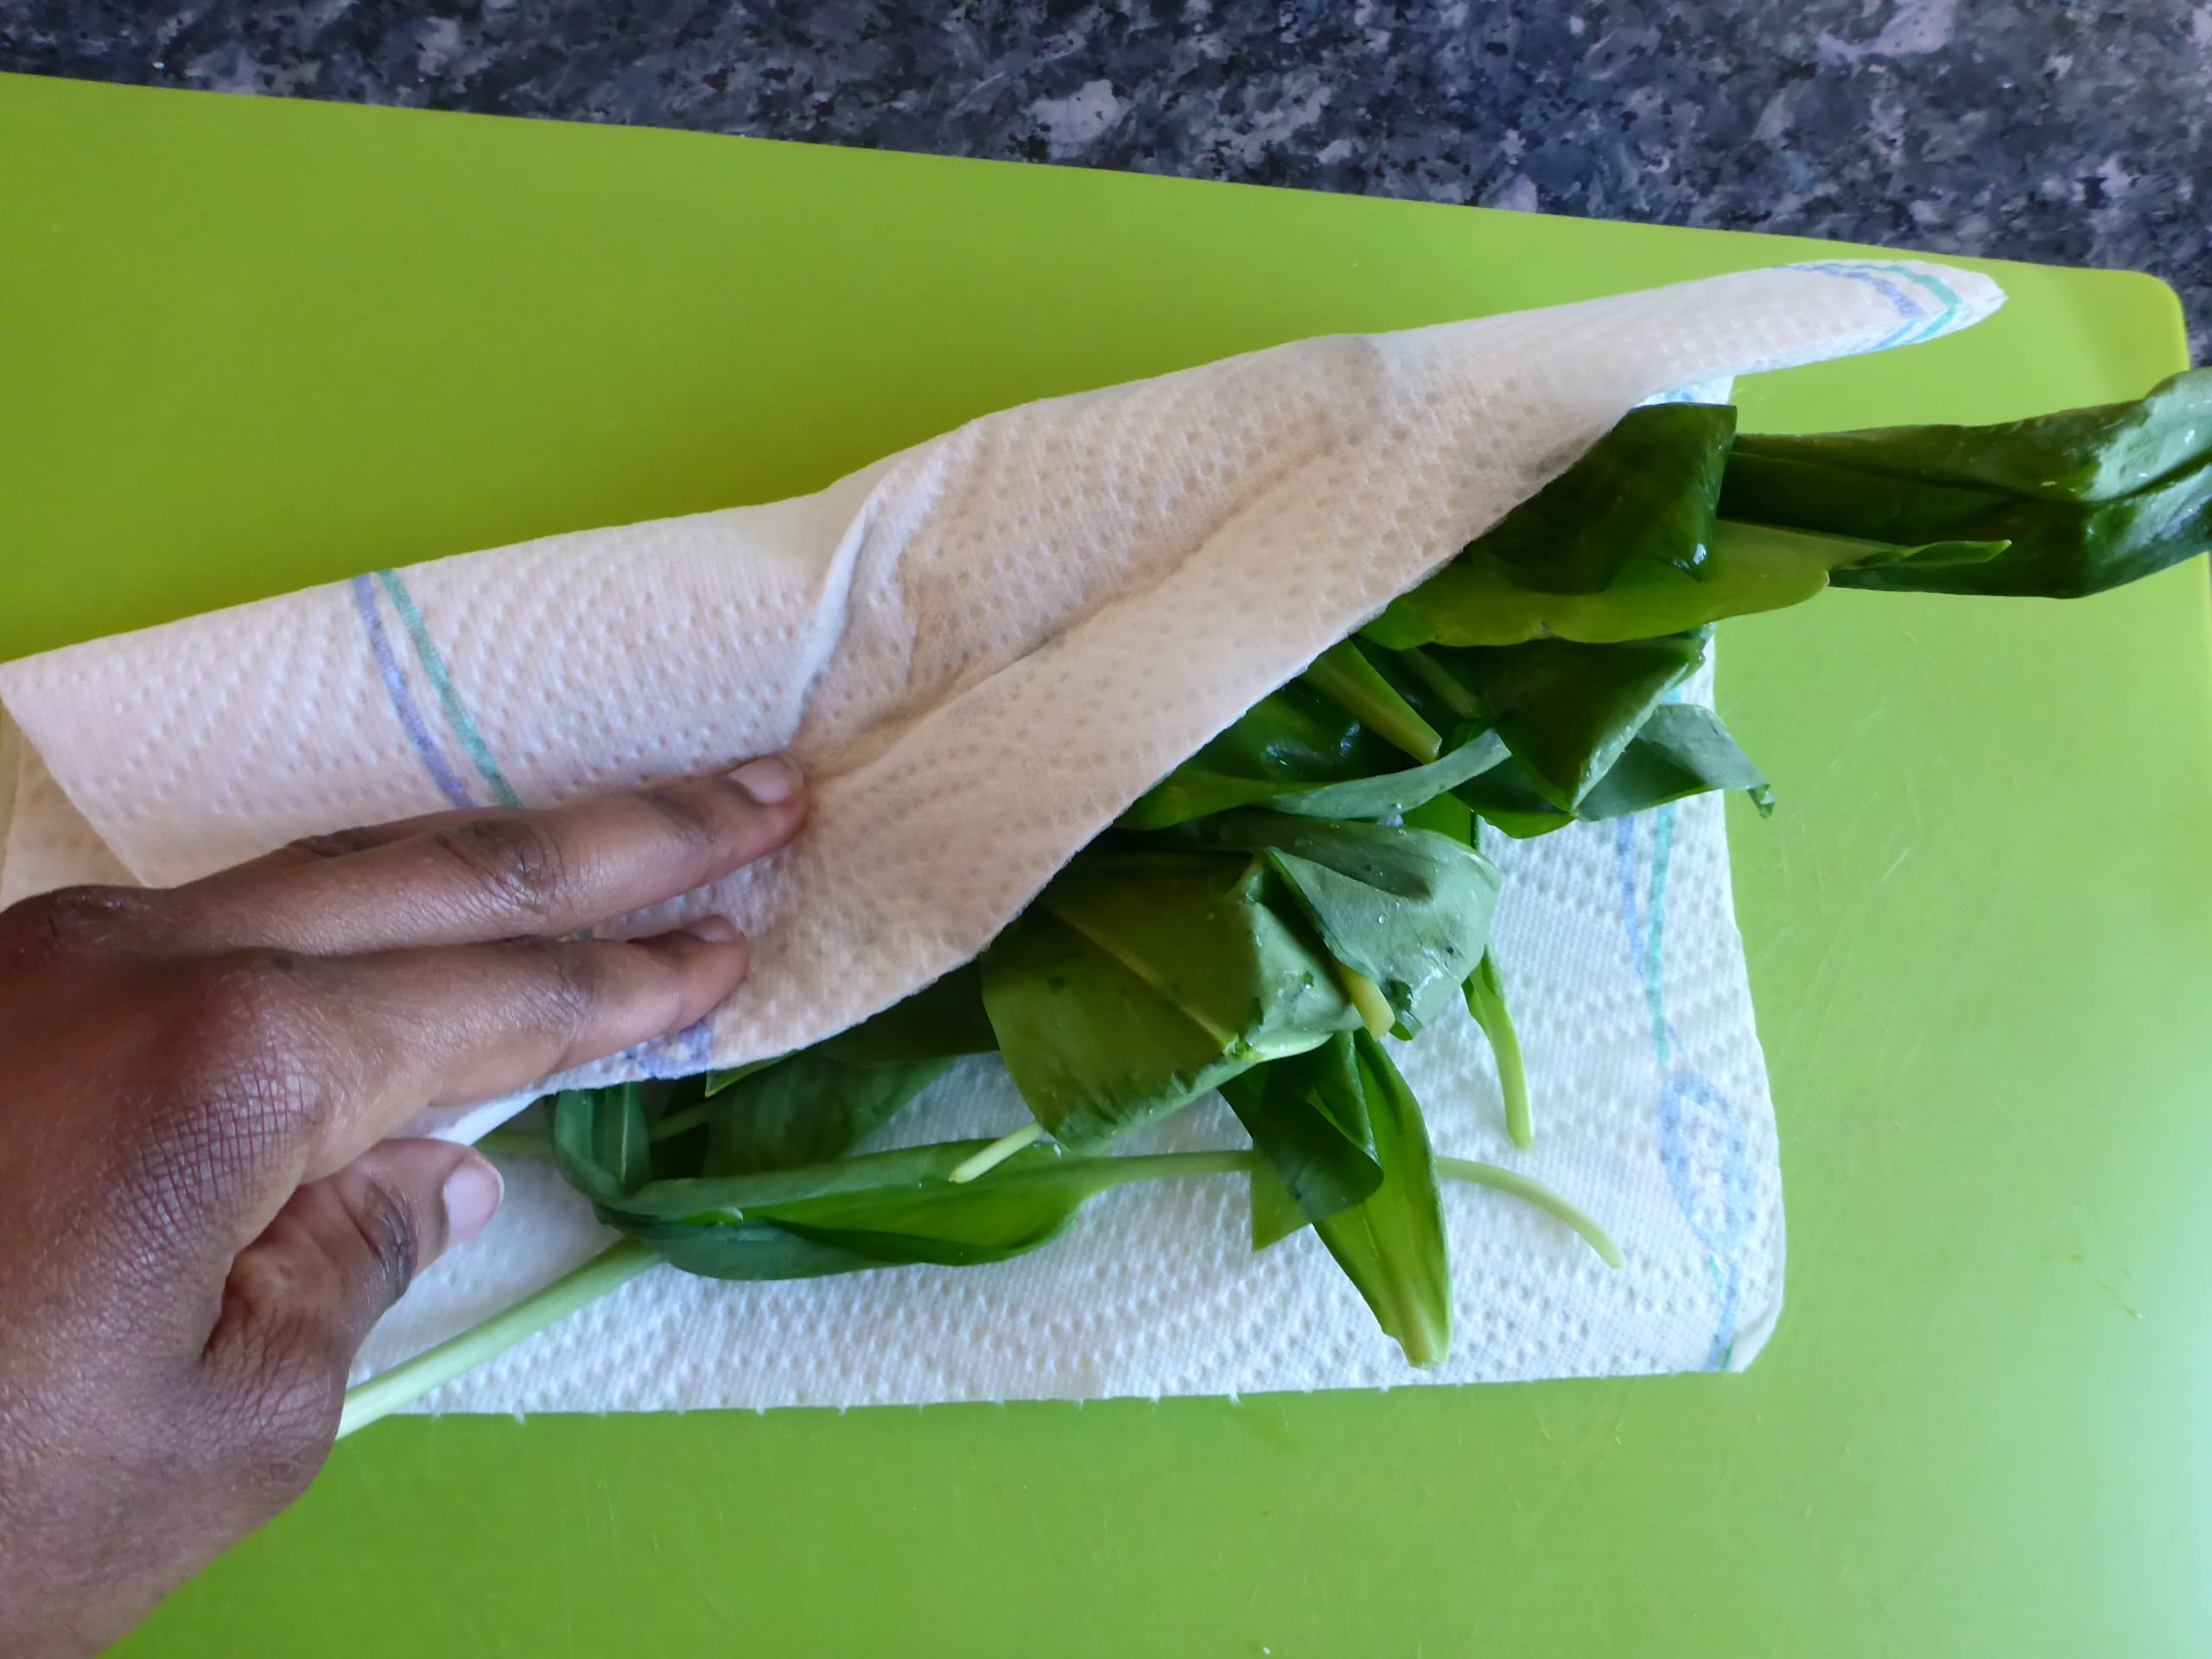
In the meantime wash wild garlic very well, shake it and place it in a large colander to drain.
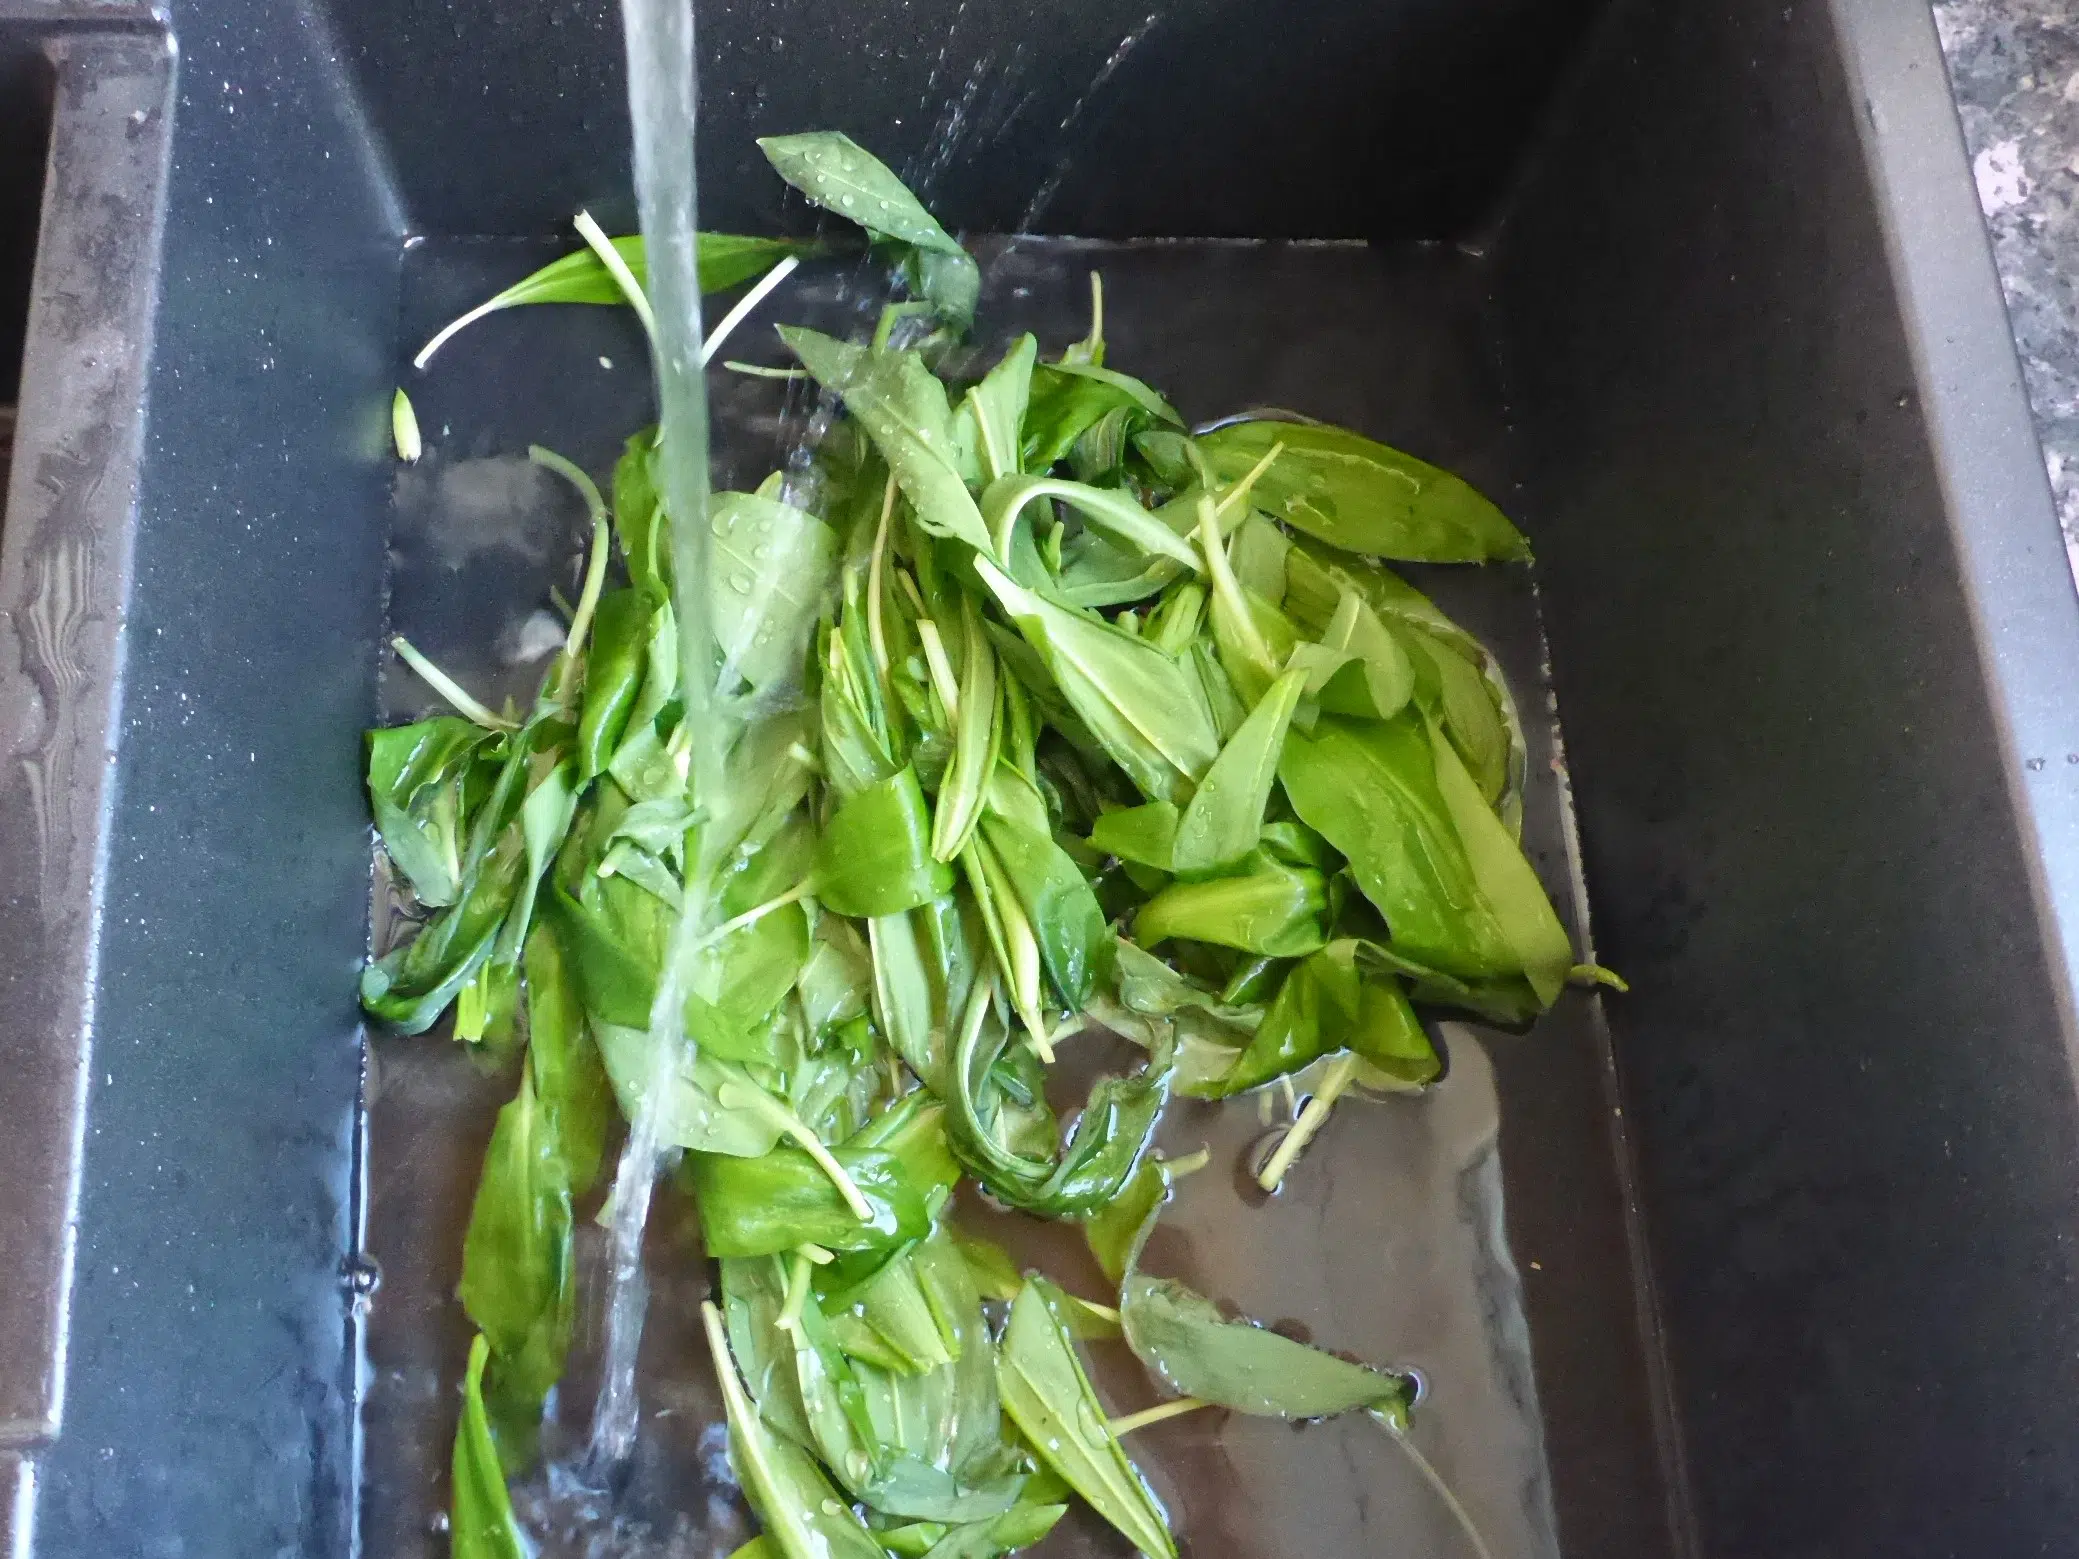
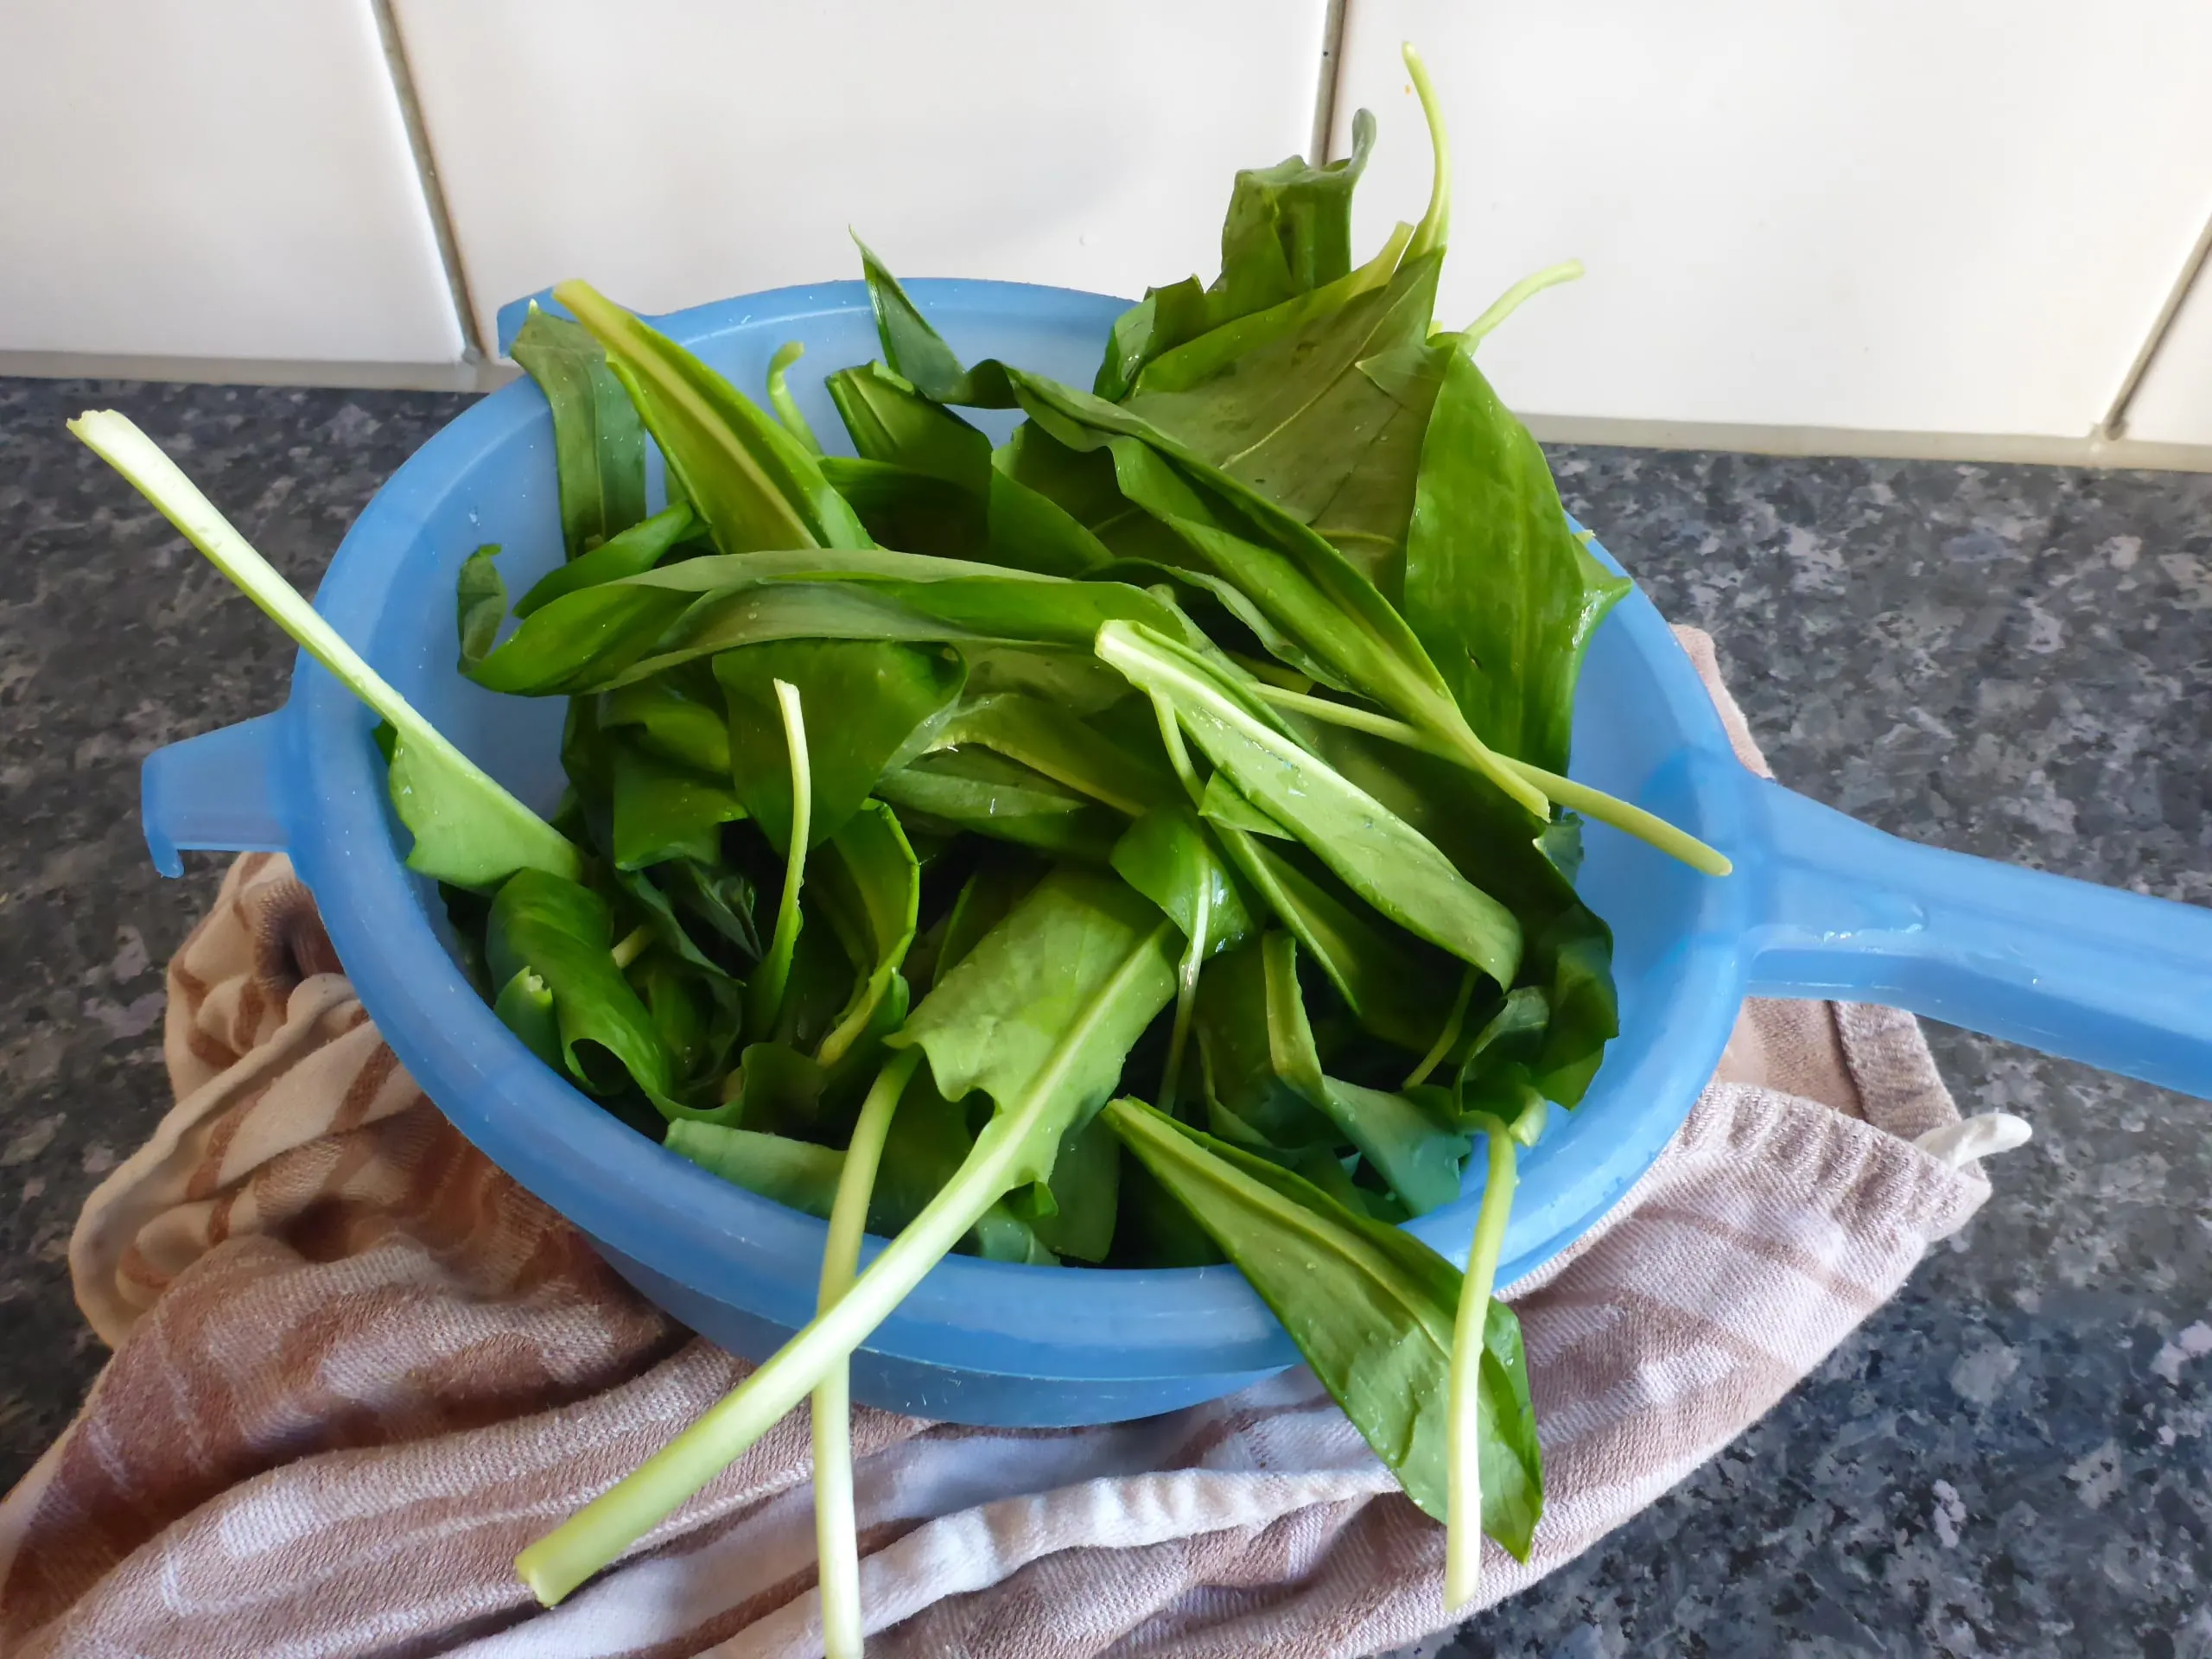
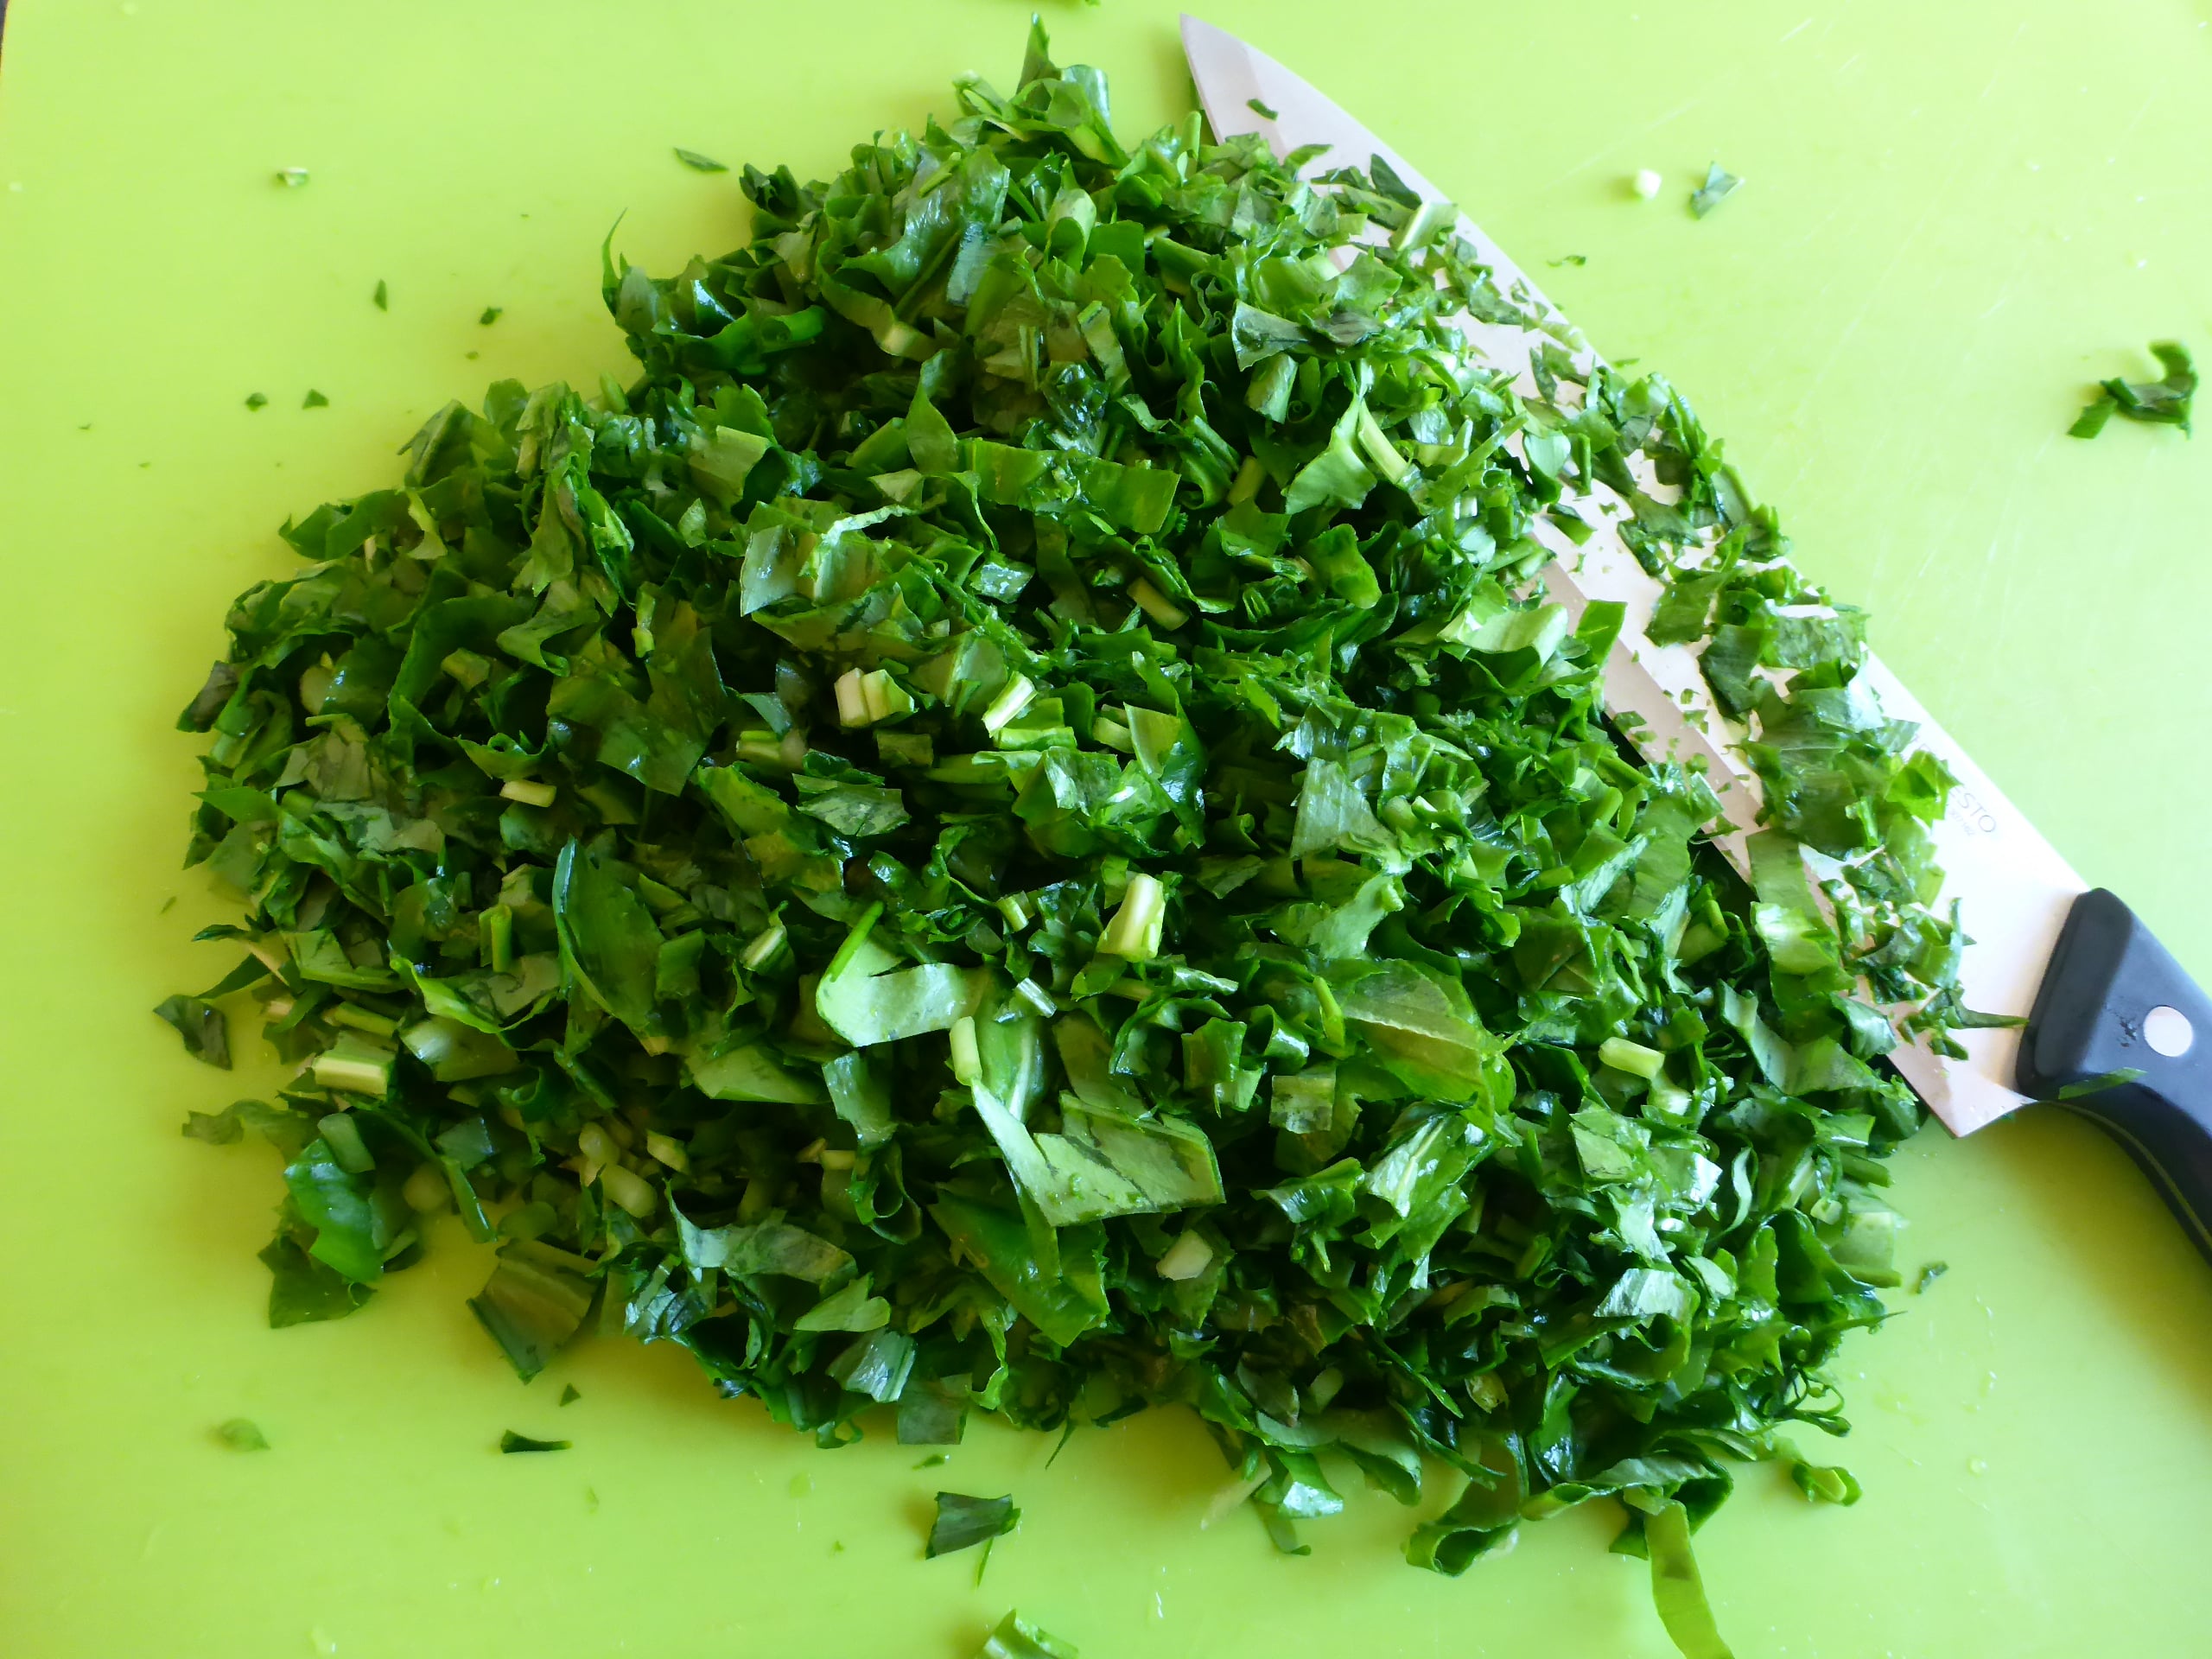
Shortly before the dough is completely raised, finely chop wild garlic.
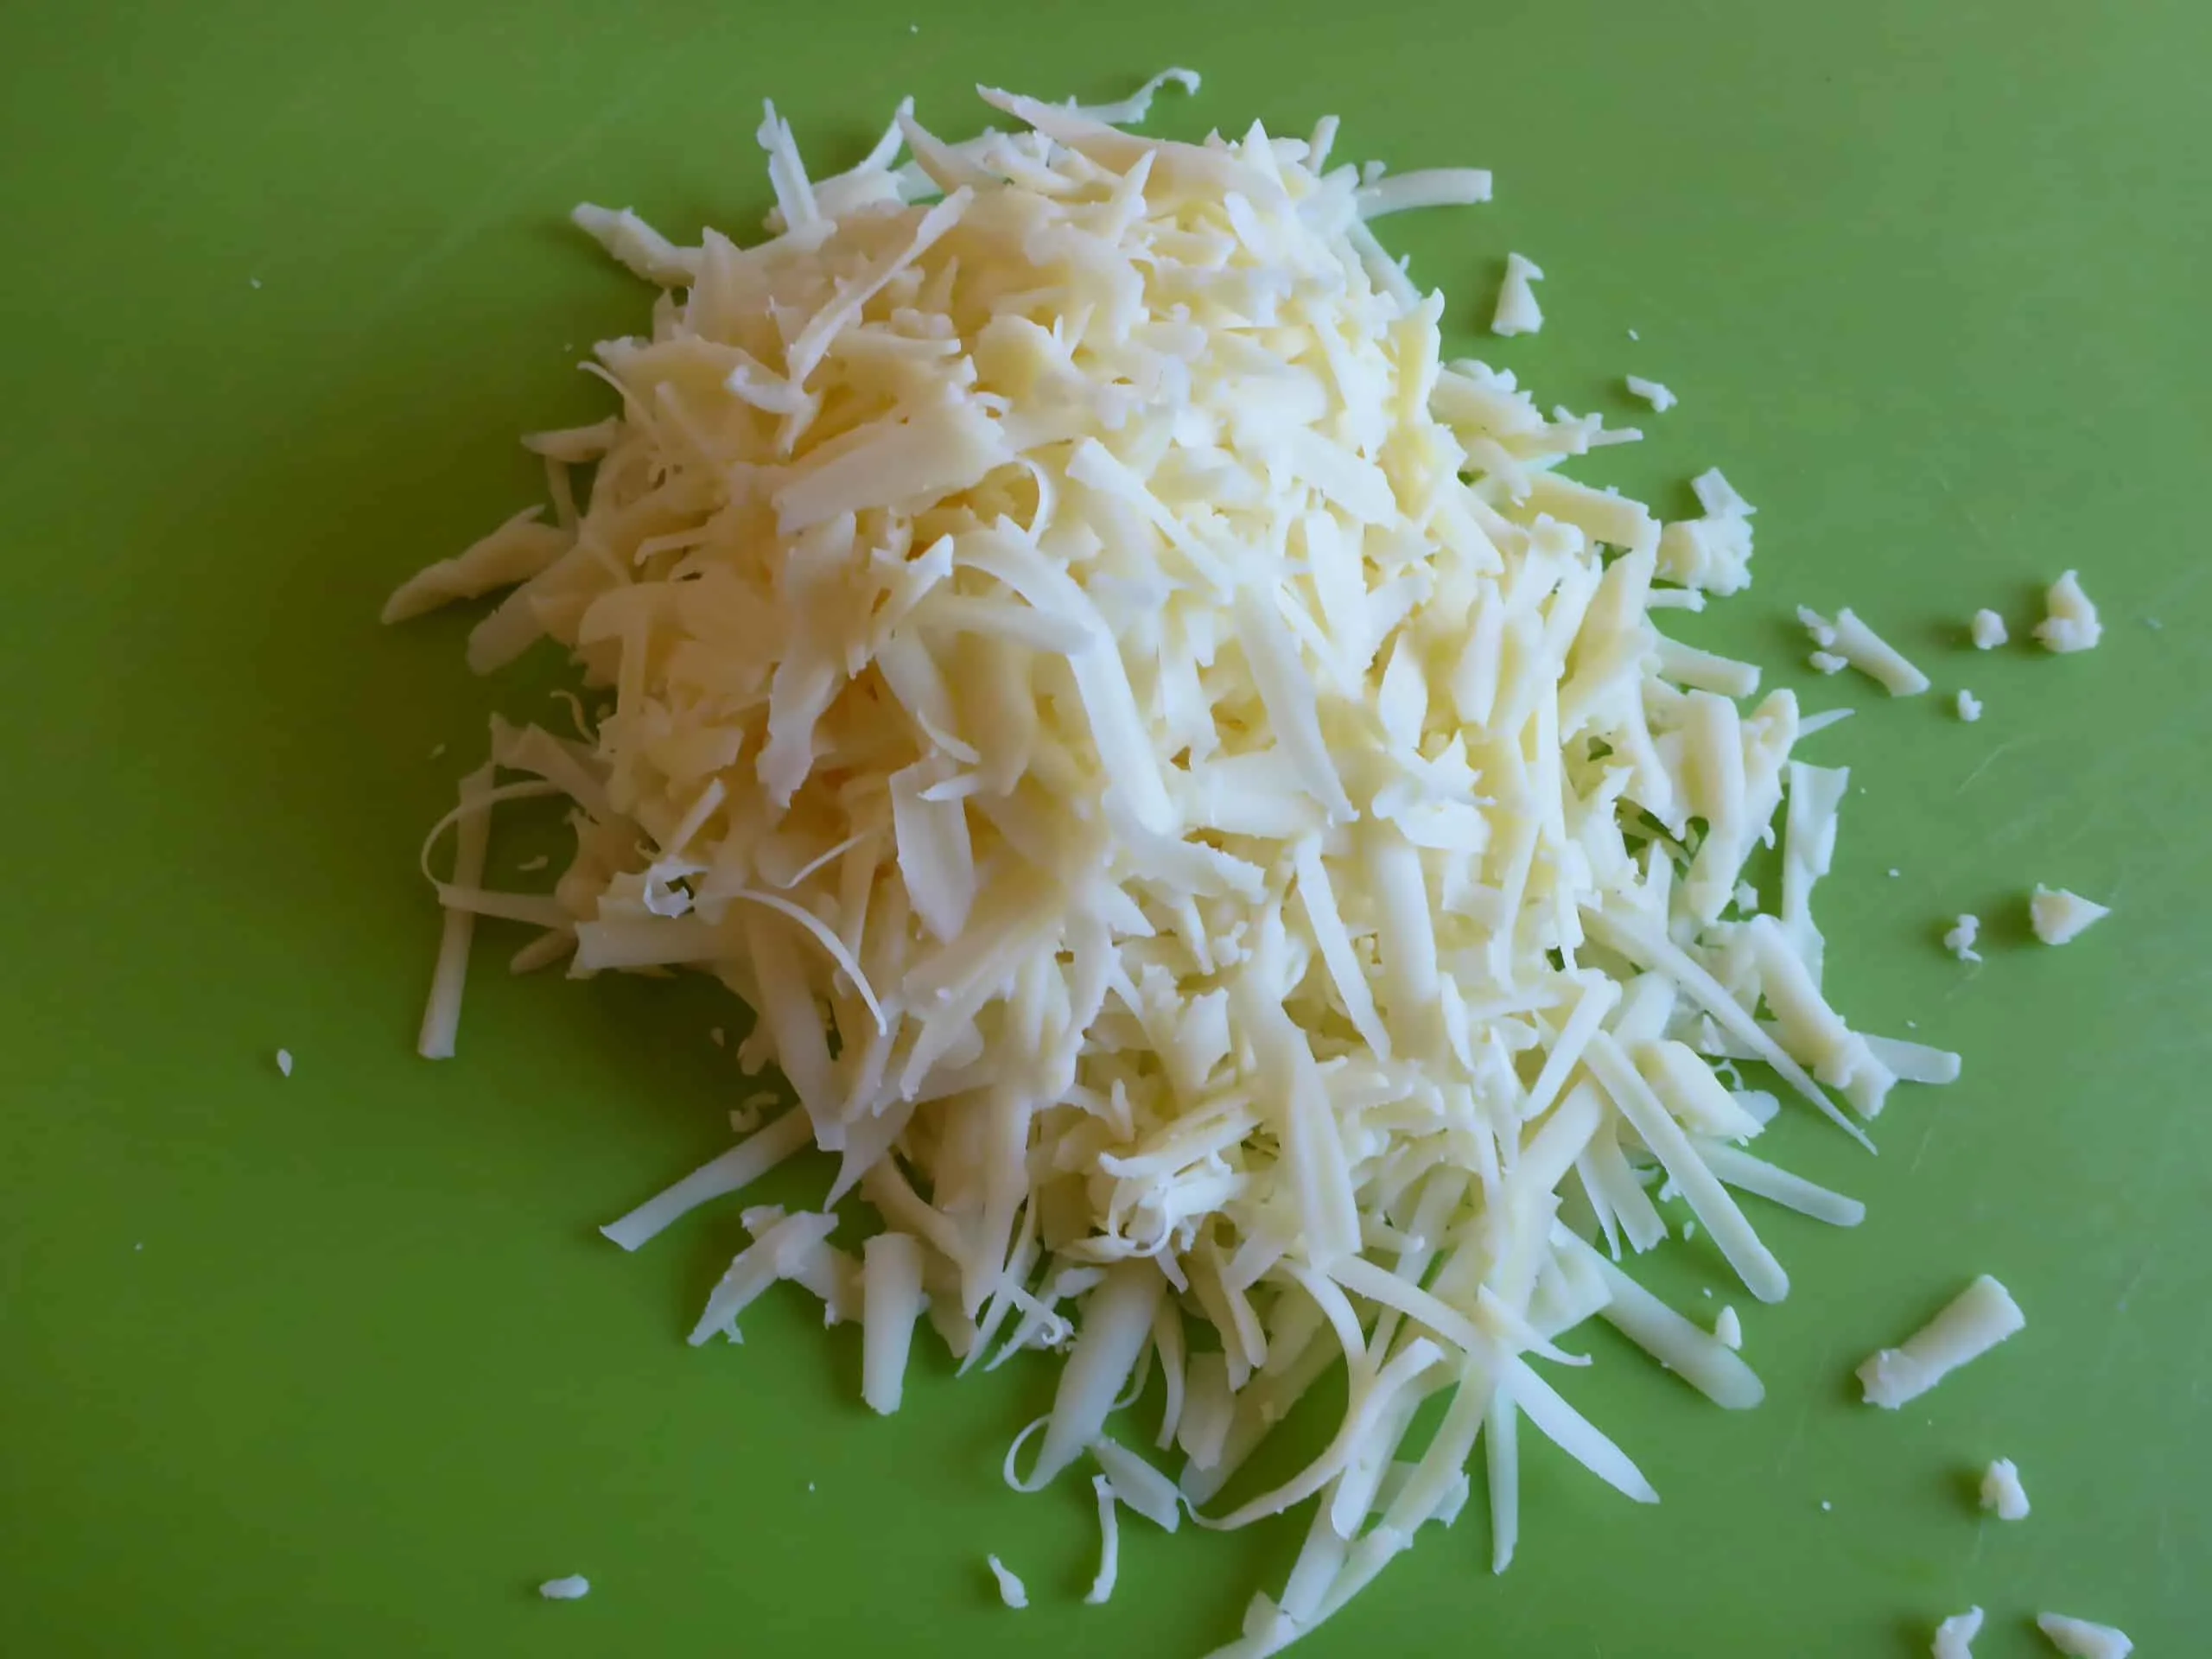
Then grate the cheese if you’re using ungrated cheese.
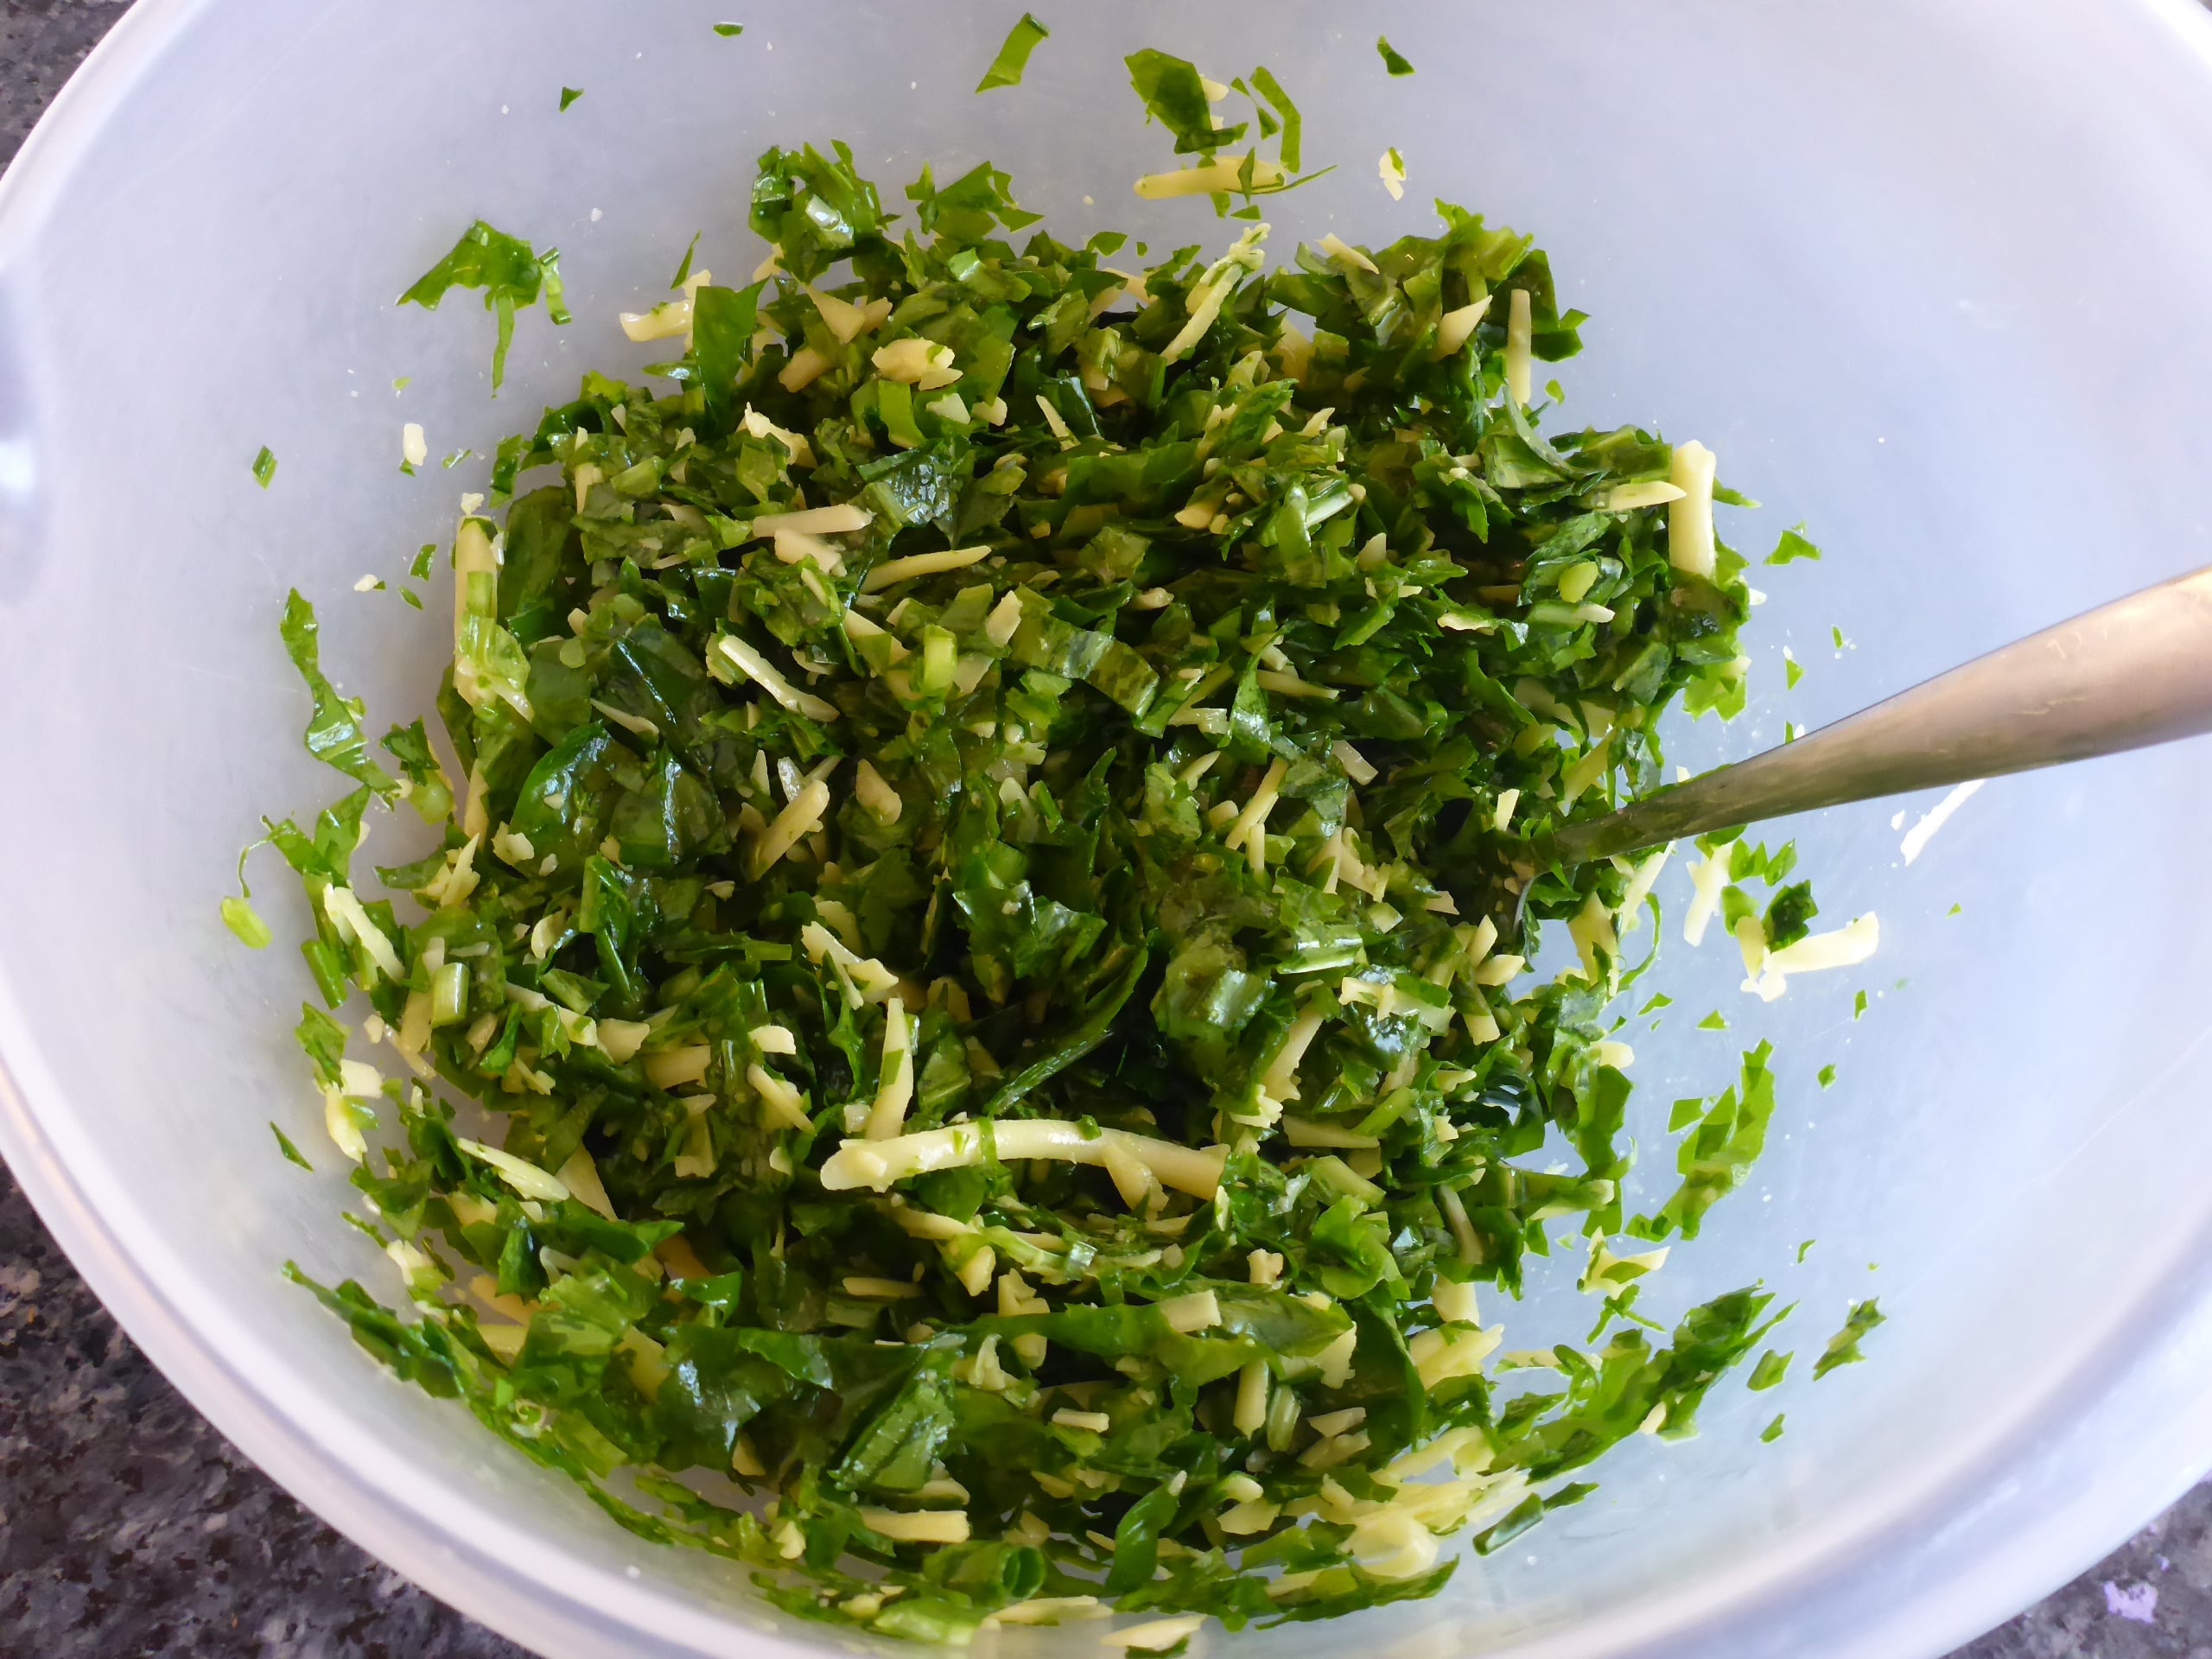
In a second bowl combine chopped wild garlic, cheese and olive oil. Mix well using a spoon and season with salt.
How to Dip Yeast Dough into Wild Garlic Cheese Mixture and Bake
After the first rise, lightly flour the silicone pastry mat or cutting board. Tip the dough out of the bowl onto a floured surface.
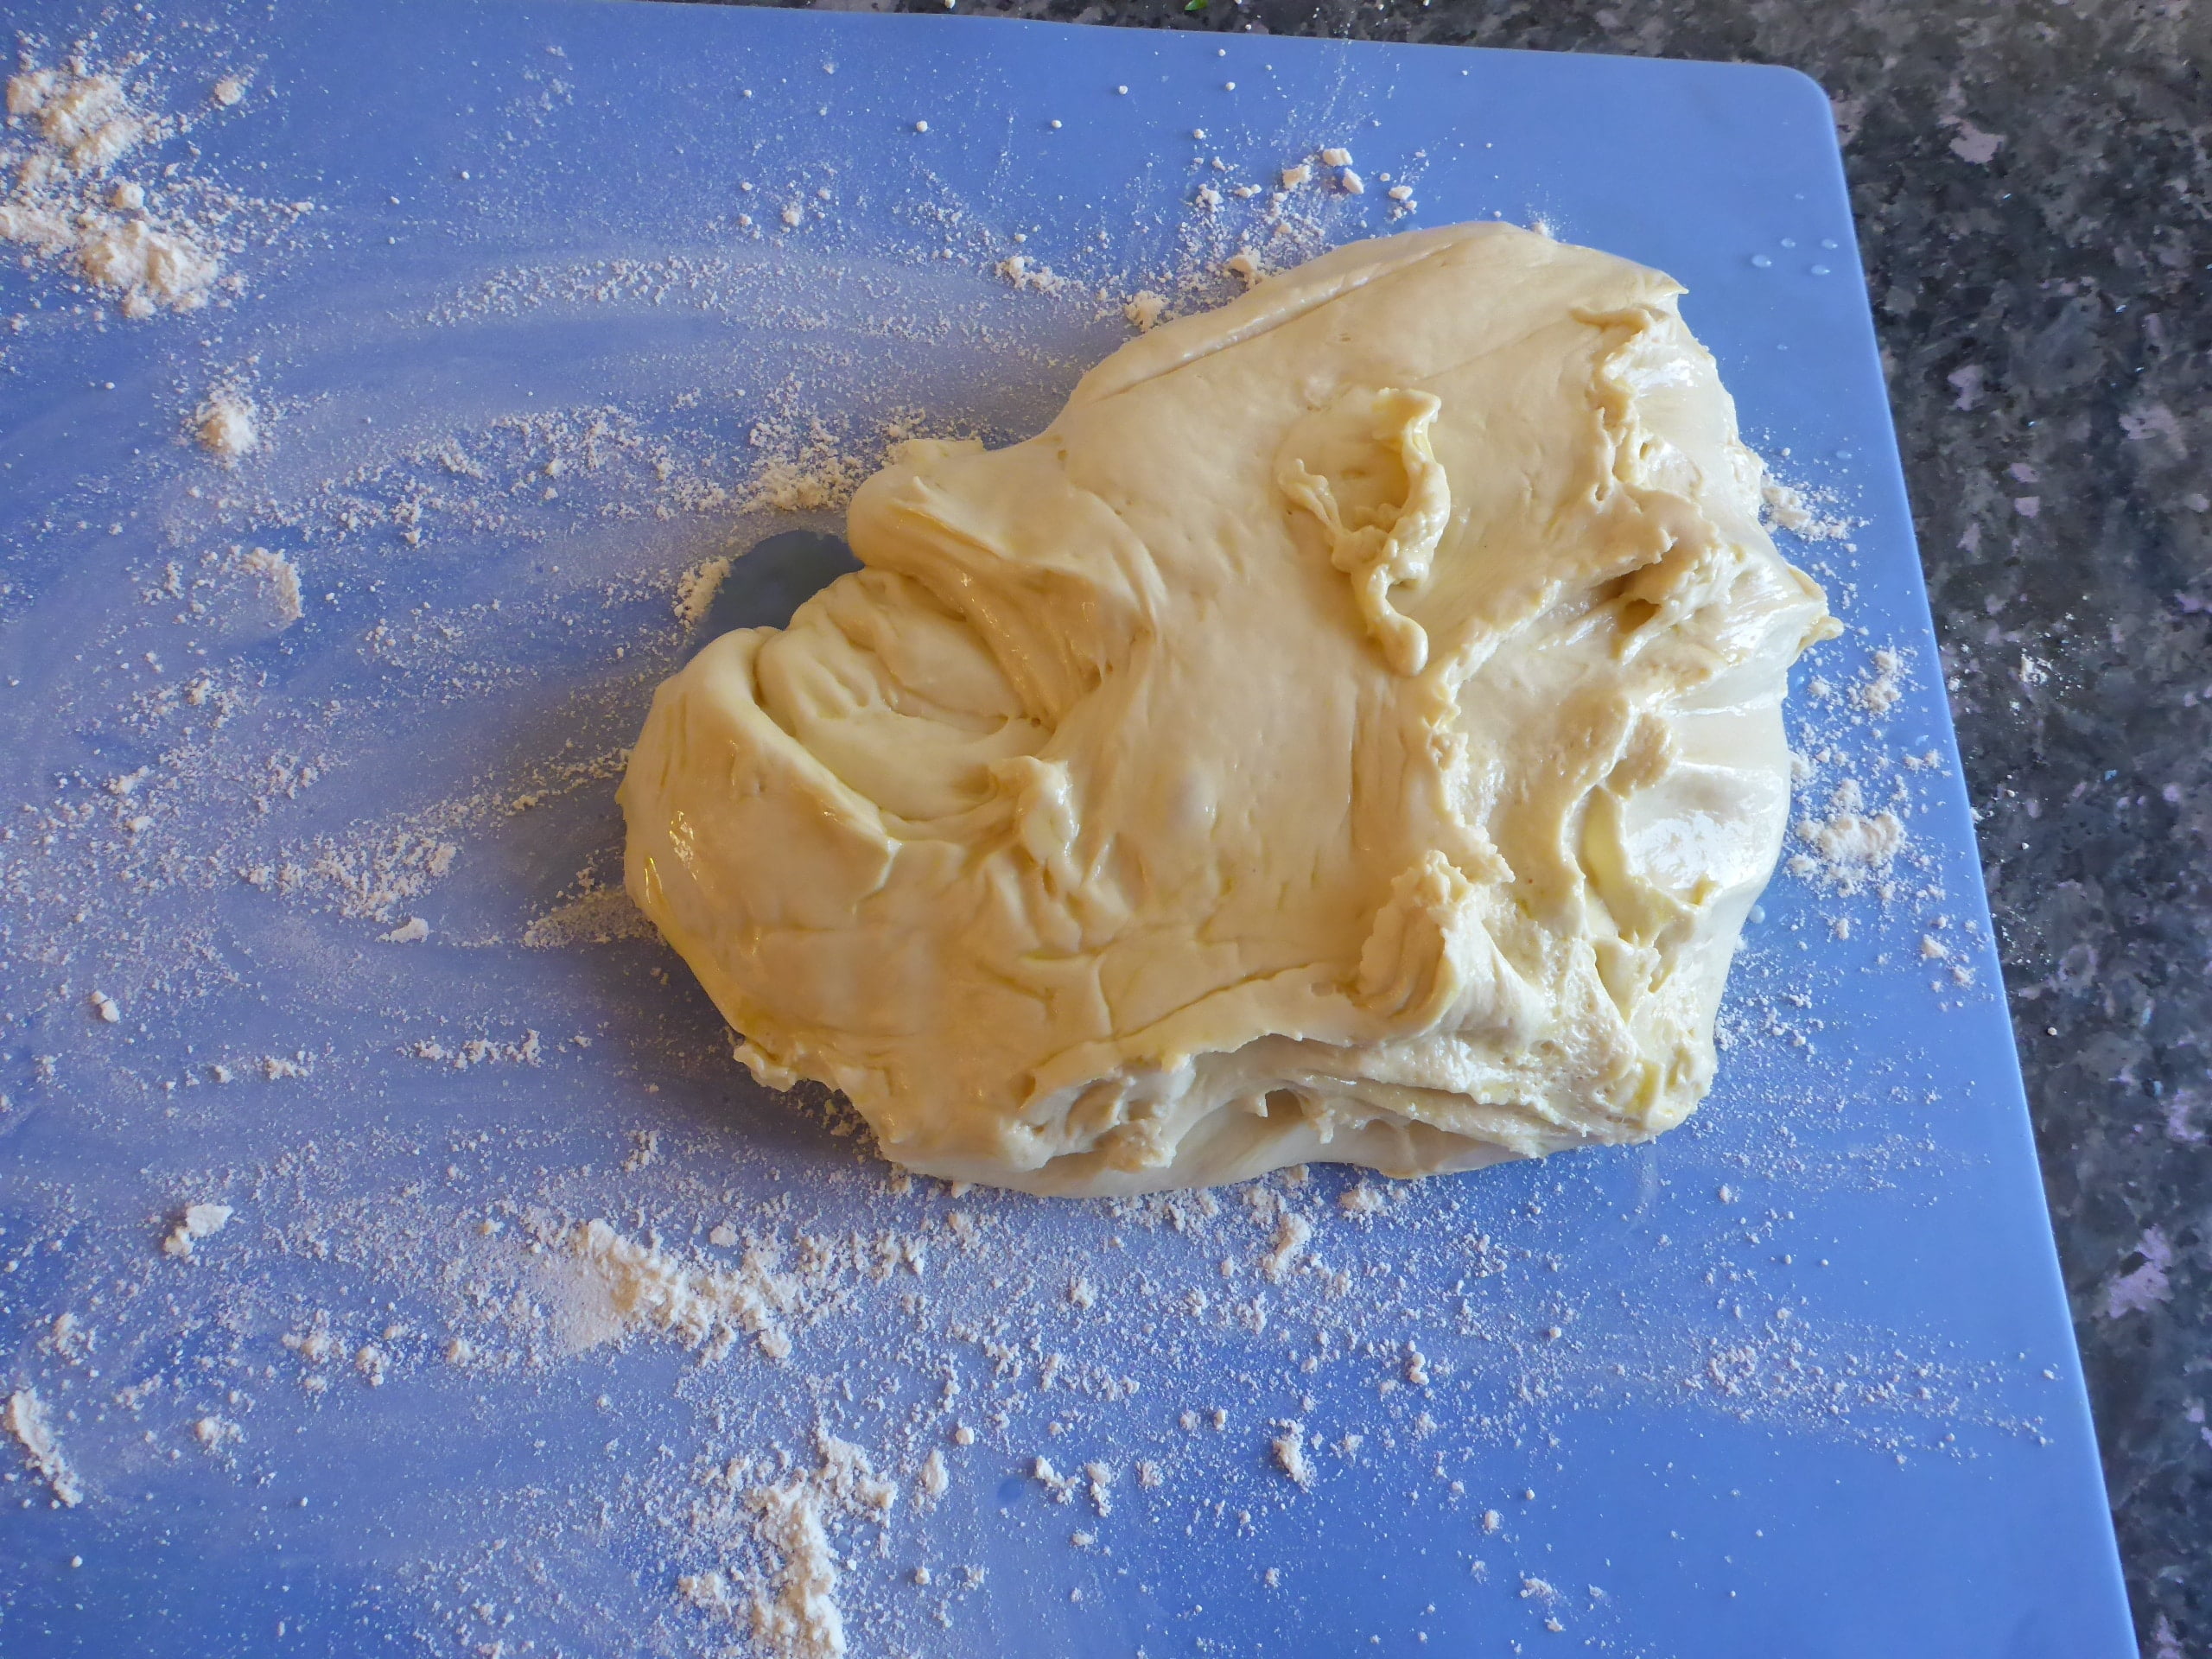
Carefully shape it into a baguette (long) loaf. You want to retain the air bubbles in the dough intact so that you’ll have a nicely fluffy bread.
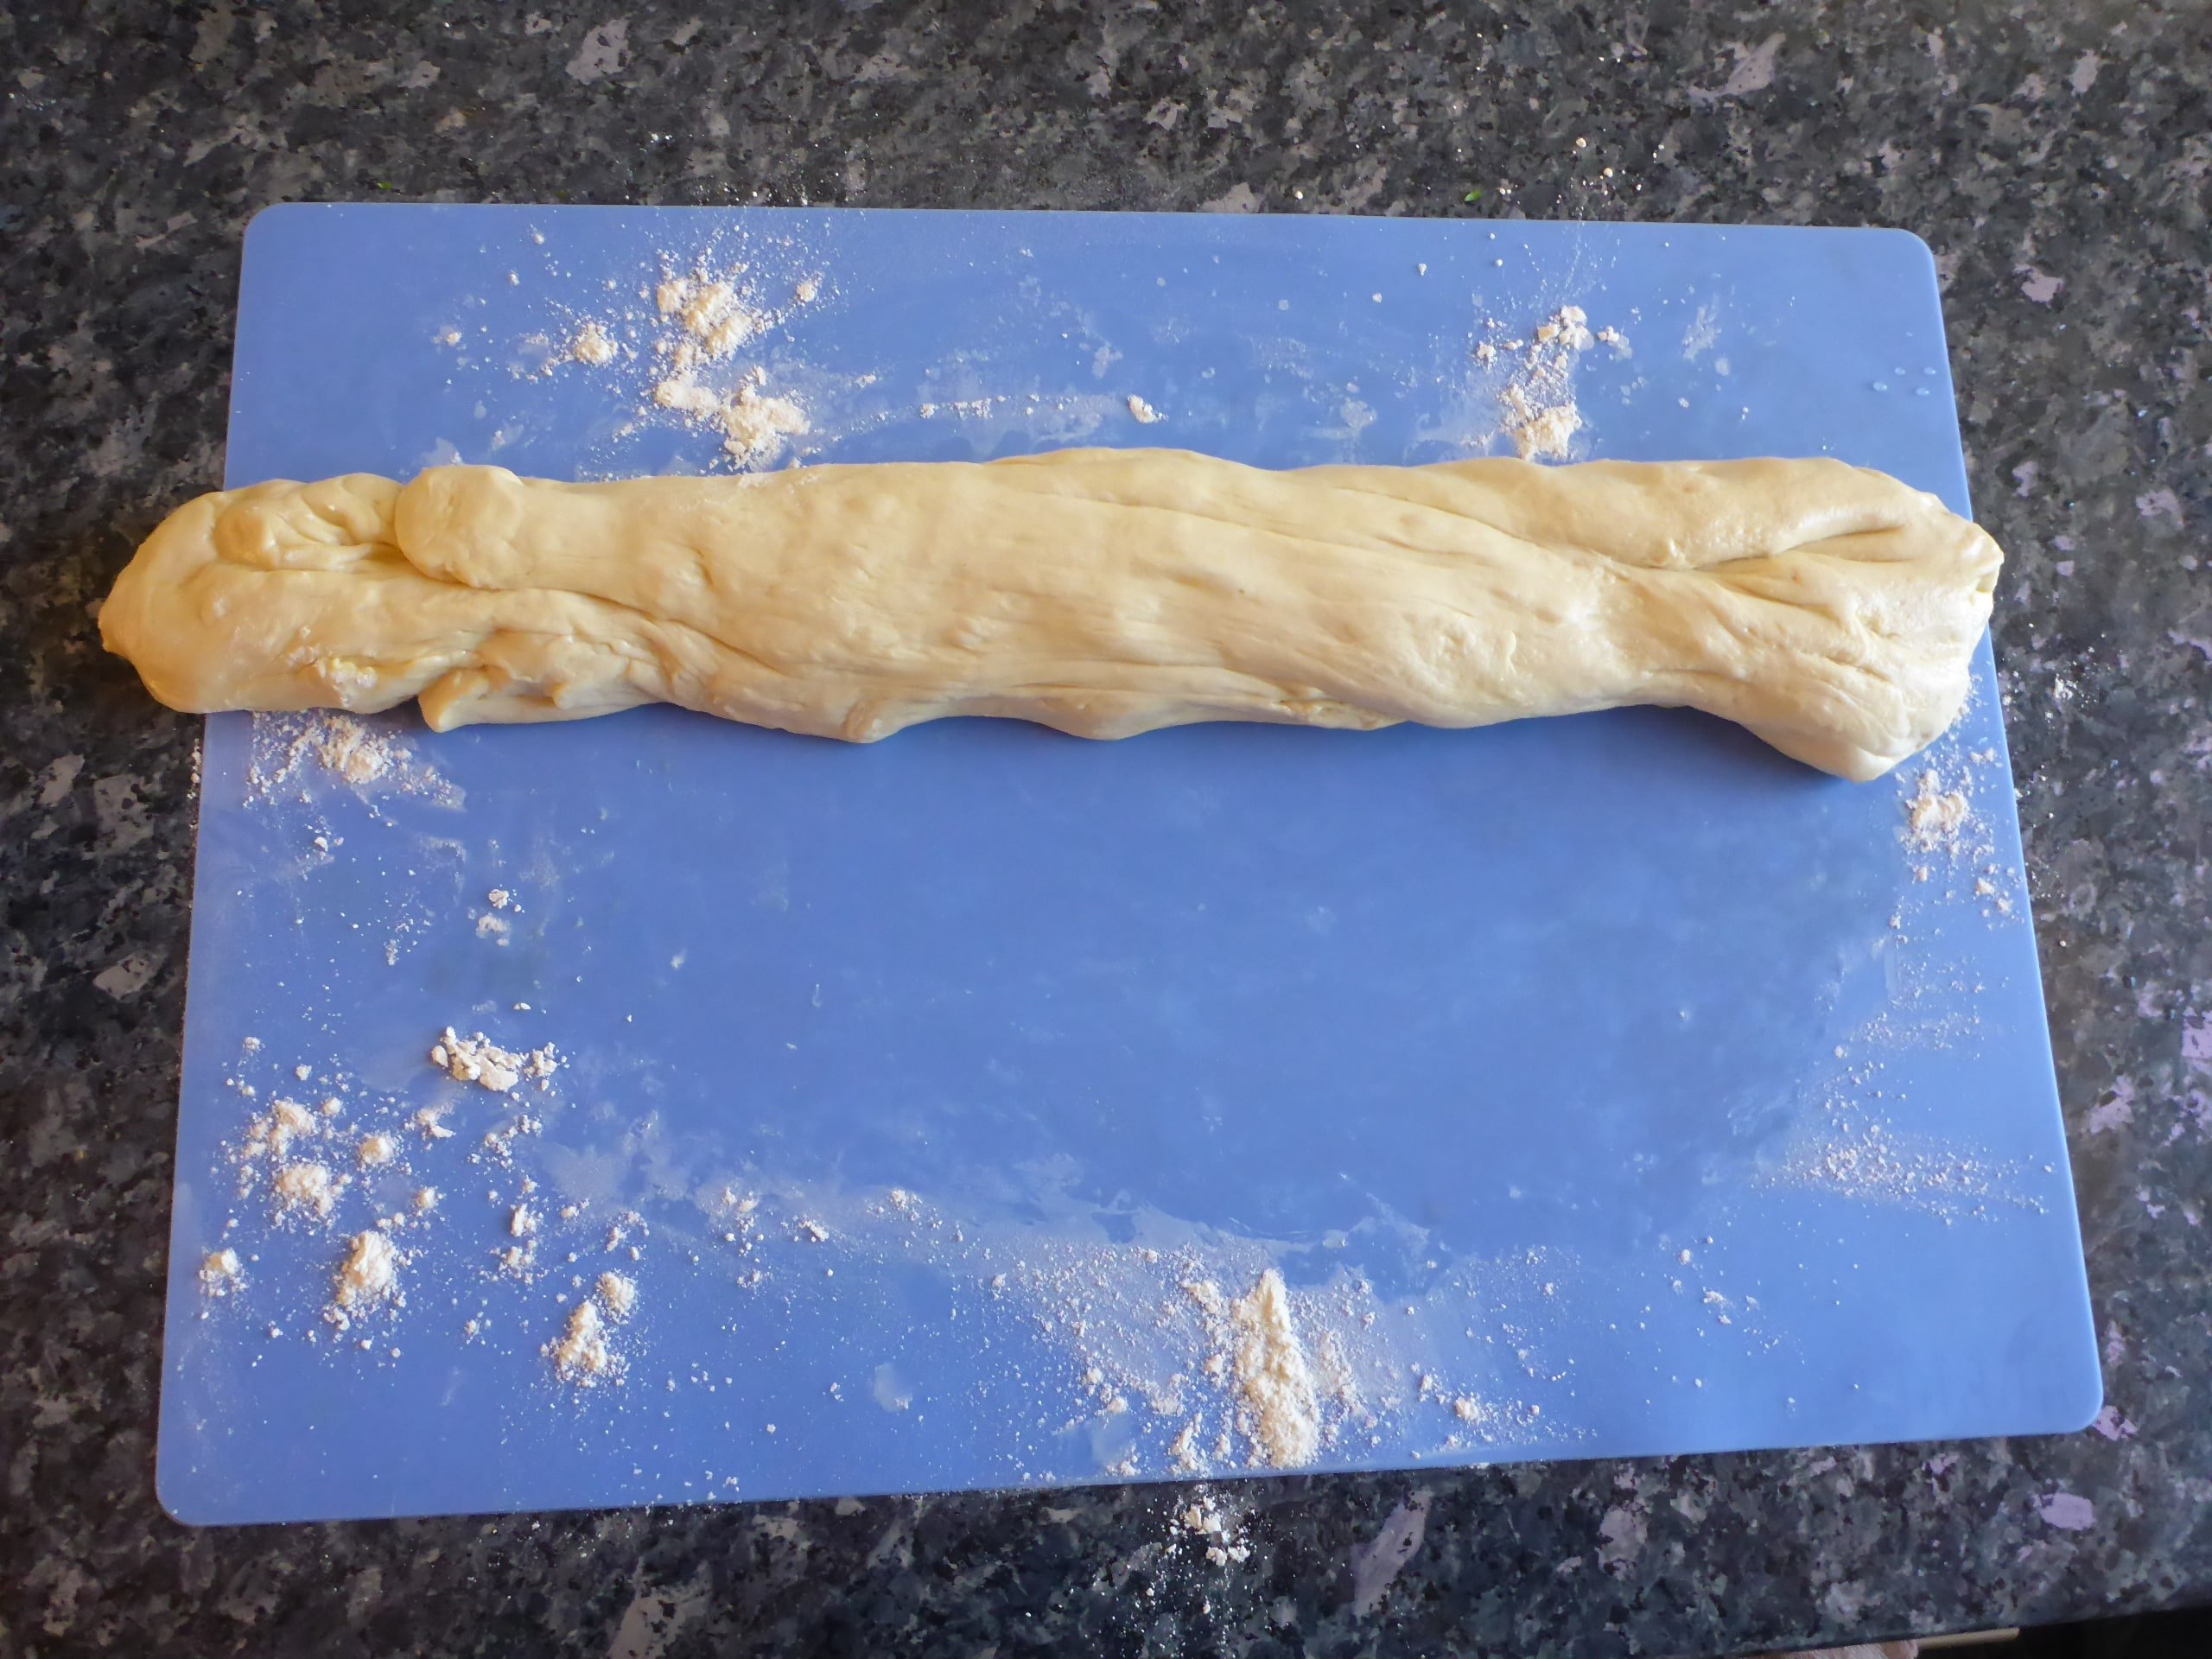
Cut baguette (long) loaf into approximately 10 equal rolls – cut it in the middle first. This makes it easier to cut equal rolls.
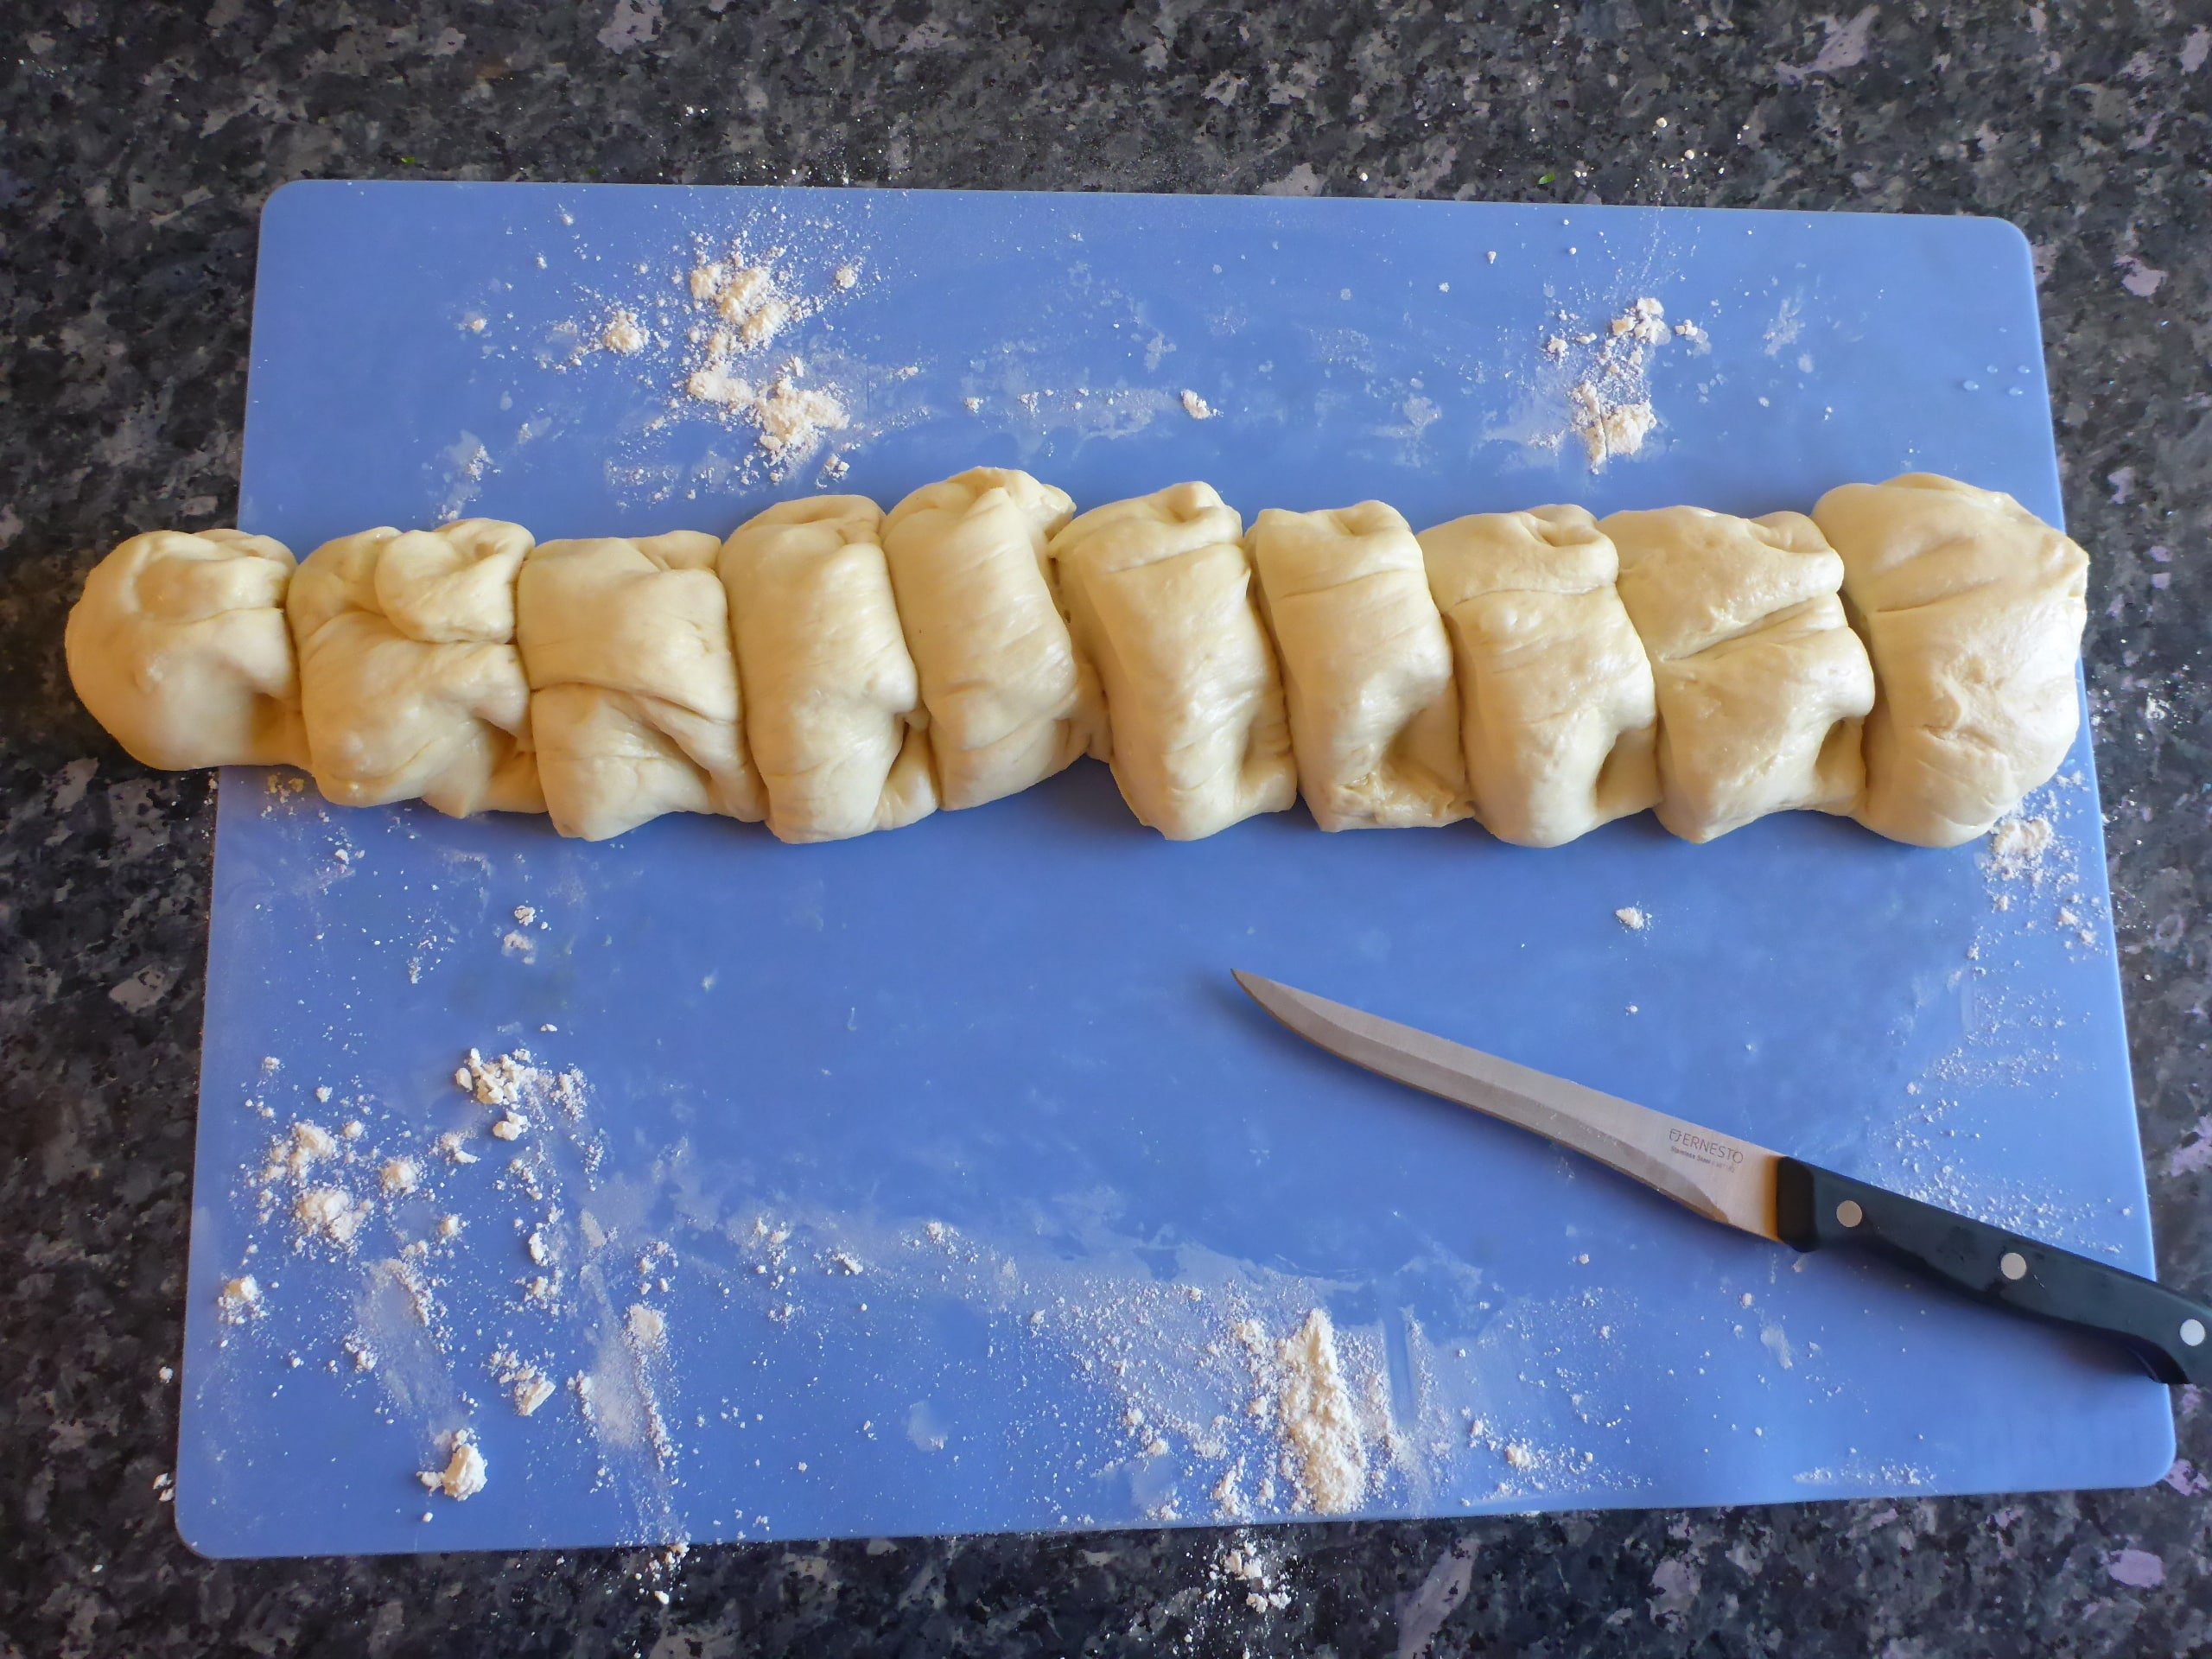
Roll each dough roll in the cheese mixture and arrange it in the bread pan.
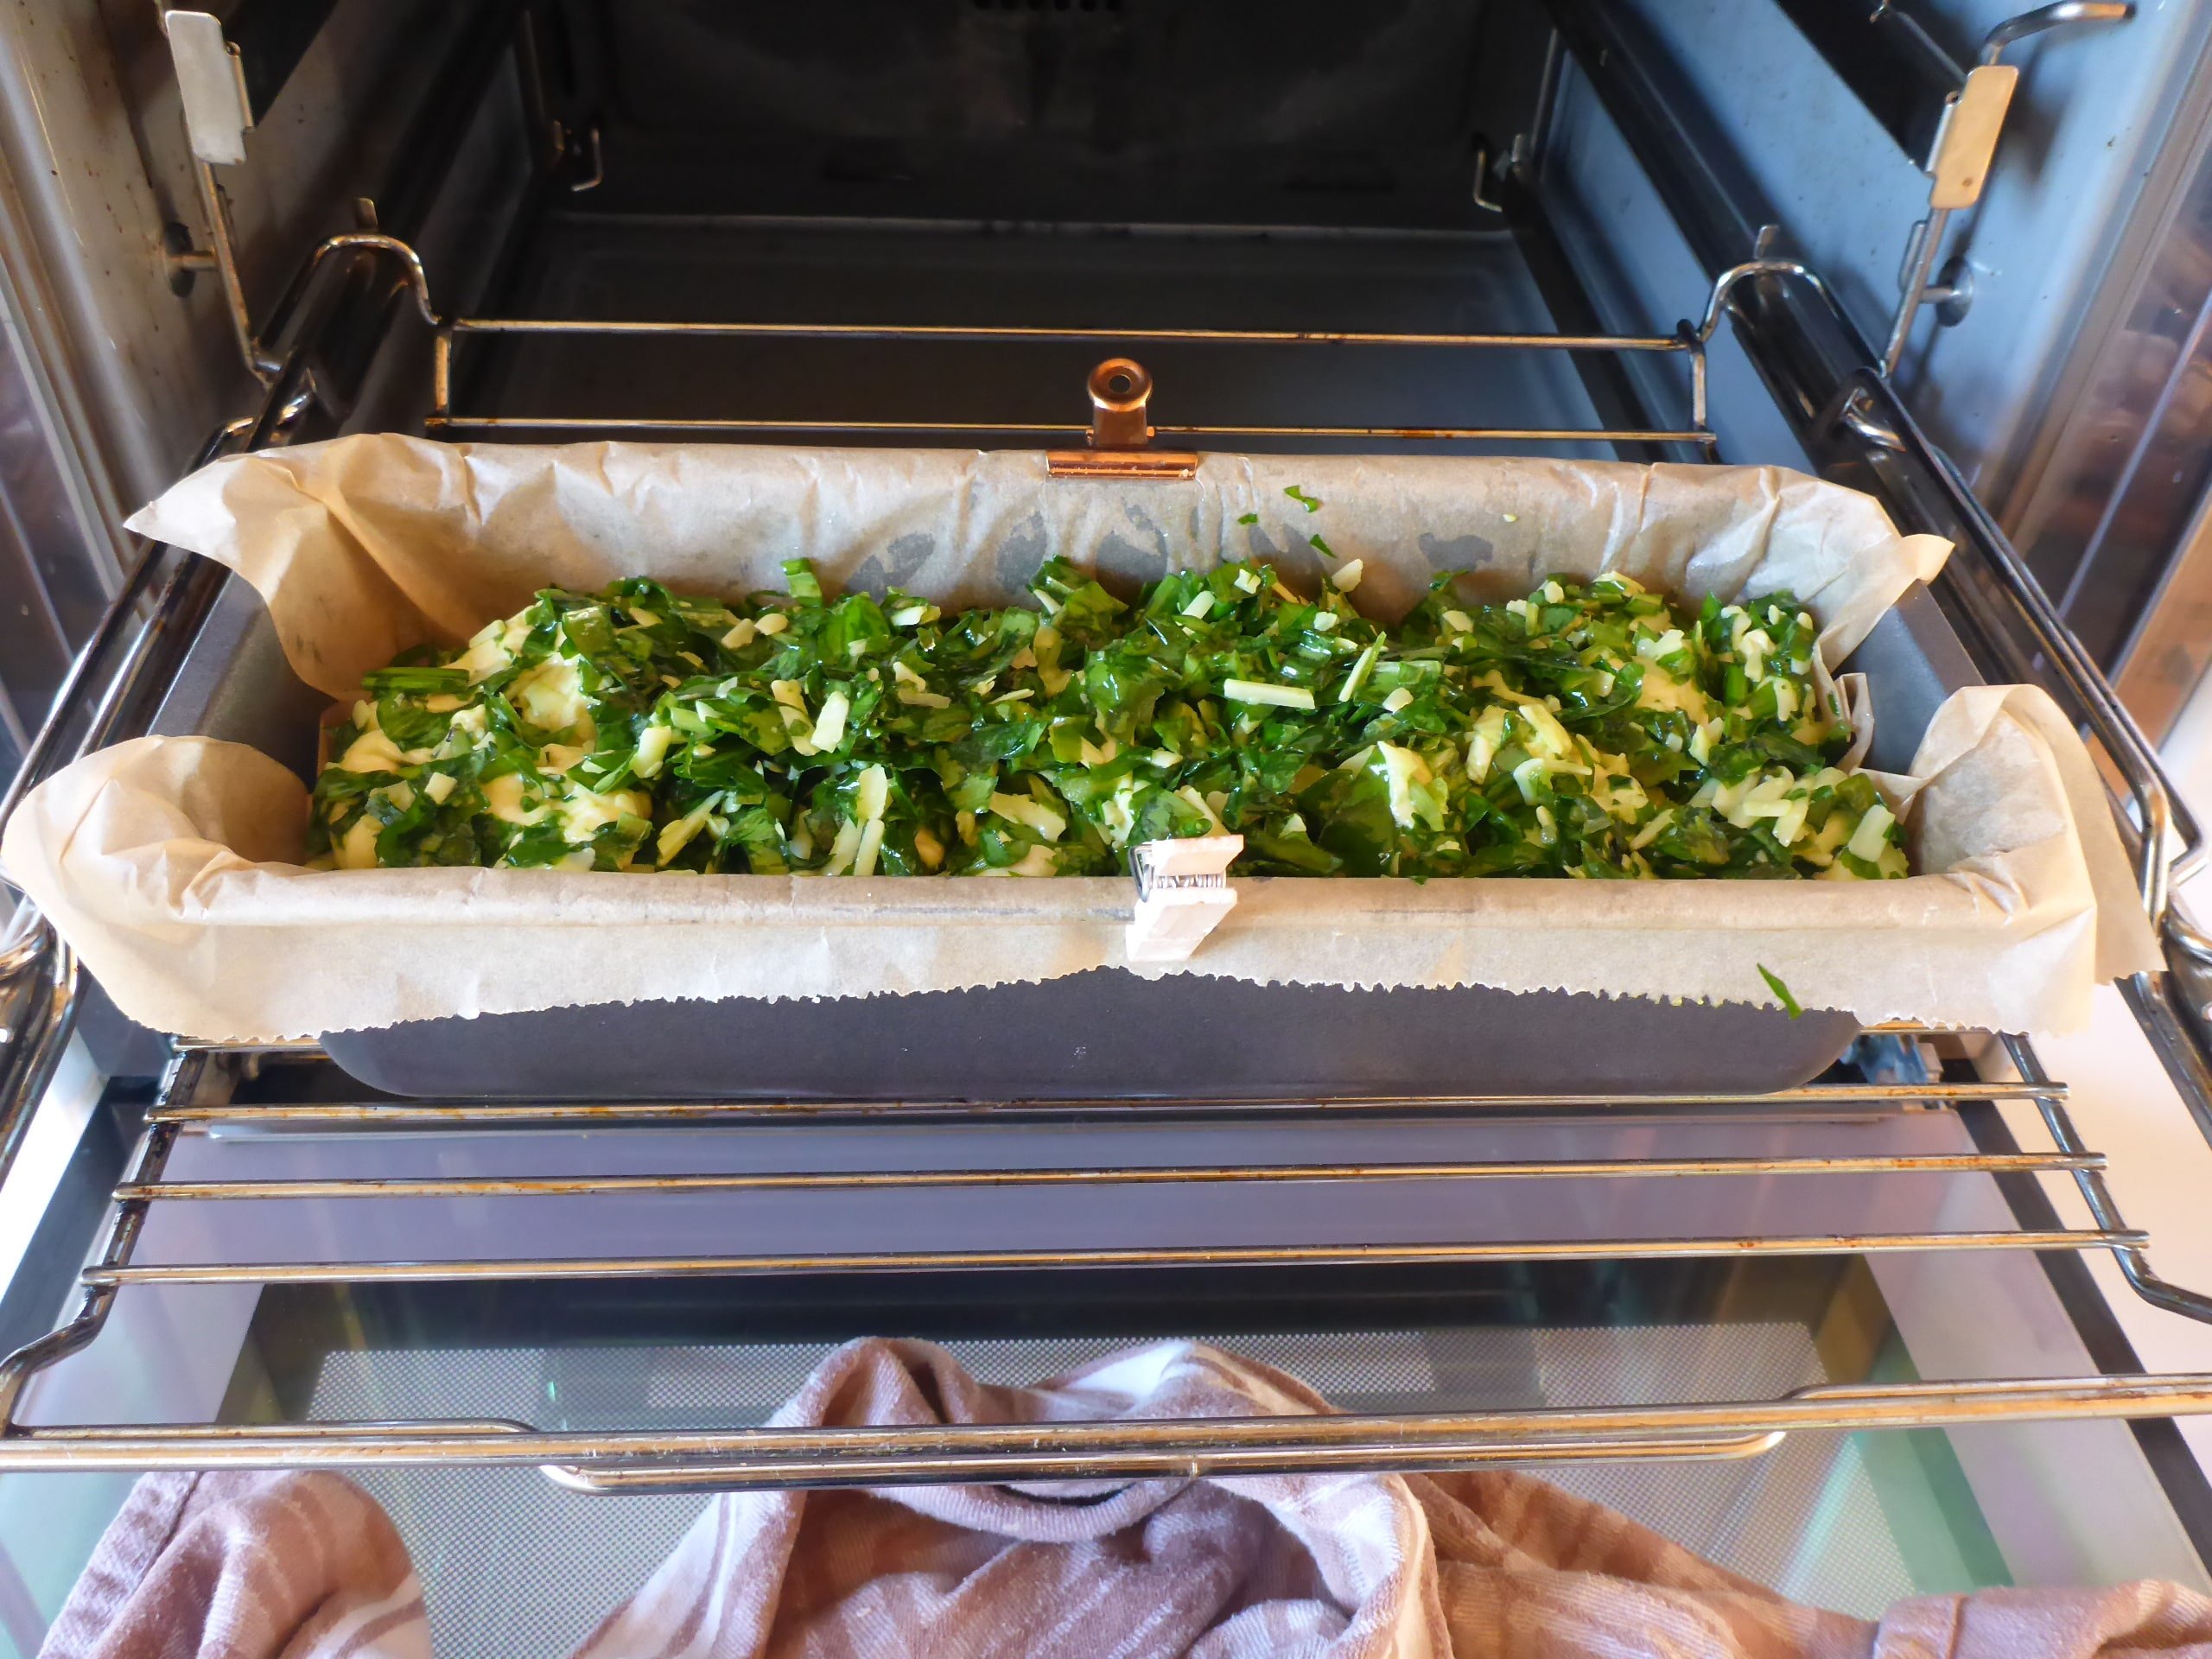
If you have some wild garlic – cheese mixture remaining, just sprinkle this on top. Cover the bread pan with kitchen towel and let rise for another 30 minutes.
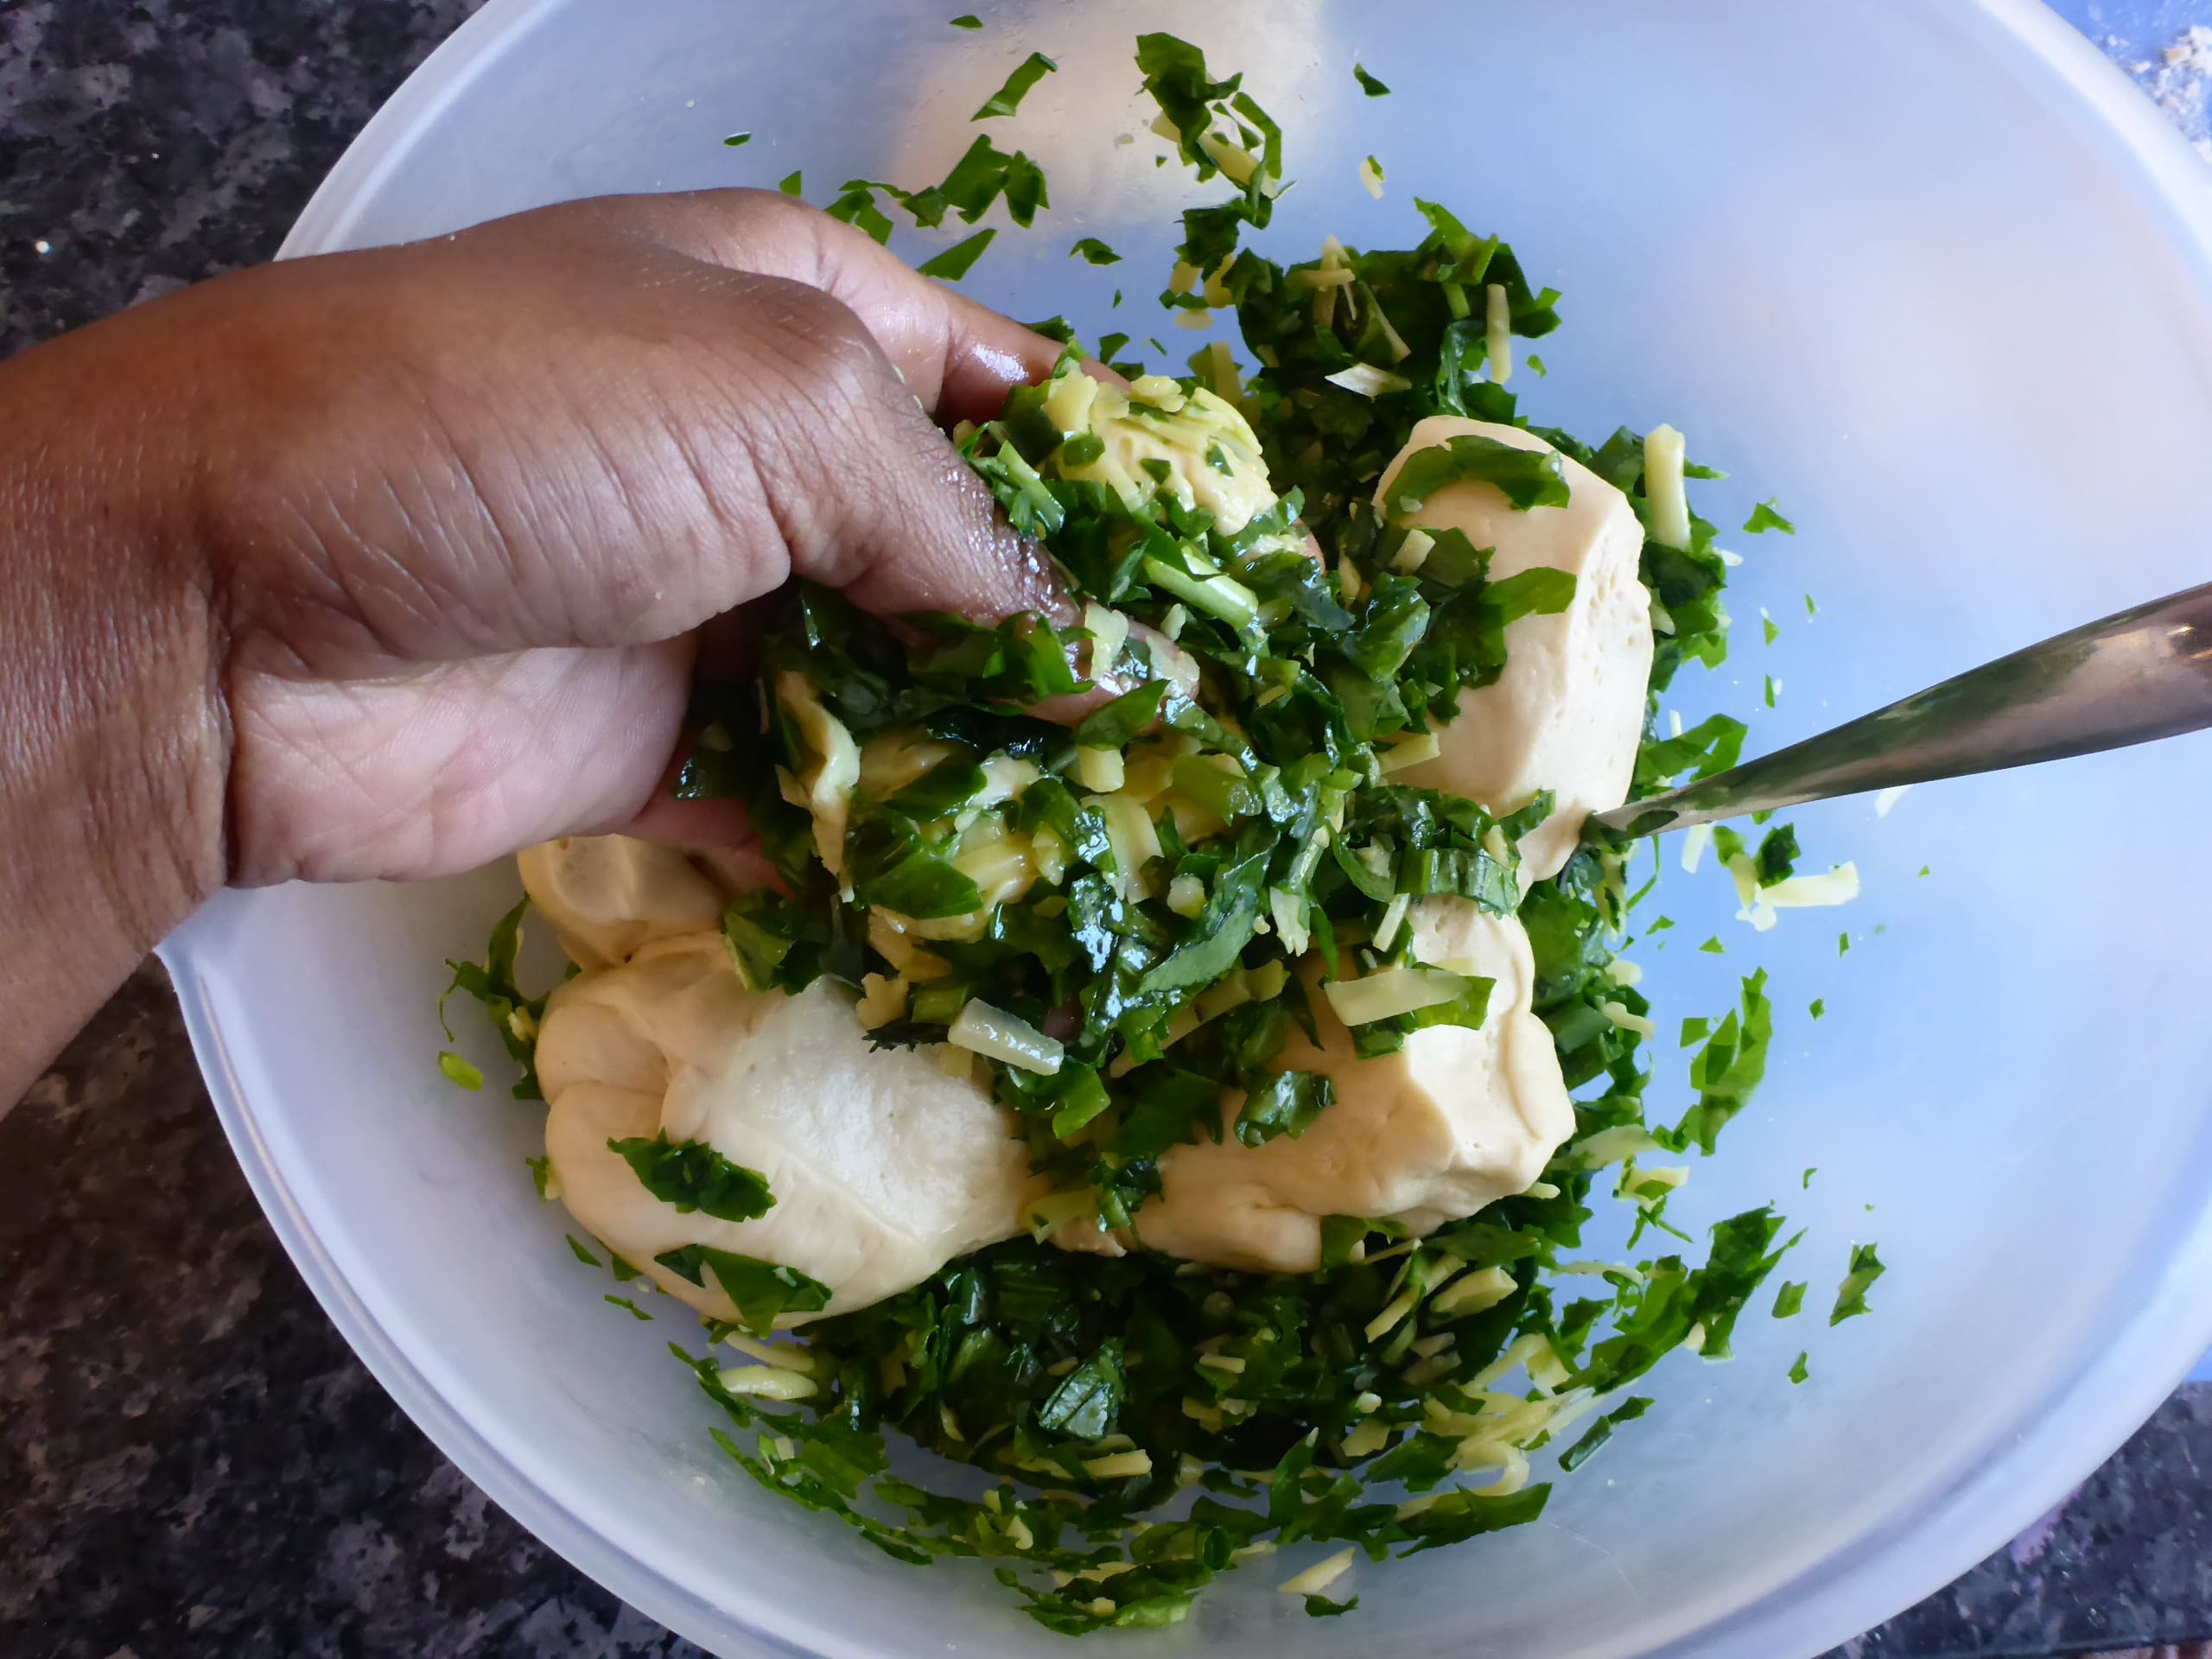
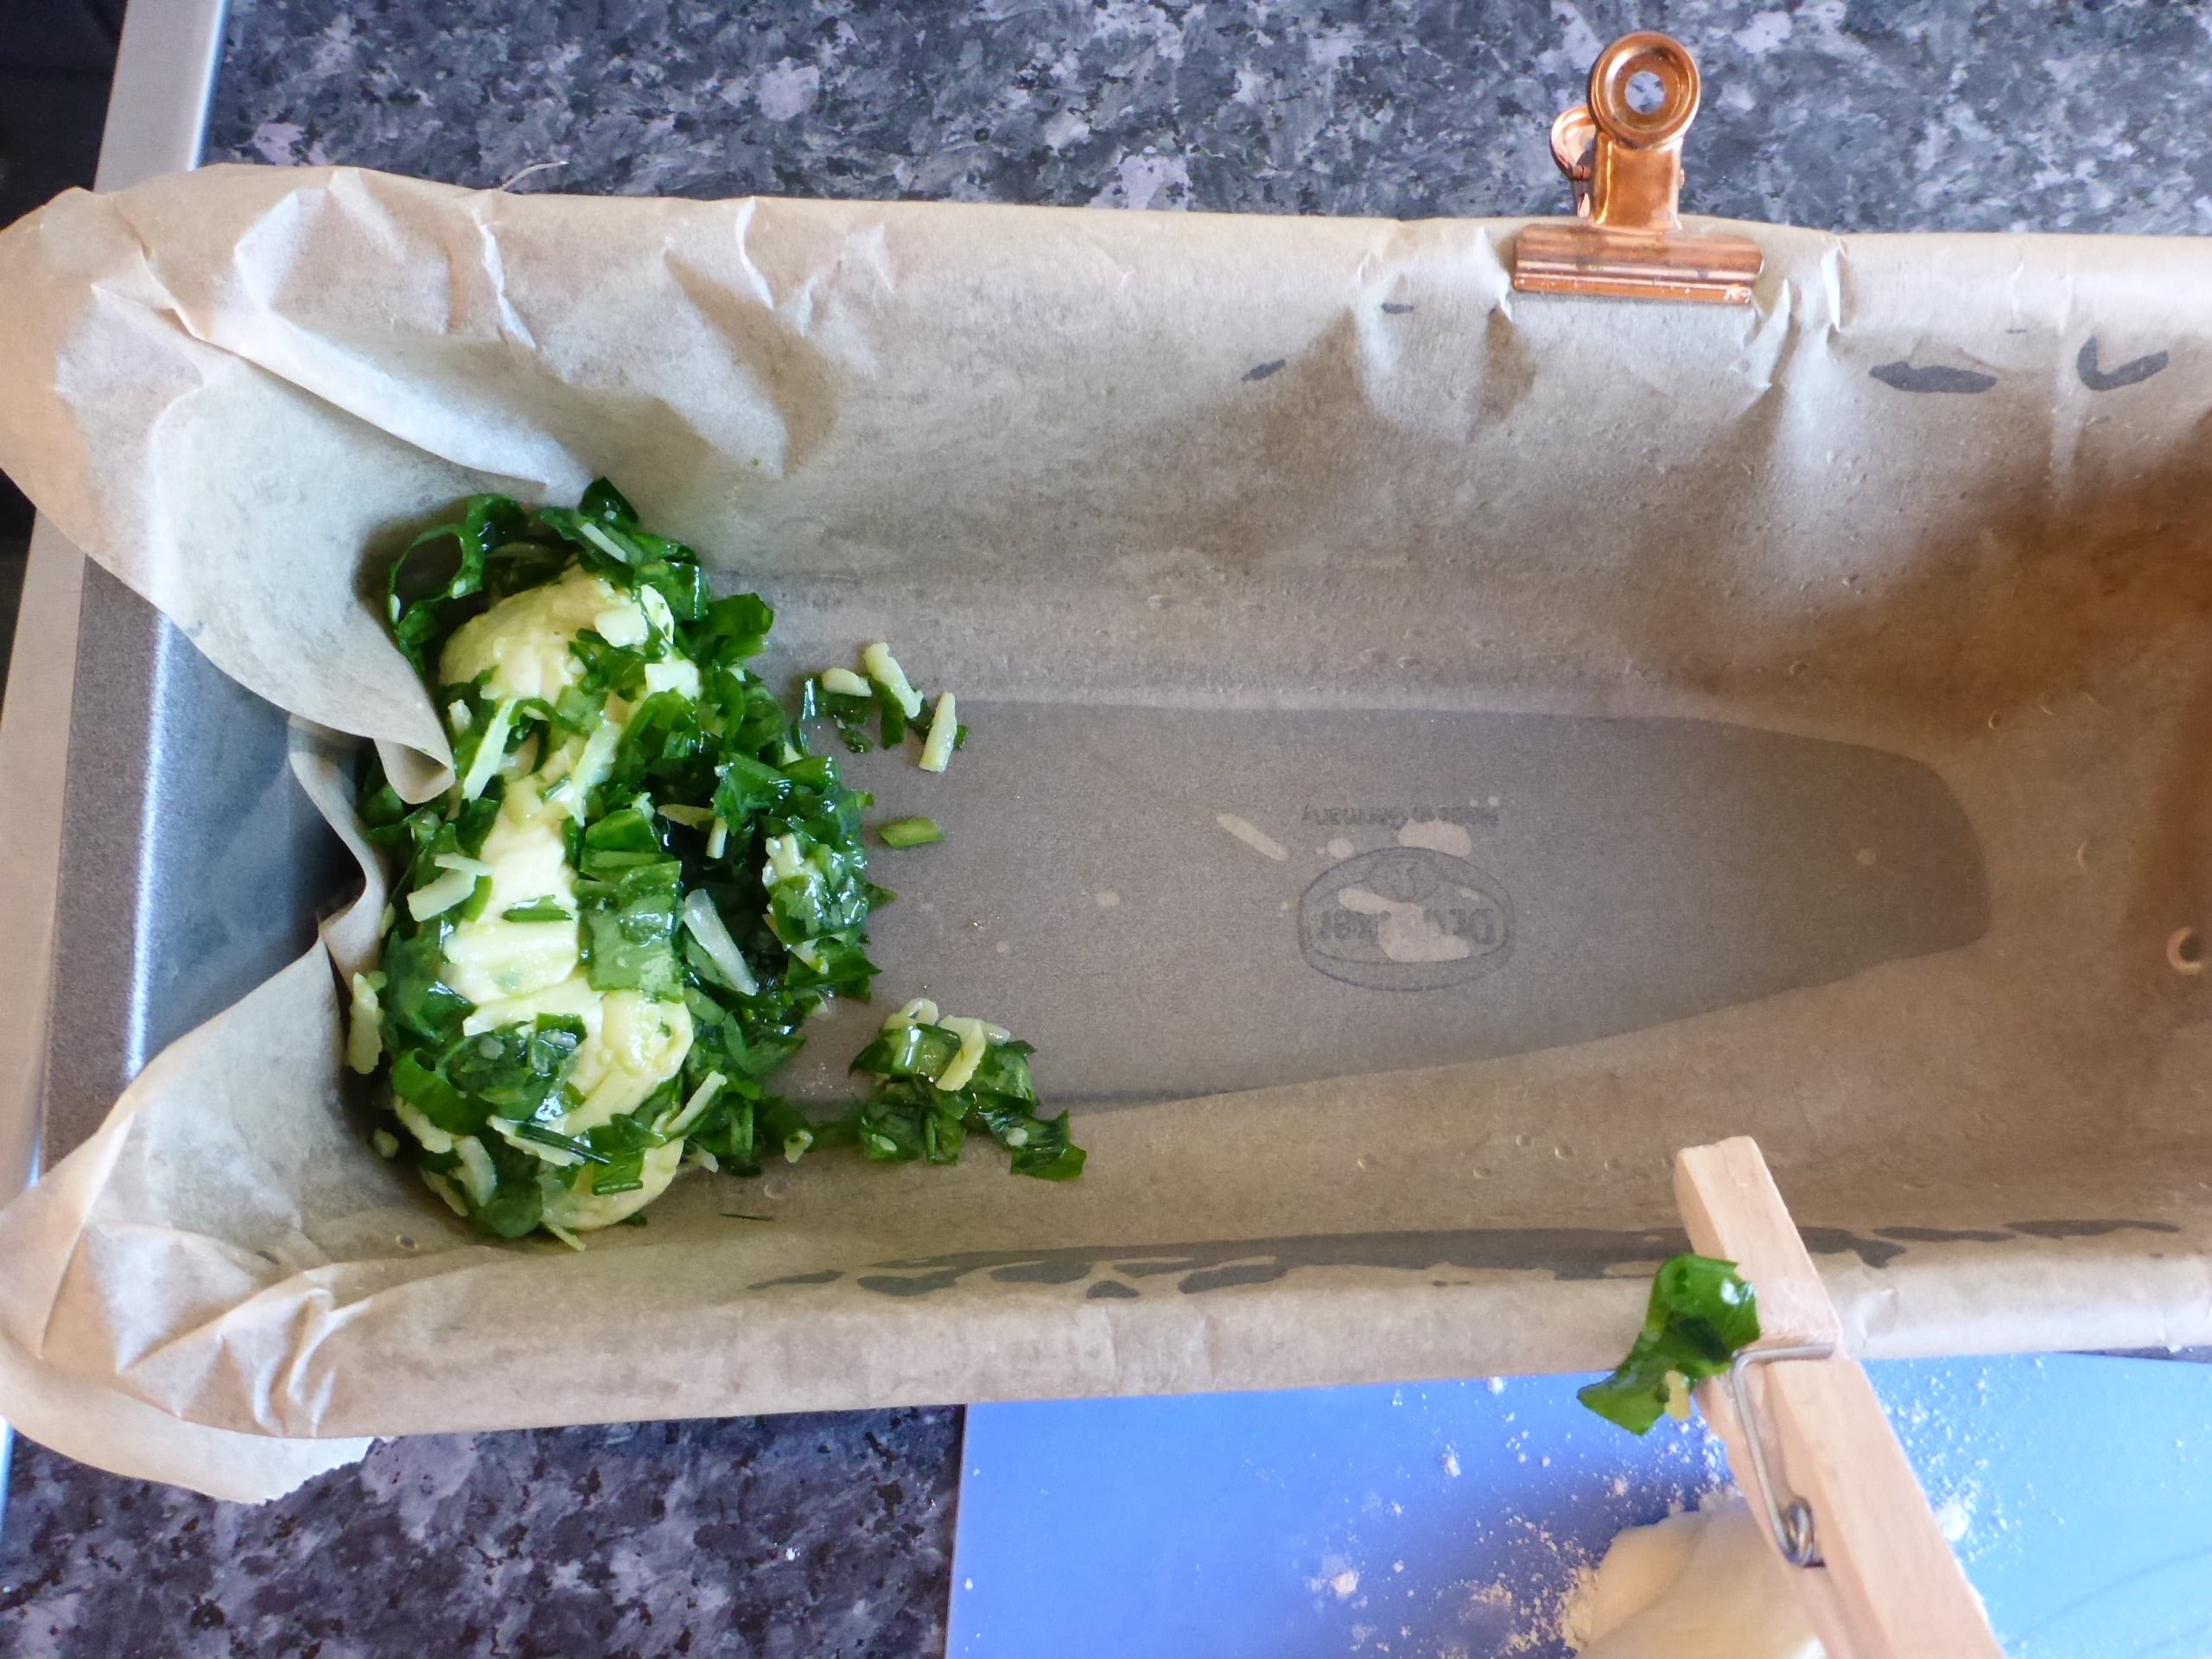
About 10 minutes before the end of the second rise, preheat the oven to 200 ° C (392 °F), with both top and bottom heat (Convection bake function: 180 °C (356 °F)).
After the second rise bake for 30 minutes or until nicely golden brown. If you’re using a smaller bread dish, just be sure to increase the baking time.
- Because the smaller the baking dish, the longer the baking time. Also try to use a toothpick or a fork to check the bread for doneness.
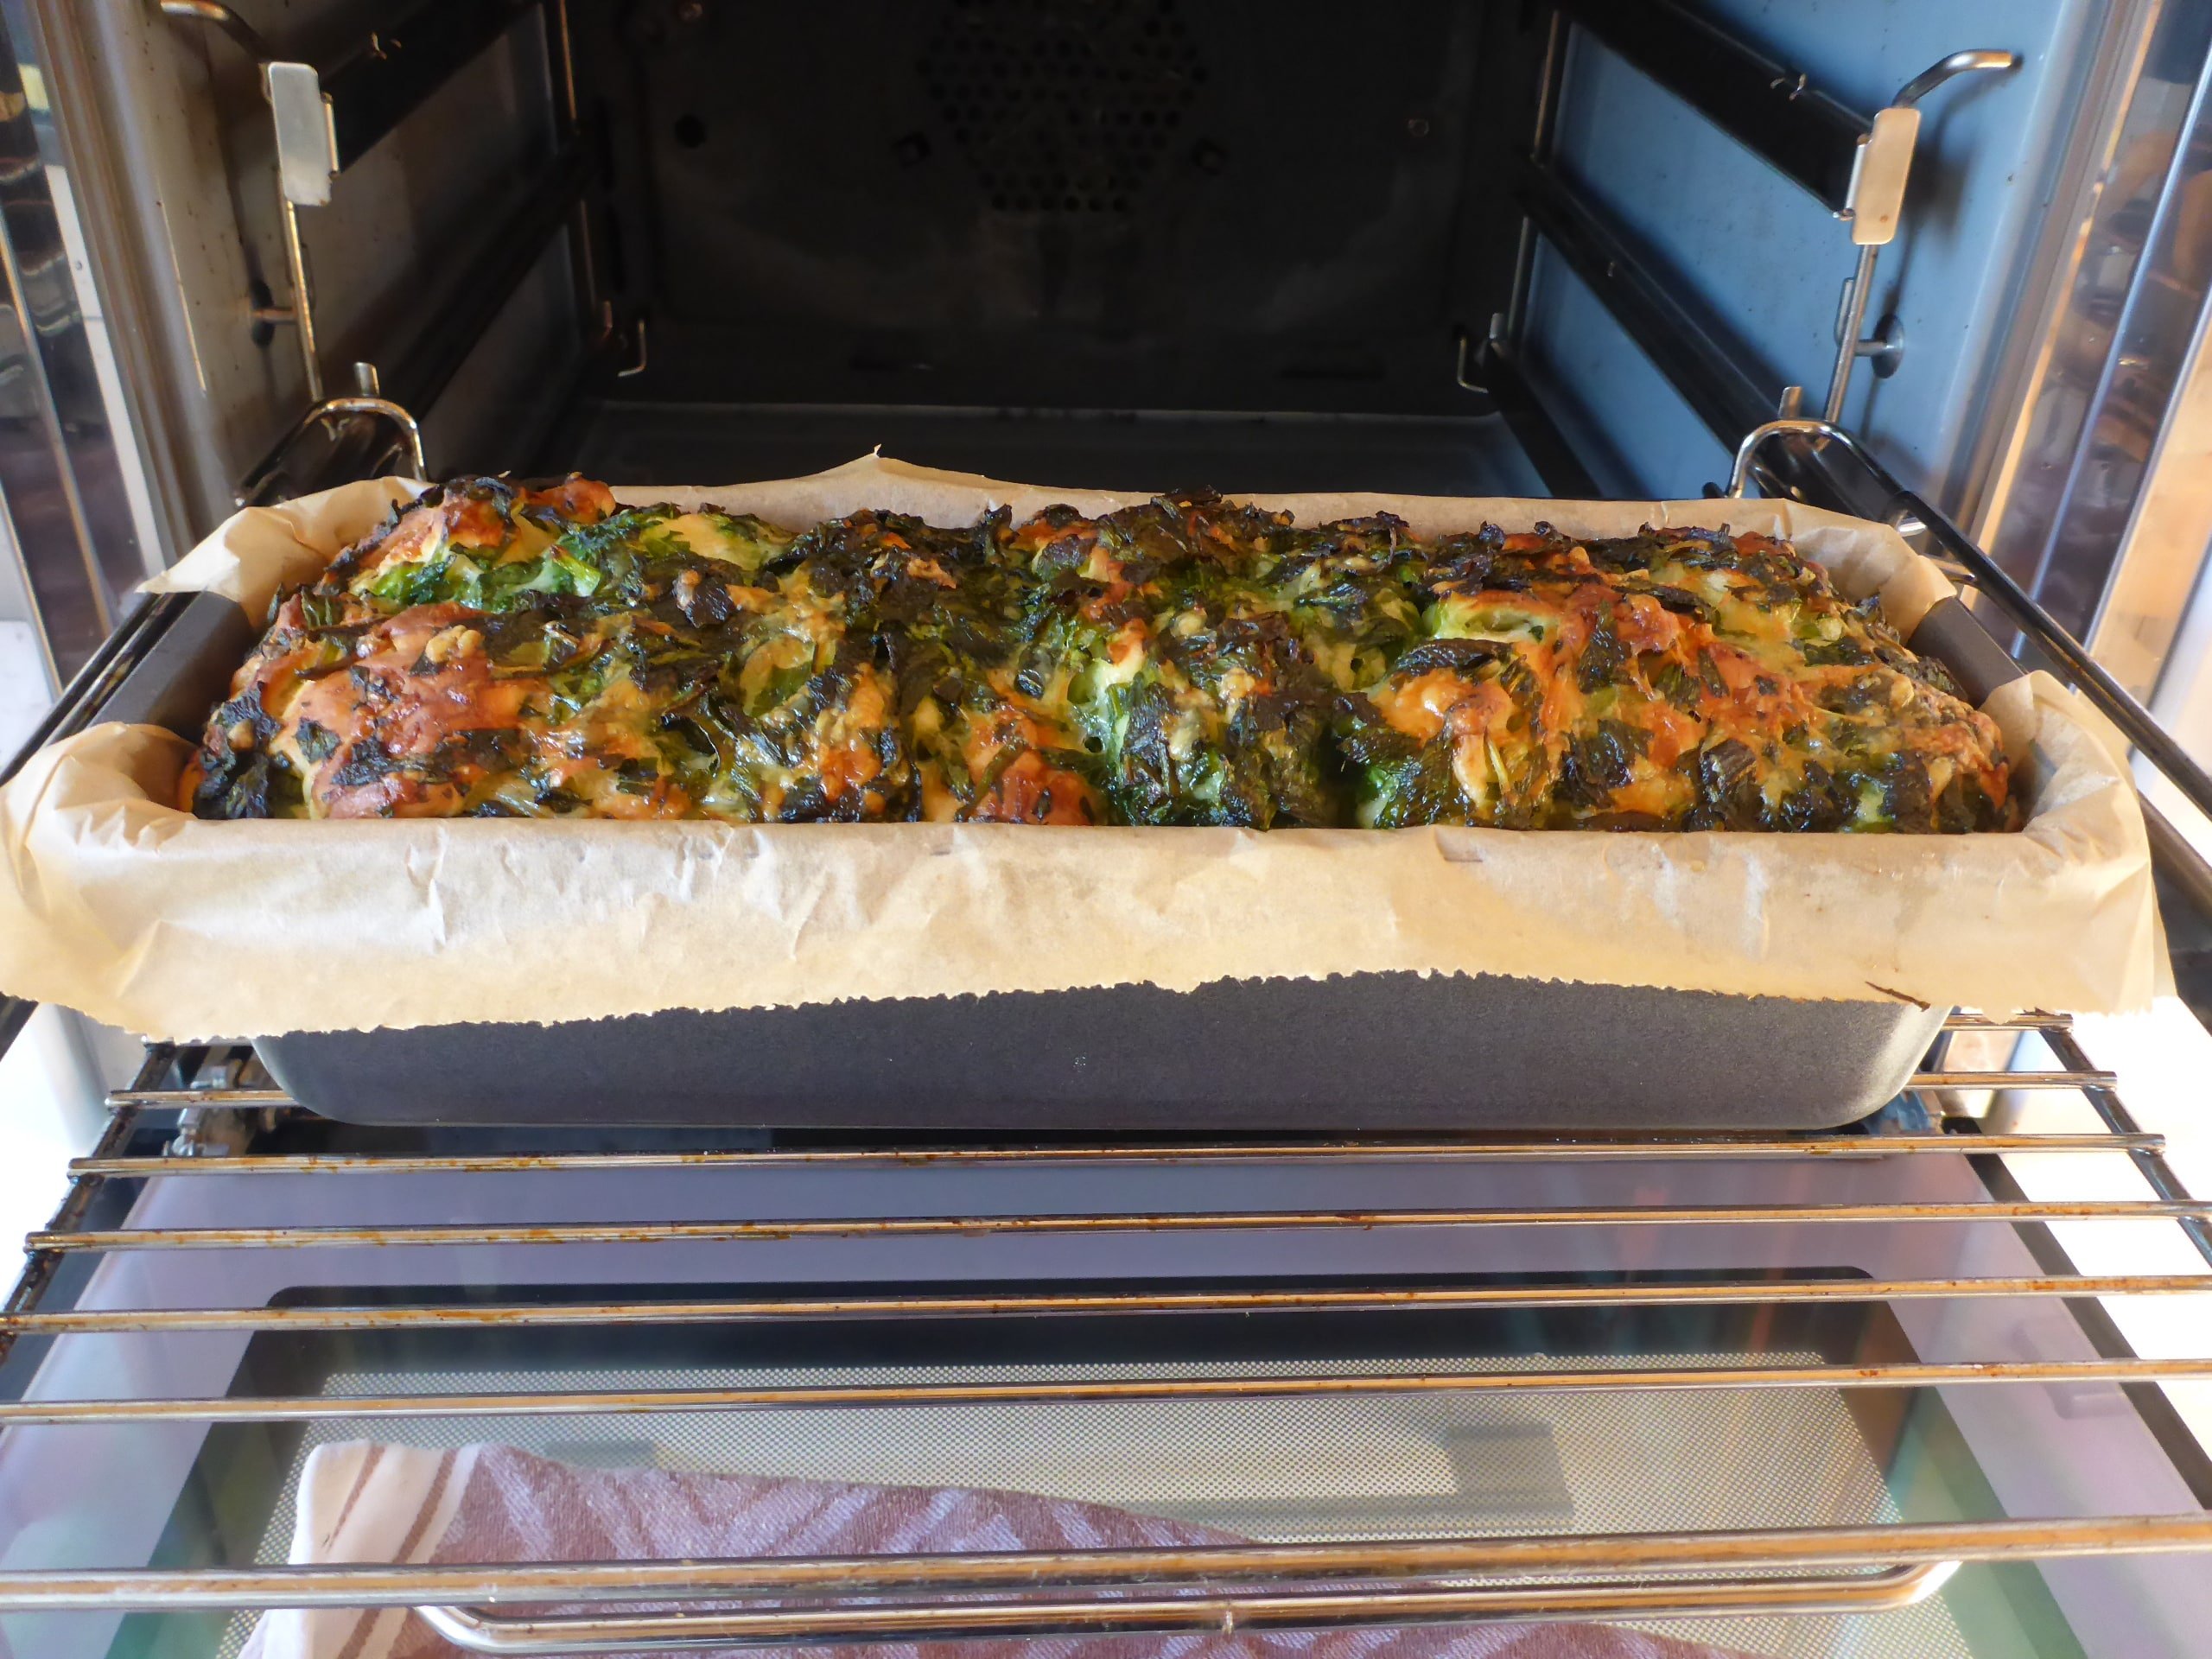
Remove the bread from the bread pan and enjoy.
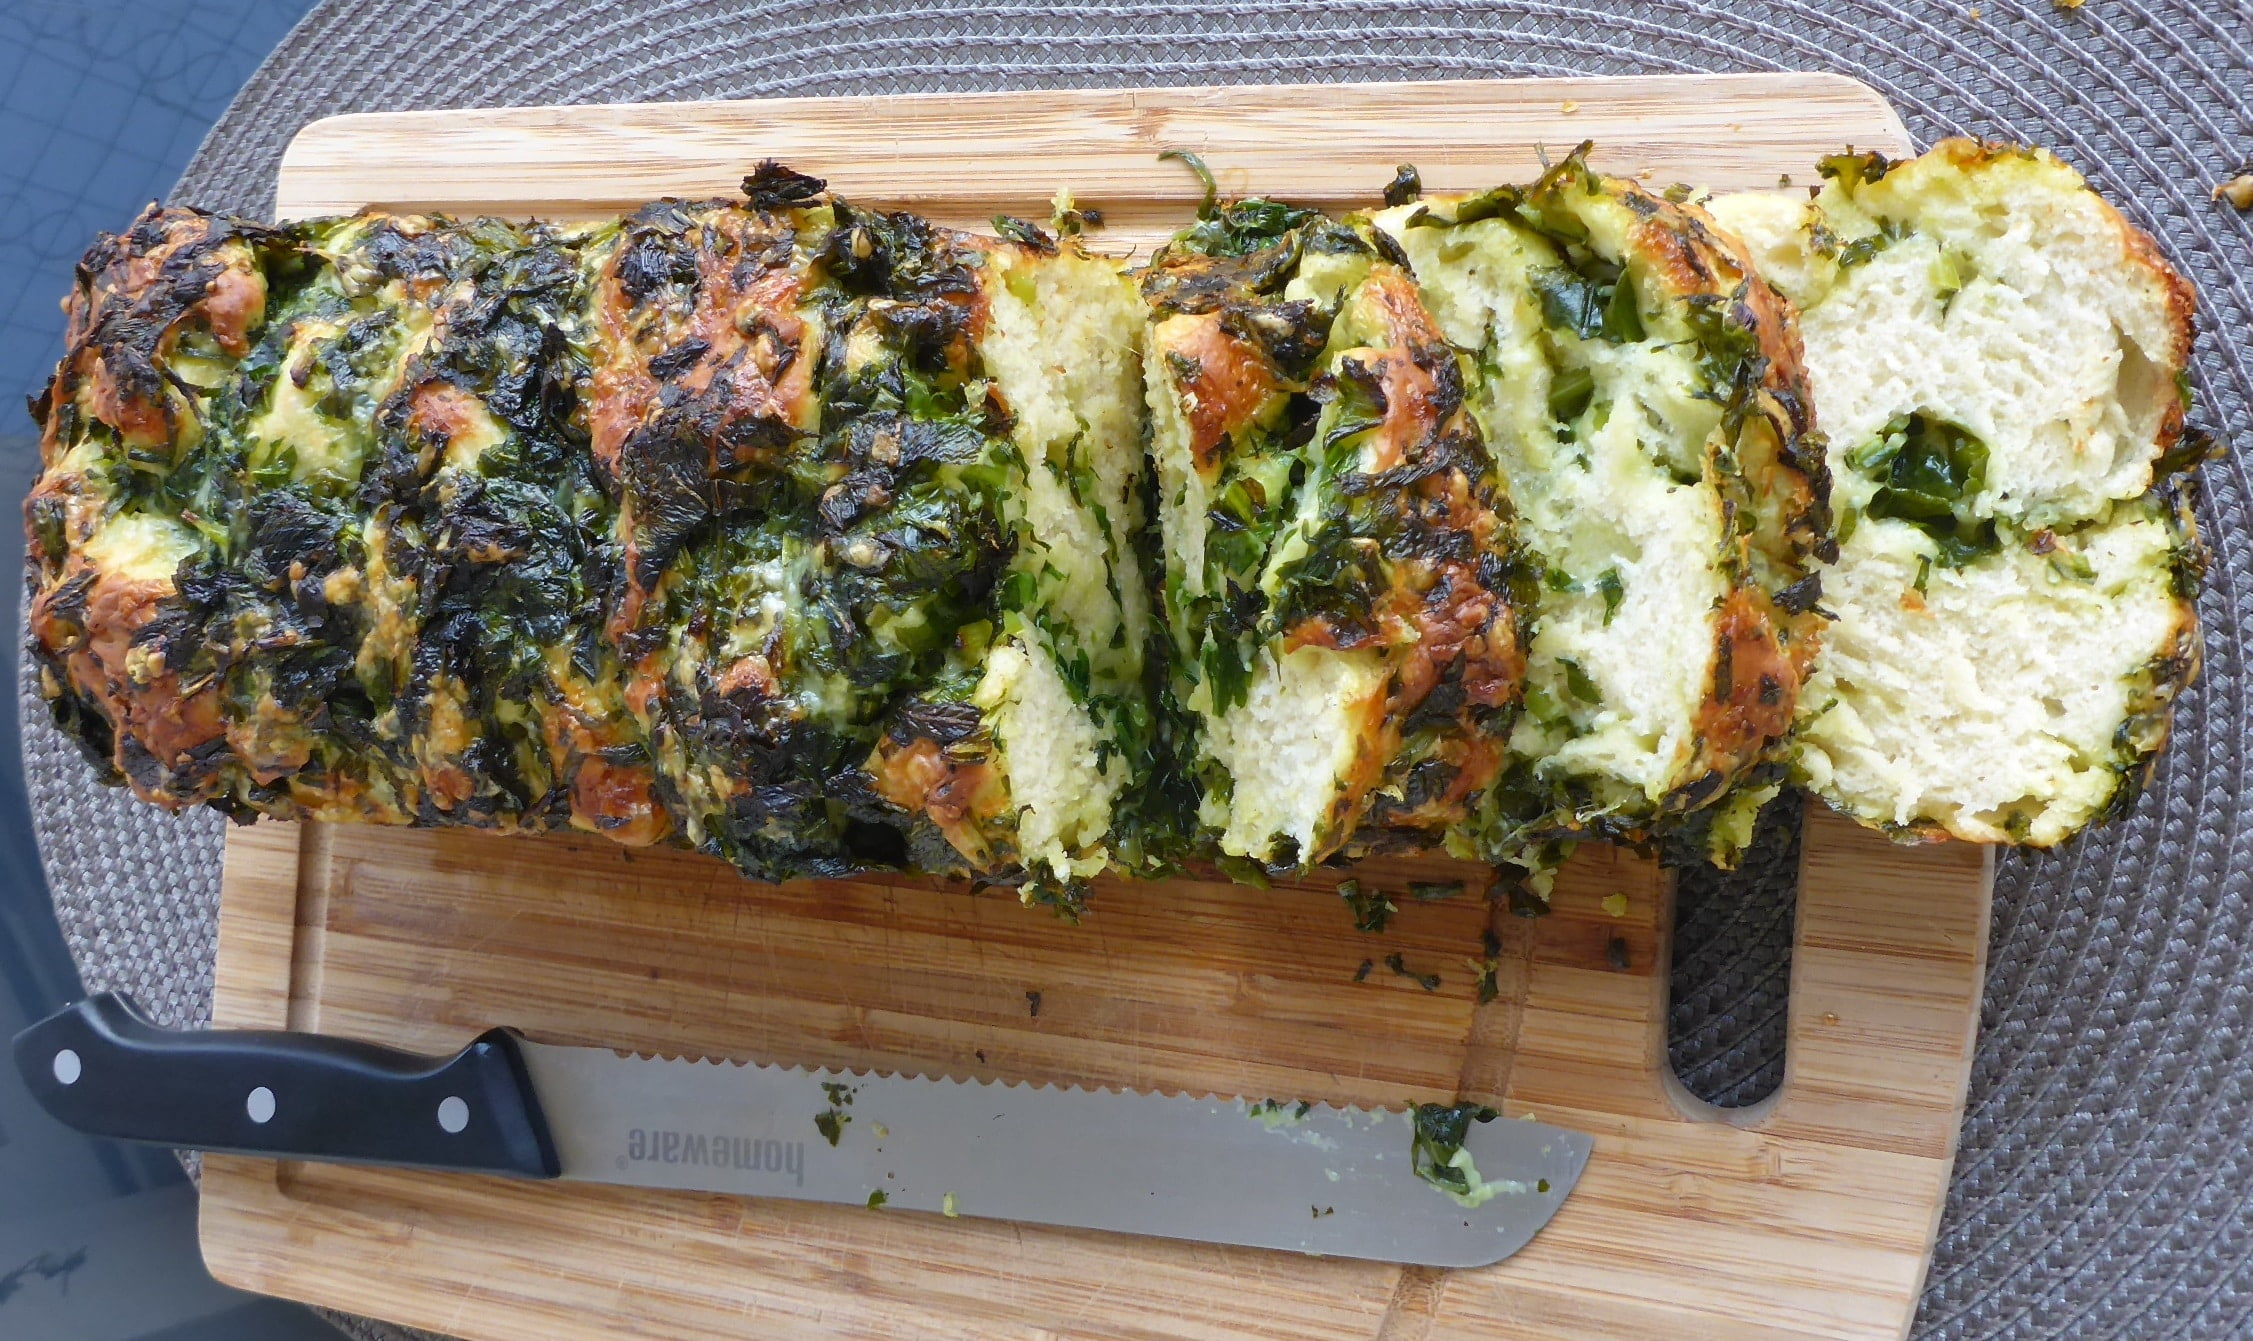
This bread can stay fresh up to 3 days. Just wrap it in a plastic or cover it with a clean kitchen cloth, so that it will stay moist.
What to eat with wild garlic bread
More wild garlic recipes
- Wild garlic feta dip
- Best wild garlic pesto
- Wild garlic stuffed chicken breasts
- Creamy wild garlic sauce
- Wild garlic bread rolls
Easy Wild Garlic Bread Recipe
Equipment
- 30 cm (11.8 inch) loaf tin
- 2 bowls
- Parchment paper
- Cutting board
- Stand mixer (OPTIONAL)
- Silicone pastry mat
- 2 spoons
- Clean kitchen towel
- Colander
Ingredients
For the dough
- 430 g (15.2oz/ about 3 ¾ cups) plain flour (all purpose flour) plus extra for dusting
- 1 tablespoon sugar
- 1 teaspoon salt
- 2 tablespoons olive oil plus extra for greasing
- 2 ½ teaspoons dry yeast (1 package of dry yeast (7 g/ ¼ oz))
For wild garlic – cheese mixture
- 60 ml (2 fl.oz/ ¼ cup) olive oil
- 150 g (about 5 ½ oz/ 1 ½ cup) mild cheese grated
- 150 g (5 ½ oz) wild garlic
- ½ teaspoon salt
Instructions
- Grease a 30 cm (11.8 inch) loaf tin with oil and then line with parchment paper. Add 2 tablespoons flour (from 430 g (15.2oz/ approx: 3 2/3 cups)), yeast, sugar to the jar with lukewarm water. Using a spoon stir well and let the mixture stand for 10 minutes.
- Meanwhile mix the remaining flour, salt and olive oil in a bowl until well combined. After 10 minutes, pour the yeast mixture to the flour – salt mixture and knead the dough very well.
- I normally knead my dough like this : If I’m kneading it with the hand mixer, I knead the dough for about 8 minutes at low speed and then for 5 minutes at medium high speed. With the kitchen machine, I knead the dough for 7 minutes at low speed and for 3 more minutes at medium high speed. With the hands, I knead the dough for 10 minutes. If the dough is too sticky when kneading with the hands, simply oil them and continue. If you’re using a heavy duty kitchen machine, please knead your dough for maximum 7 minutes.
- Remove the dough from the bowl, grease the bowl and put it back. Pour few drops of oil on the dough, so that it will not dry out. Cover with a cling film and then kitchen towel. Let the dough rise for about 45 minutes at room temperature or until it has doubled in size.
- In the meantime wash wild garlic very well, shake it and place it in a large colander to drain. Shortly before the dough is completely raised, finely chop wild garlic. Then grate the cheese if you're using ungrated cheese. In a second bowl combine chopped wild garlic, cheese and olive oil. Mix well using a spoon and season with salt.
- Lightly flour the silicone pastry mat or cutting board. Tip the dough onto a floured surface and carefully shape it into a baguette (long) loaf. You want to retain the air bubbles in the dough intact so that you'll have a nicely fluffy bread.
- Cut baguette (long) loaf into approximately 10 equal rolls – cut it in the middle first. This makes it easier to cut equal rolls. Roll each dough roll in the cheese mixture and arrange it in the bread pan. If you have some wild garlic – cheese mixture remaining, just sprinkle this on top. Cover the bread pan with kitchen towel and let rise for another 30 minutes.
- About 10 minutes before the end of second rise, Preheat the oven to 200 ° C (392 °F), with both top and bottom heat.
- After the second rise bake for 30 minutes or until nicely golden brown. If you’re using a smaller bread dish, just be sure to increase the baking time. Because the smaller the baking dish, the longer the baking time. Also try to use a toothpick or a fork to check the bread for doneness.
- Remove the bread from the bread pan and enjoy. Wild garlic cheese bread can stay fresh up to 3 days. Just wrap it in a plastic or cover it with a clean kitchen cloth, so that it will stay moist.
Did you make this wild garlic bread recipe? I’d love to hear from you! Simply write a review and add rating to it.


Anastasia
Saturday 6th of May 2023
Super easy and absolutely delicious!! The bread only last about two hours before it was done! Thank you!
Ester
Tuesday 25th of July 2023
Thank you so much for your wonderful comment, Anastasia! I'm thrilled to hear that you found the wild garlic bread recipe super easy and absolutely delicious.
Amy
Saturday 16th of April 2022
Hey, we’ve made this recipe before and just love it! I’ve been foraging again this year though and have gone overboard with the wild garlic picking… is it possible to freeze the bread once it’s cooked? I don’t want to waste the wild garlic!
Ester
Wednesday 20th of April 2022
Hello Amy, sorry for the late reply. I'm so glad to hear that you enjoy this recipe. You can freeze wild garlic bread in two ways, a) cooked or b) uncooked, wild garlic dough.
For baked wild garlic bread, simply cut it into slices once it has cooled completely, place it into a resealable plastic freezer bag and freeze. In this way you can always thaw the slices in the microwave or oven when needed.
For the wild garlic dough, freeze the yeast dough after the first rise - after wild garlic cheese mixture has been incorporated into the dough.
Simply place the dough rolls into a greased baking tray or loaf tin and freeze. Once frozen remove from the baking tray or loaf tin and place it into a resealable plastic freezer bag and and freeze. Don’t forget to label the bag.
Next time you want to enjoy it, you just thaw it slowly to room temperature, let rise again for about 30 minutes and bake.
By the way you can also freeze wild garlic leaves. I do this all the time. Just wash the leaves very well. Shake off excess water. Roughly chop the leaves, place them into a resealable plastic freezer bag and freeze.
I hope this helps.
Kind regards, Ester
mich
Saturday 19th of March 2022
Holy cow, Ester - this bread is visually SO stunning - I'm in America and I've never seen wild garlic leaves! I've seen the shoots that grow out of garlic bulbs, but never leaves. I'm going to look them up & see if I can to grow them. That way I can make this and get back to you, although I'm sure the bread is as delicious as it looks. I'm tempted to make it with spinach, but know that while it may look the same, it won't taste anything liken this - totally different flavor. I'm having a blast going through your site: your recipes look scrumptious and your photos (steps and finished product) are SUPERB! It is SO helpful to see the photos - for example, when you say to chop the scallions small, yours are actually an inch long! To me, small is 4-5 mm wide. I promise that when I make some of your recipes (like the Keto Chicken & Broccoli Casserole - OMG), I'll review and comment. Keep up the great work - I'm so glad I subscribed! Take care!